– 3 –
#
.
INSTALLATION
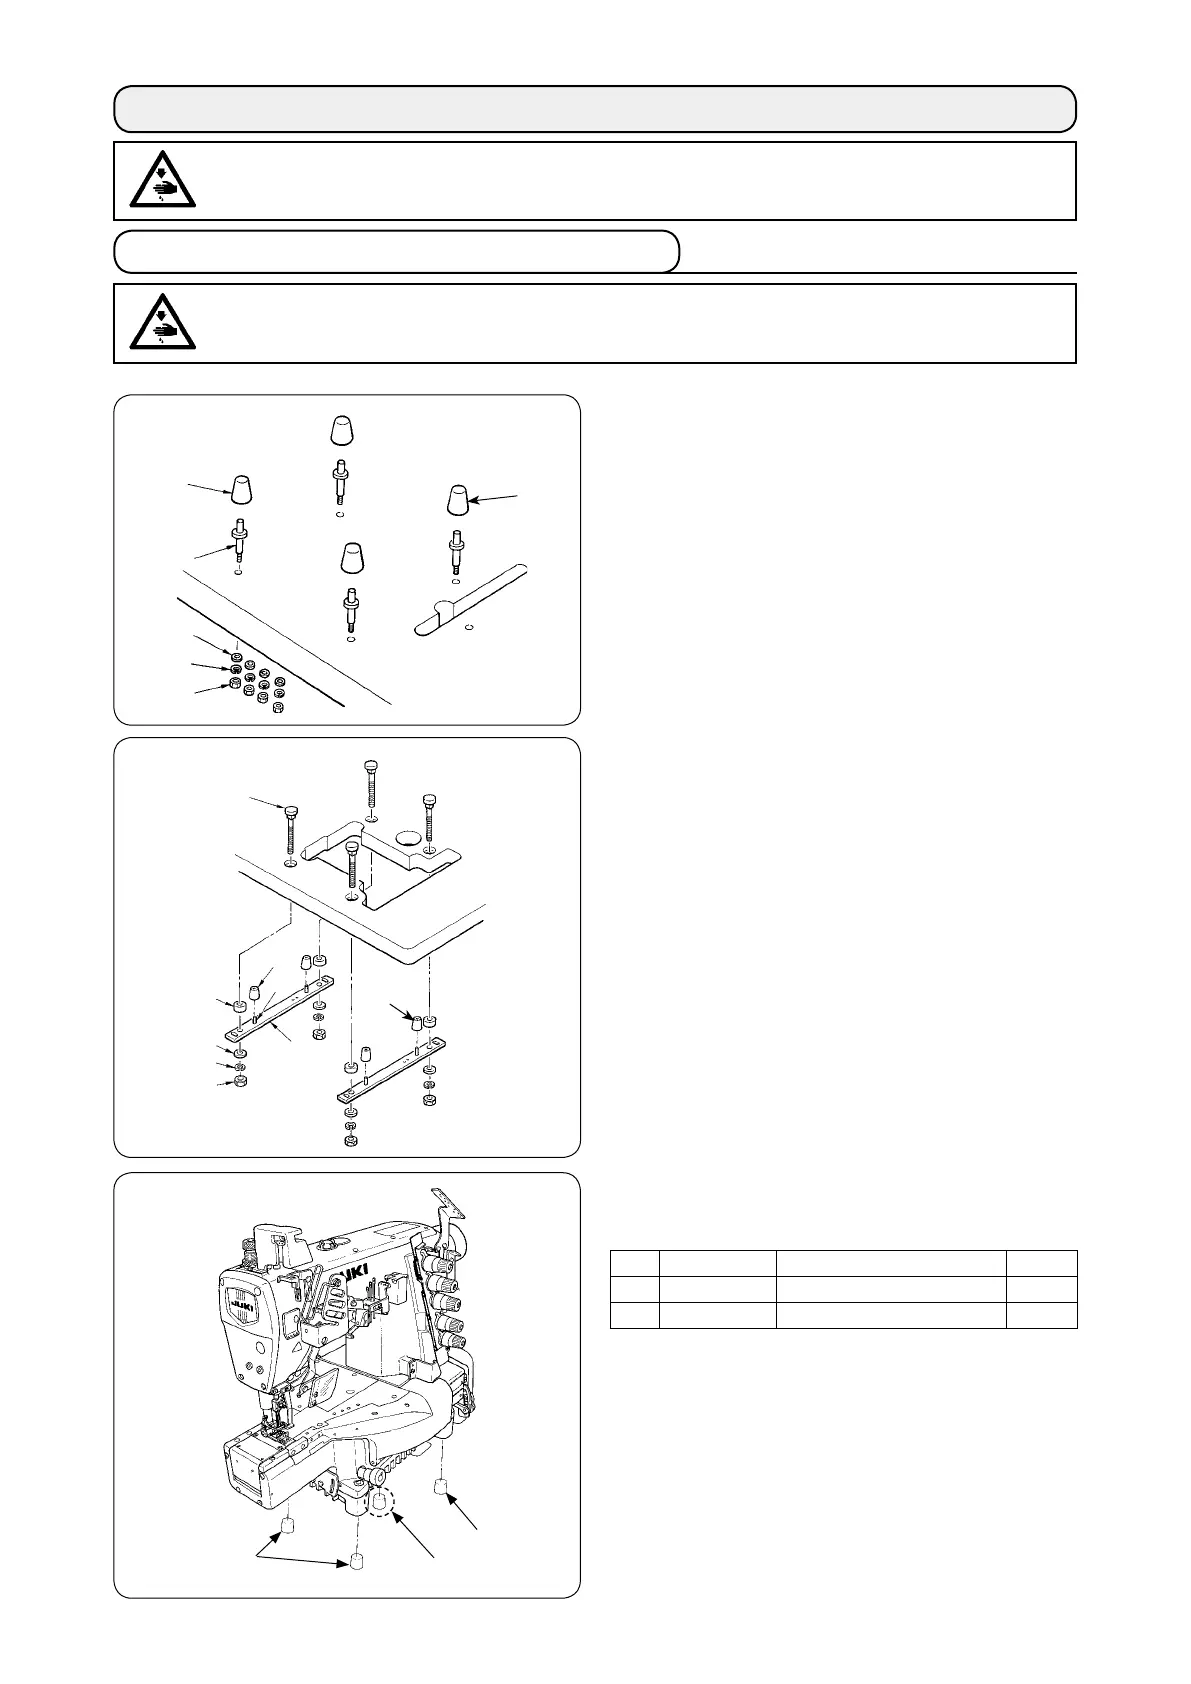
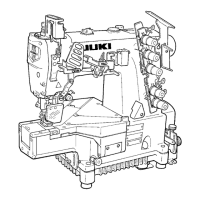
Attach the pins and the rubber cushions as shown in
the illustration and properly install the sewing machine.
1
Rubber cushion (Black) x 3
2
Washer
3
Spring washer
4
Nut
5
Pin
6
Rubber cushion (Gray) x 1
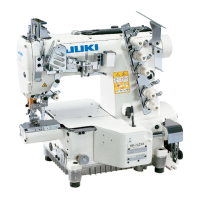
Attach the supporting board and the rubber seats as
shown in the illustration and properly install the sewing
machine.
1
Bolt
2
Spacer
3
Washer
4
Spring washer
5
Nut
6
Supporting board
7
Spring pin
8
Rubber cushion (Black) x 3
9
Rubber cushion (Gray) x 1
Semi-submerged type
1. Installing the machine head onto the table
WARNING :
Do not insert the power plug of the motor into the receptacle until all works have been completed. There
is a danger of injury by being caught in the machine.
WARNING :
The weight of the sewing machine is more than 42 kg. Be sure to perform the work with two persons or
more in case of unpacking, transportation or installation.
1
5
2
3
4
1
2
3
4
5
6
7
8
6
9
■
Installing the rubber cushion
Install the gray dust-proof rubber to section A only.
Part No. Part name Q'ty
1
40072505 Dust-proof rubber (Gray)
1
2
13155403 Dust-proof rubber (Black) 3
A
1
2
2
[For the V-belt type]