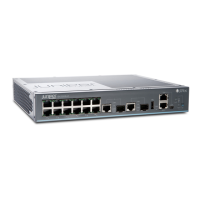
Set Parameter Values
NOTE: To run the ezsetup script, the switch must have the factory default configuration as the active
configuration. If you have configured anything on the switch and want to run ezsetup, revert to the factory
default configuration. For information about reverting to the factory default configuration, see the EX Series
documentation at https://www.juniper.net/documentation/product/en_US/ex2200-c.
Before you begin connecting and configuring the switch:
•
Set the following parameter values in the console server or PC:
•
Baud rate—9600
•
Flow control—None
•
Data—8
•
Parity—None
•
Stop bits—1
•
DCD state—Disregard
Perform the Initial Configuration
To connect and configure the switch from the console using the CLI:
1. Connect the console port of the switch to a laptop or PC using the RJ-45 to DB-9 serial port adapter.
NOTE: You can also use the mini-USB port to connect an EX2200-C switch to a laptop or PC (see the EX
Series documentation at http://www.juniper.net/techpubs/ ). However, we recommend that you use the
RJ-45 console port and not the mini-USB port, because no console messages are displayed if you use the
latter.
2. At the Junos OS shell prompt root%, type ezsetup.
3. (Optional) Enter the hostname.
4. Enter the root password you want to use for this device. You are prompted to re-enter the root password.
5. Enter yes to enable services like Telnet and SSH. By default, Telnet is not enabled and SSH is enabled.
5

 Loading...