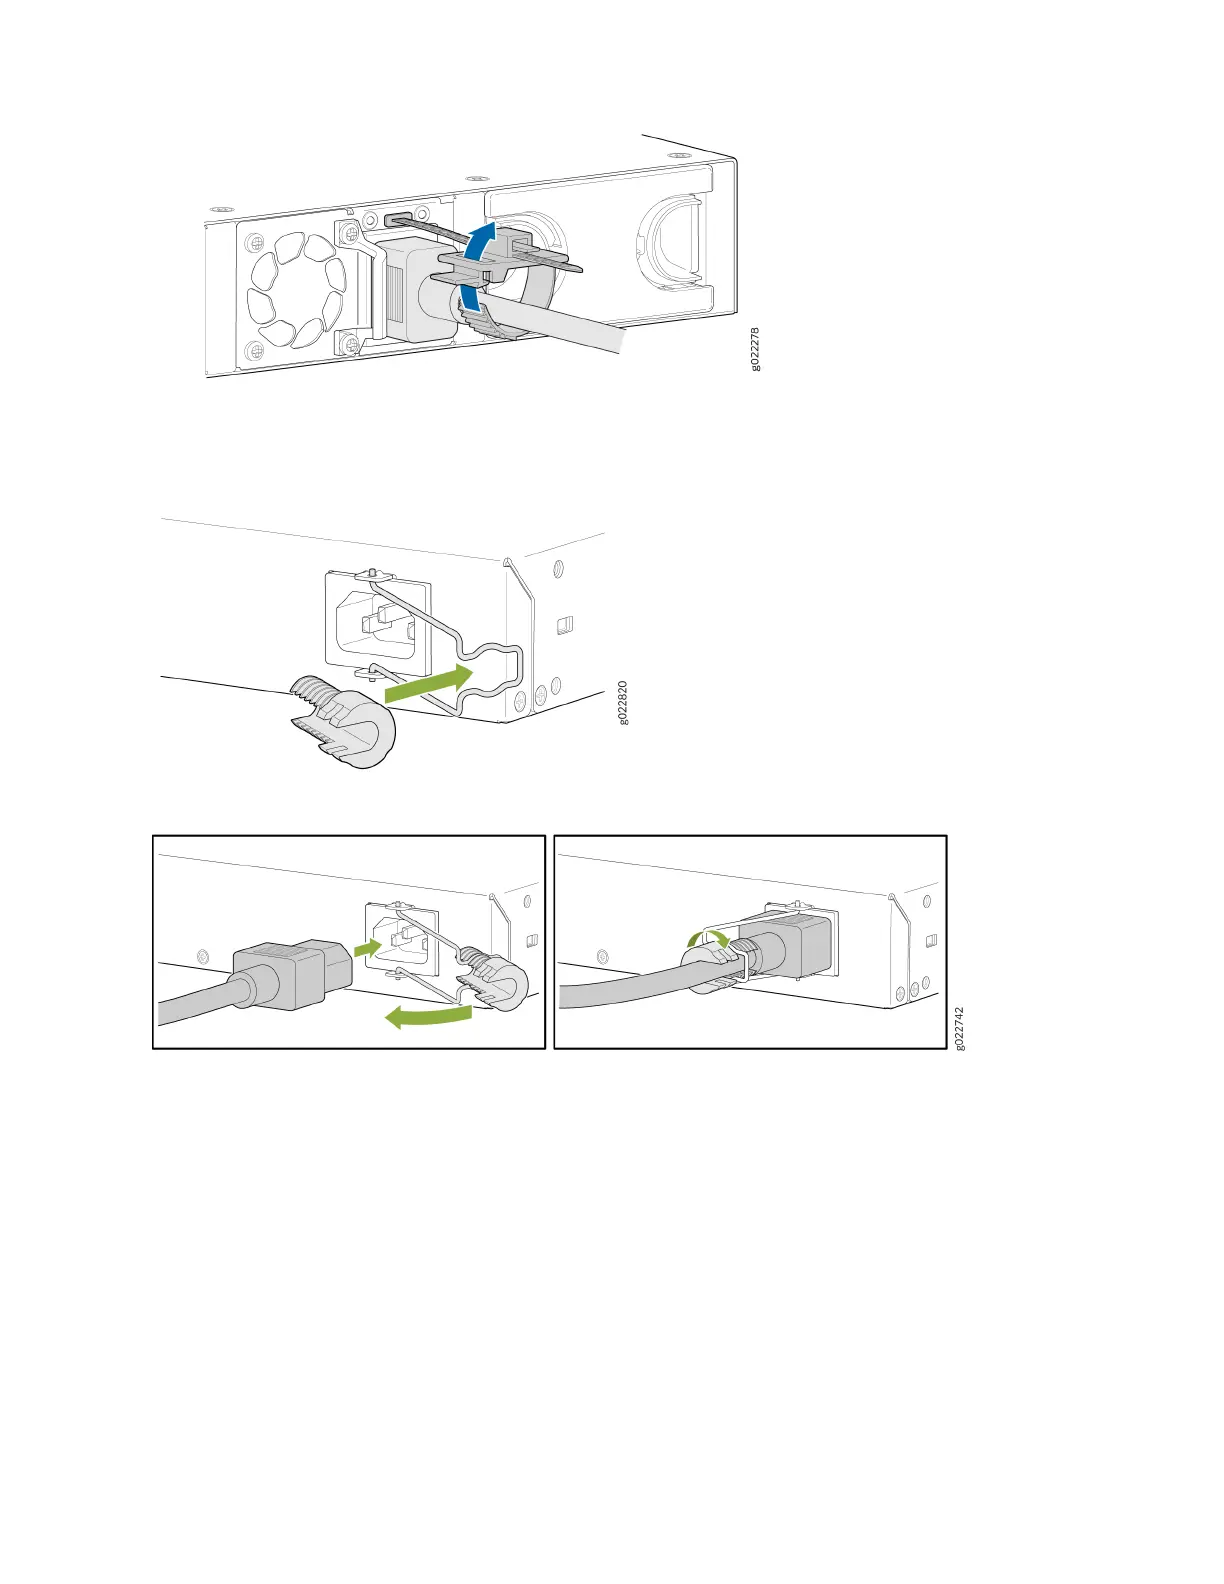
e. Press the tab on the loop and draw out the loop into a ght circle.
8. Note that this step is applicable for EX4100-F-24P, EX4100-F-24T, EX4100-F-48P, and EX4100-F-48T switch
models. Push the power cord into the slot in the adjustment nut of the power cord retainer clip. Turn the nut unl it
is ght against the base of the coupler and the slot in the nut is turned 90° from the top of the switch.
9.
If the AC power source outlet has a power switch, turn it o.
10. Insert the power cord plug into an AC power source outlet.
11. If the AC power source outlet has a power switch, turn it on. The switch powers on as soon as you plug it in.
12. Note that this step is applicable for EX4100 switches. Check to see that the DC OK LED on the power supply is lit
steadily green. If not, disconnect the power supply from the power source. You’ll need to replace the power supply
(see Maintain the EX4100 Power System in the EX4100 Switch Hardware Guide).
9