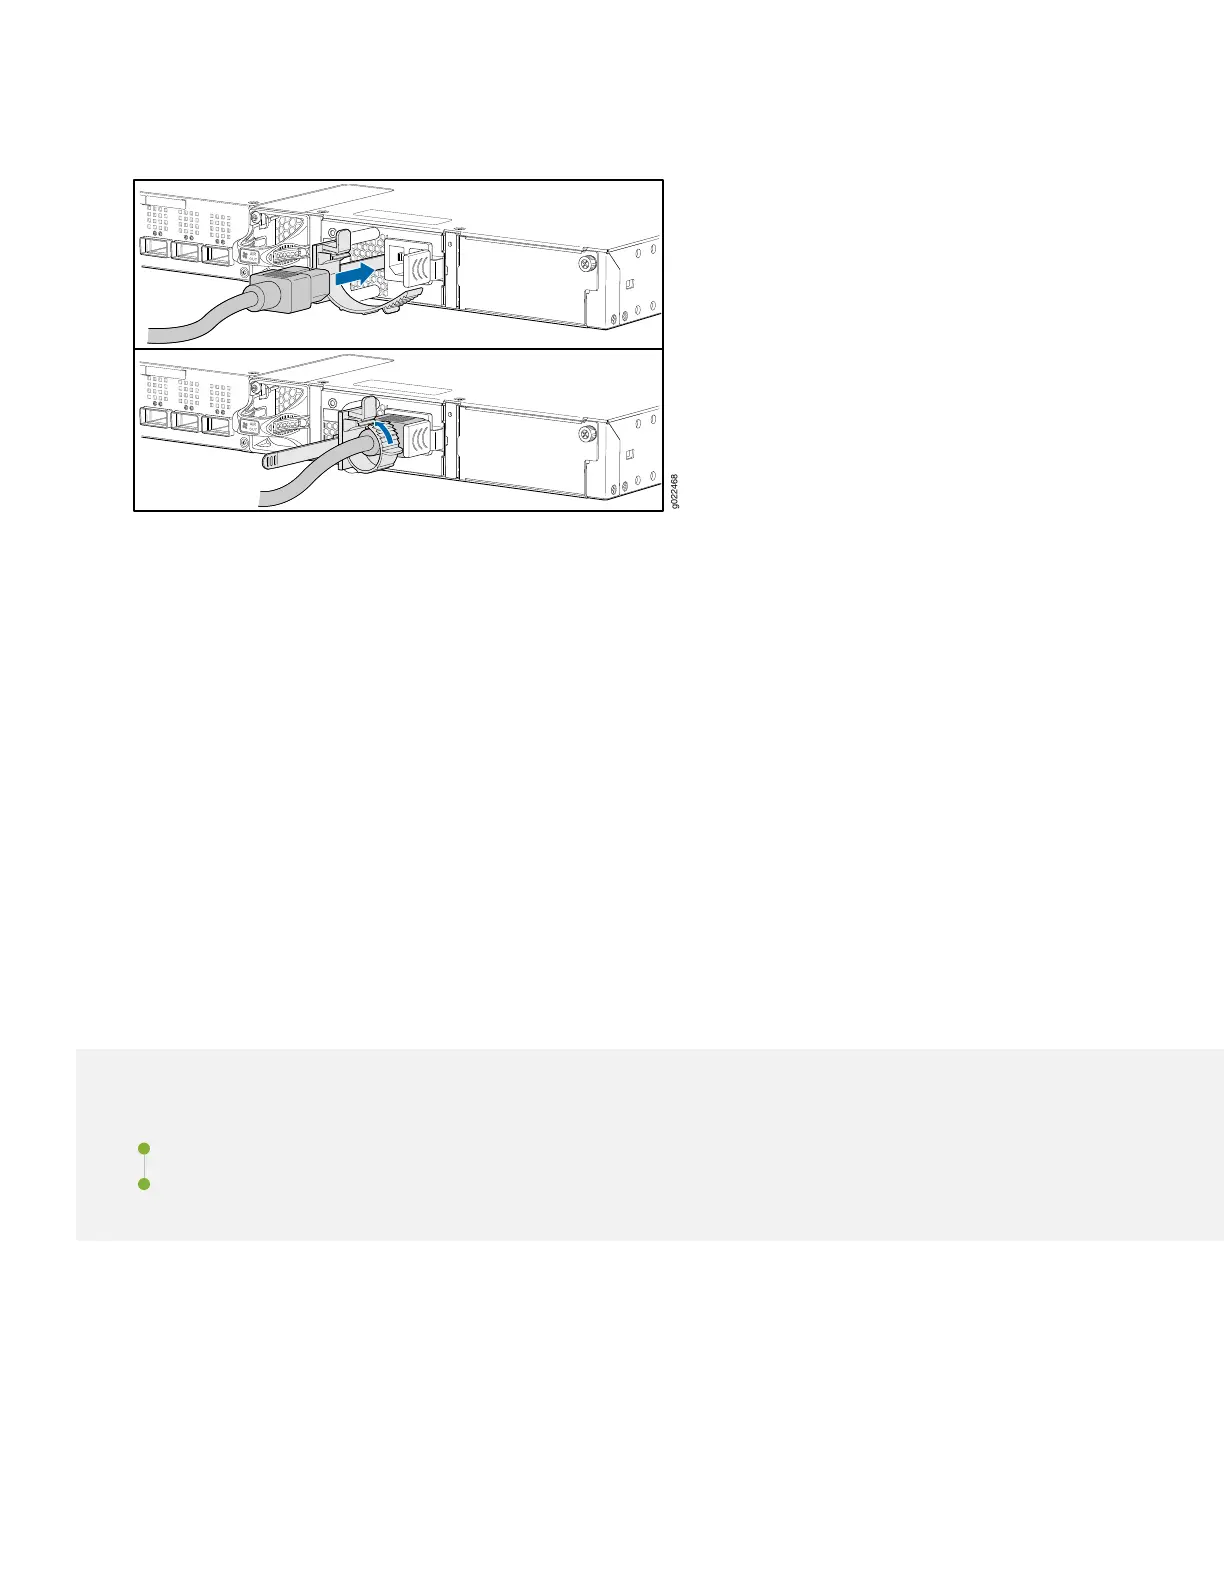
Figure 2: Connecting Power to an EX4300-48MP Switch
3. If the AC power source outlet has a power switch, turn it off.
4. Plug in the AC power cord to the AC power source outlet.
5. If the AC power source outlet has a power switch, turn it on.
6. Check to see that the IN OK and the OUT OK LEDs on each power supply are lit green.
If the OUT OK LED is lit amber, turn off the AC power source outlet or unplug the switch. You’ll need to replace the
power supply. See Removing an AC Power Supply from an EX4300 System.
Step 2: Up and Running
IN THIS SECTION
Plug and Play | 7
Customize the Basic Configuration | 7
Now that the EX4300 switch is powered on, let’s do some initial configuration to get the switch up and running on your
network. It’s simple to provision and manage the EX4300 switch and other devices on your network. Choose the
configuration tool that’s right for you:
•
Juniper Mist. To use Mist, you’ll need an account on the Mist Cloud Platform. See Overview of Connecting Mist Access
Points and Juniper EX Series Switches.
6