5. While you’re holding the EX4300 switch in place, have someone insert and tighten the rack mount screws to secure
the mounting brackets to the rack rails. Make sure to tighten the screws in the two bottom holes first and then tighten
the screws in the two top holes next.
6. Check that the mounting brackets on each side of the rack are level.
Power On
Now you’re ready to connect the EX4300 switch to a dedicated AC power source. The switch comes with the AC power
cord for your geographic location.
Here’s how to connect the EX4300 switch to AC power:
1. Wrap and fasten one end of an ESD wrist strap around your bare wrist, and connect the other end of the strap to the
ESD point on the switch.
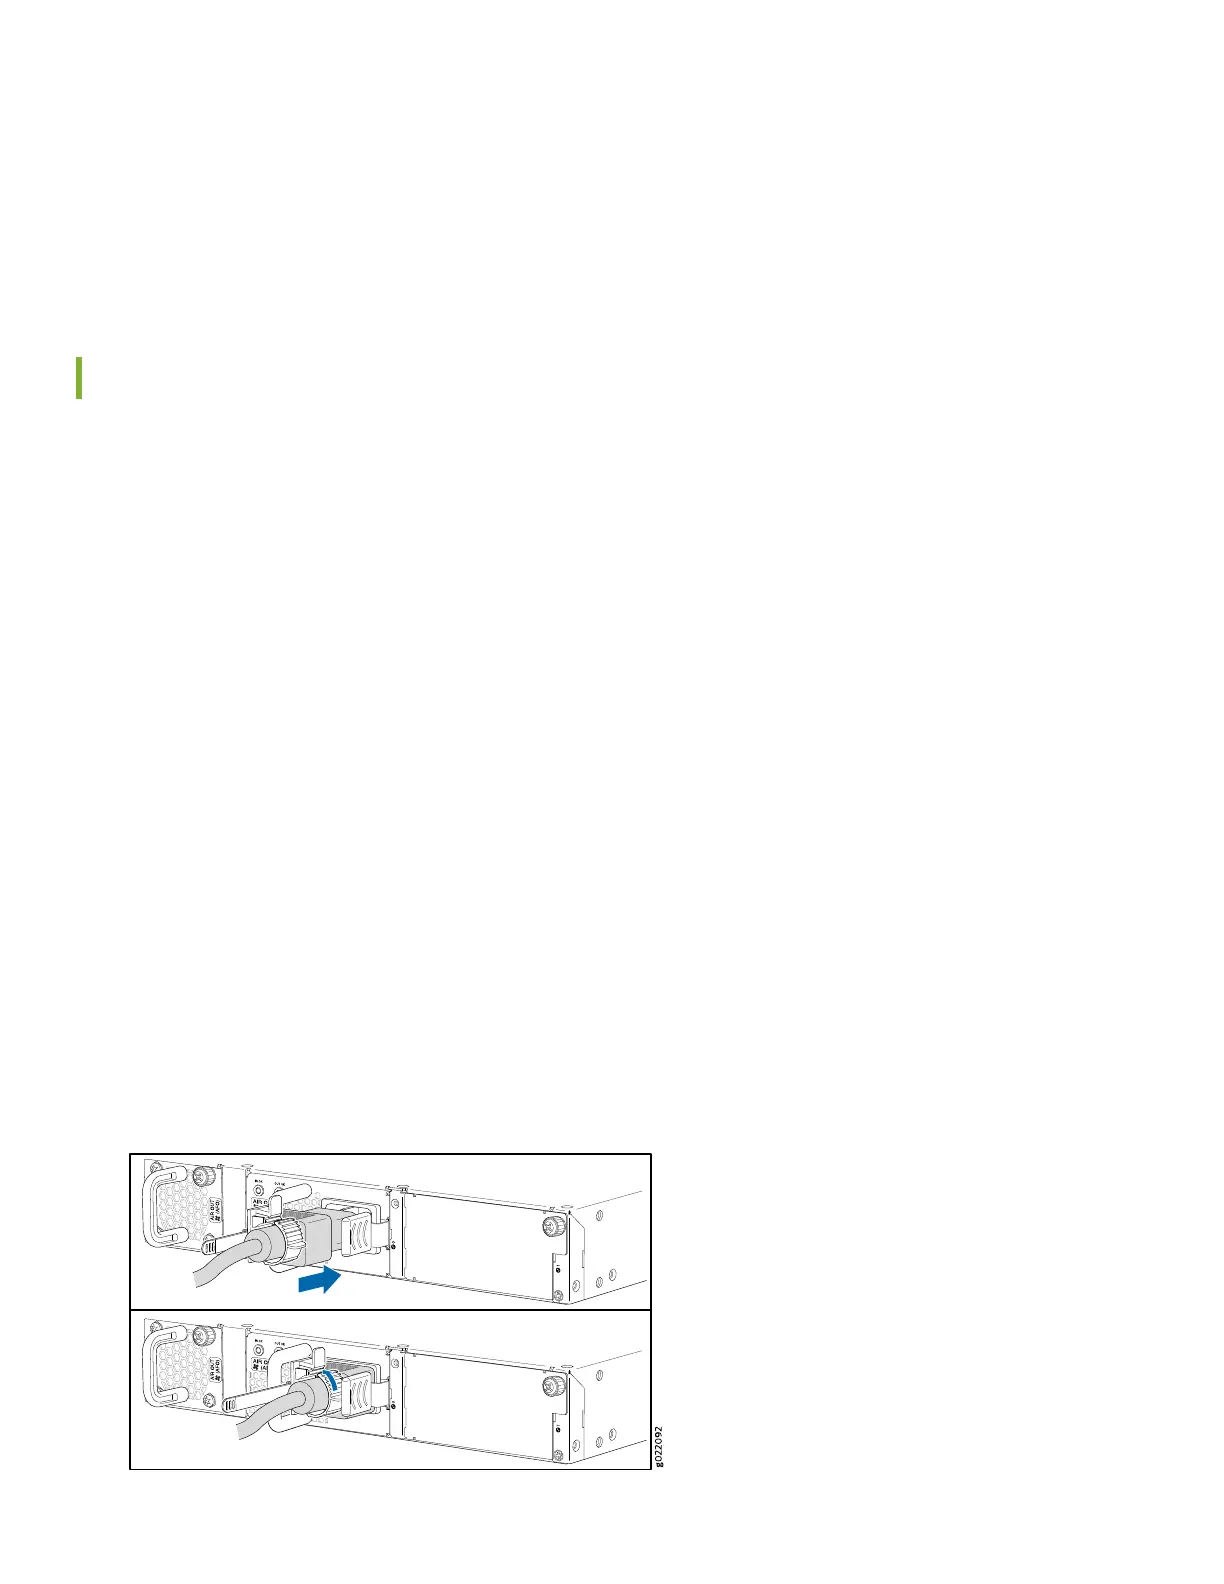
2. On the rear panel, connect the retainer clip and power cord to the AC power socket (see Figure 1 and Figure 2):
a. Push the end of the retainer strip into the hole next to the AC power socket until it snaps into place.
b. Press the small tab on the retainer strip to loosen the loop.
c. Slide the loop until you have enough space to insert the power cord coupler into the AC power socket.
d. Plug in the power cord to the power socket on the switch.
e. Slide the loop toward the power supply until it is snug against the base of the coupler.
f. Press the tab on the loop and draw out the loop into a tight circle.
Figure 1: Connecting AC Power to an EX4300 Switch (Except the EX4300-48MP)
5