Install a DC P ow er
Supply
10. Insert the power cable lugs into the appropriate field-wiring terminals:
• Insert the positive (+) source cable into the return terminal, which is labeled RTN.
• Insert the neg
ative (–) source cable into the input terminal, which is labeled –48V.
11. Usinga#1Phillipsscrewdriver,turnthescrewoneachfield-wiringterminalclockwise
to secure the p
ower cable lug.
12. Verify that t
he DC source power cabling and the grounding cabling are correct, that
they are not touching or blocking access to router components, and that they do not
drape where people could trip on them.
13. Turn on the DC power source so that voltage flows to the power supply.
14. Press the switch on the power supply faceplate to the ON ( | ) position.When the power
supply has p
owered on successfully, the green OUTPUT OK LED lights steadily.
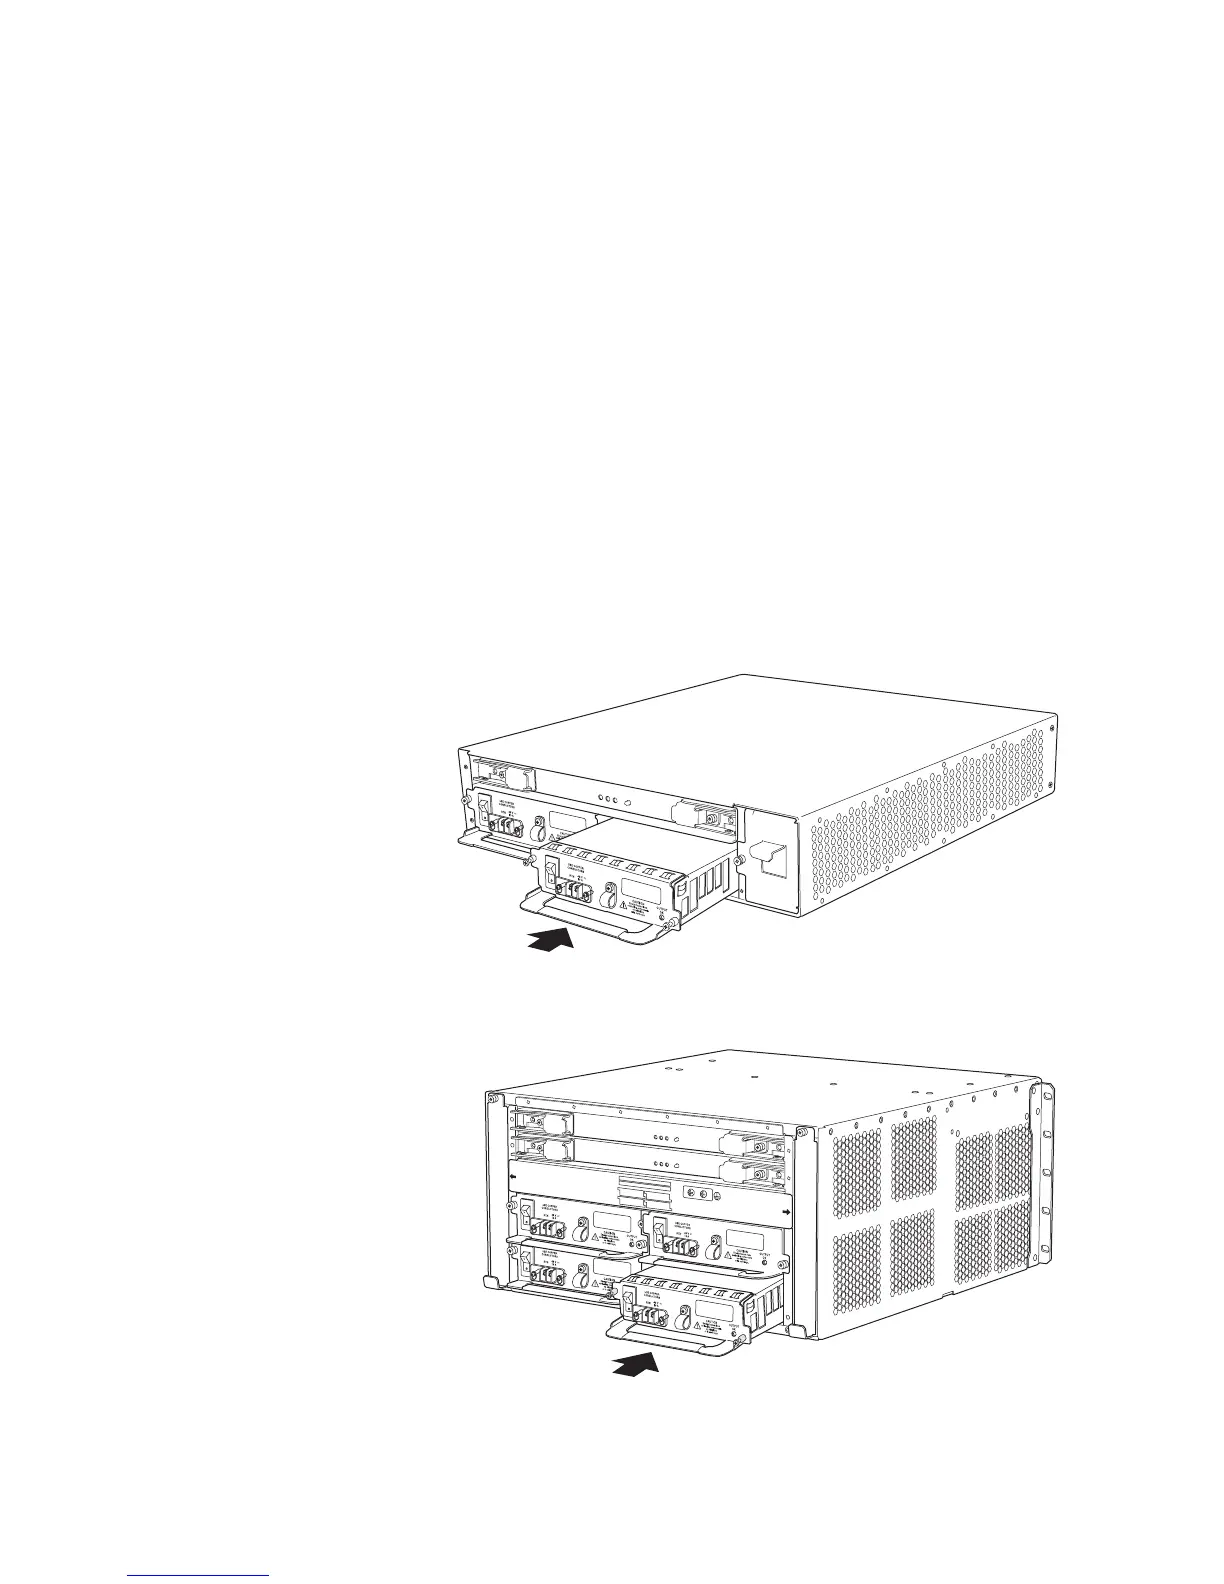
Figure 10: Install a DC Power Supply in an M7i Router
g003241
Figure 11: Install a DC Power Supply in an M10i Router
FAN
TR
AY
O
FAN
TR
AY 1
NOTE:
C-FEB 0
C-FEB 1
P/S 3
P/S 2
P/S
1
P
/S
0
P/S 0 AND P/S 1 MUST BE PRESENT
FOR NORMAL OPERATION.
g003333
12 M7i and M10i Internet Routers Power Supply Installation Instructions