How to Set Up Your SRX300 Services Gateway
3
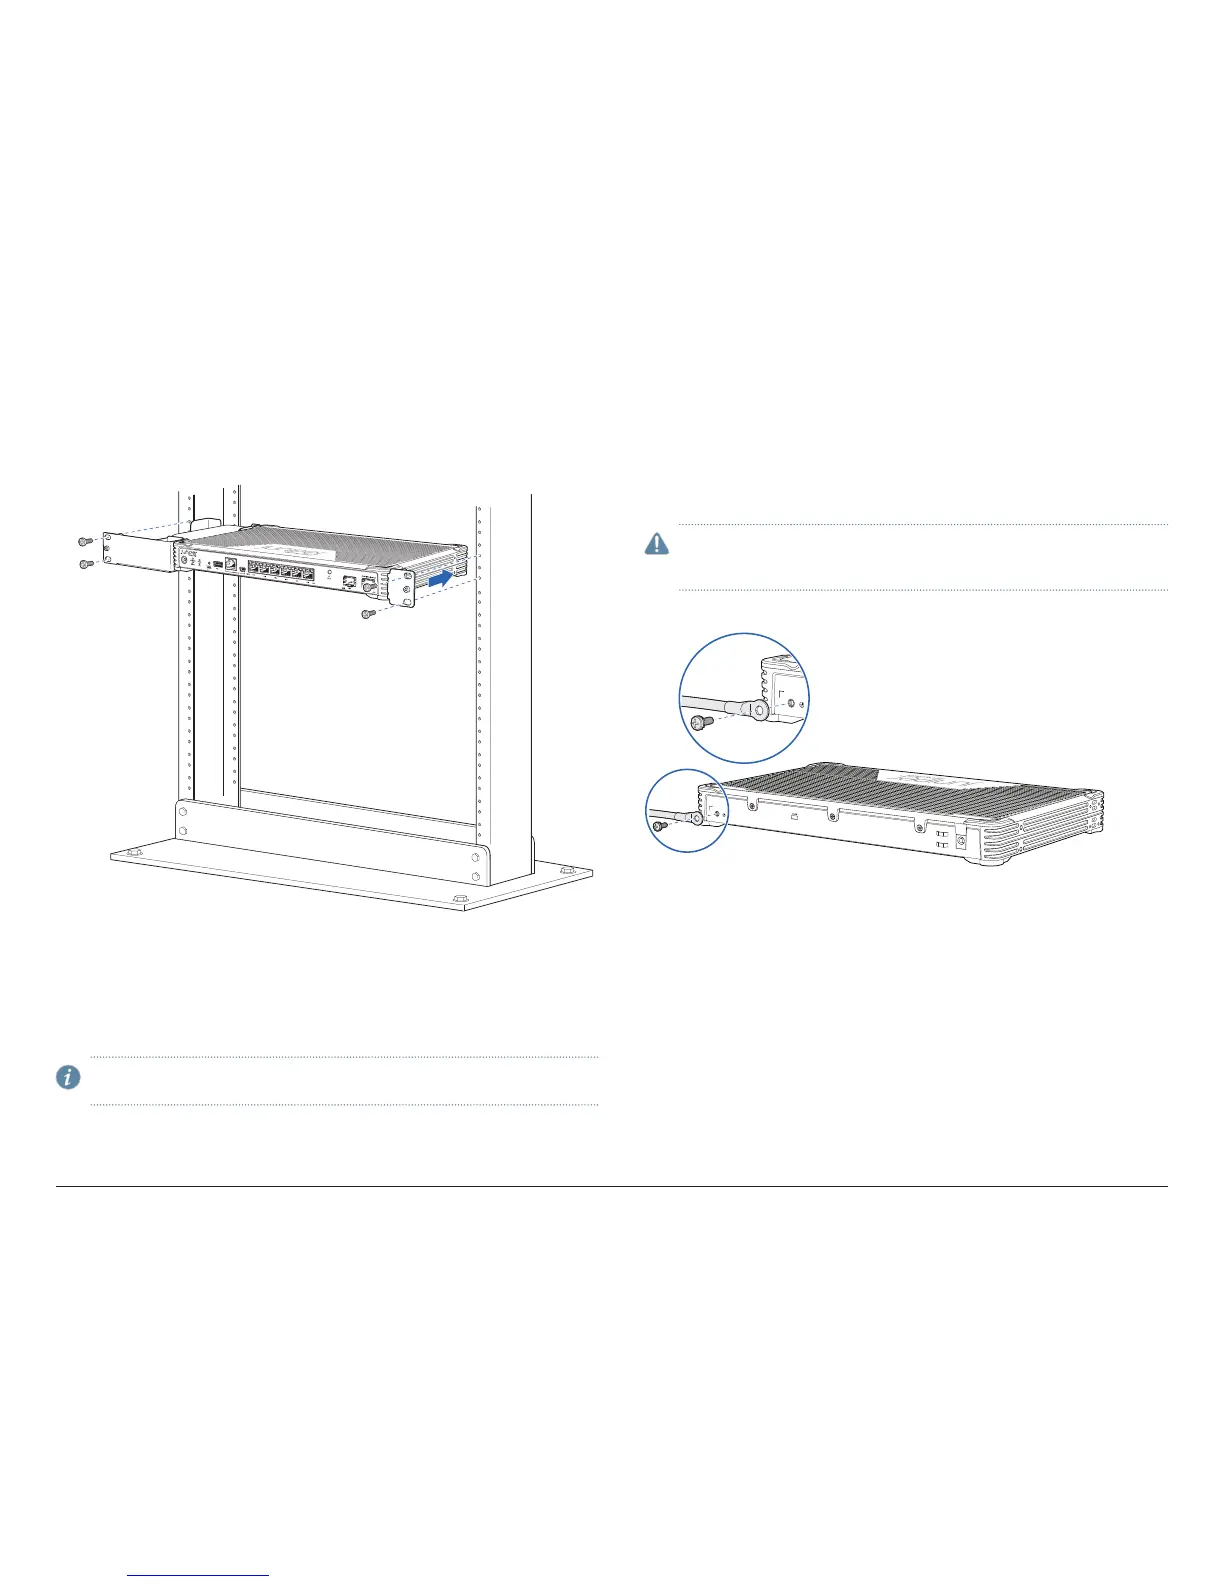
3. Have one person grasp the sides of the device, lift it, and position it in the rack.
Align the bottom hole in each mounting bracket with a hole in each rack rail,
making sure that the chassis is level.
4. Have a second person install a mounting screw into each of the two aligned
holes. Use a number-3 Phillips screwdriver to tighten the mounting screws.
SRX30 0
5. Install the second screw in each mounting bracket.
6. Verify that the mounting screws on one side of the rack are aligned with the
mounting screws on the opposite side and that the device is level.
The SRX300 Services Gateway can also be mounted on a desk or a wall. For
details, see the SRX300 Services Gateway Hardware Guide.
NOTE: The mounting kits are not shipped with the device and must be
ordered separately.
Connect the Grounding Cable (Optional)
1. Attach an ESD strap to an ESD point and place the other end of the strap
around your bare wrist.
2. Connect the grounding cable to a proper earth ground.
3. Place the grounding cable lug over the grounding point on the rear of the
chassis.
CAUTION: A licensed electrician must attach a cable lug to the
grounding cable. A cable with an incorrectly attached lug can damage
the device.
4. Secure the grounding cable lug to the grounding point with the screw.