How to Set Up Your SRX300 Services Gateway
7
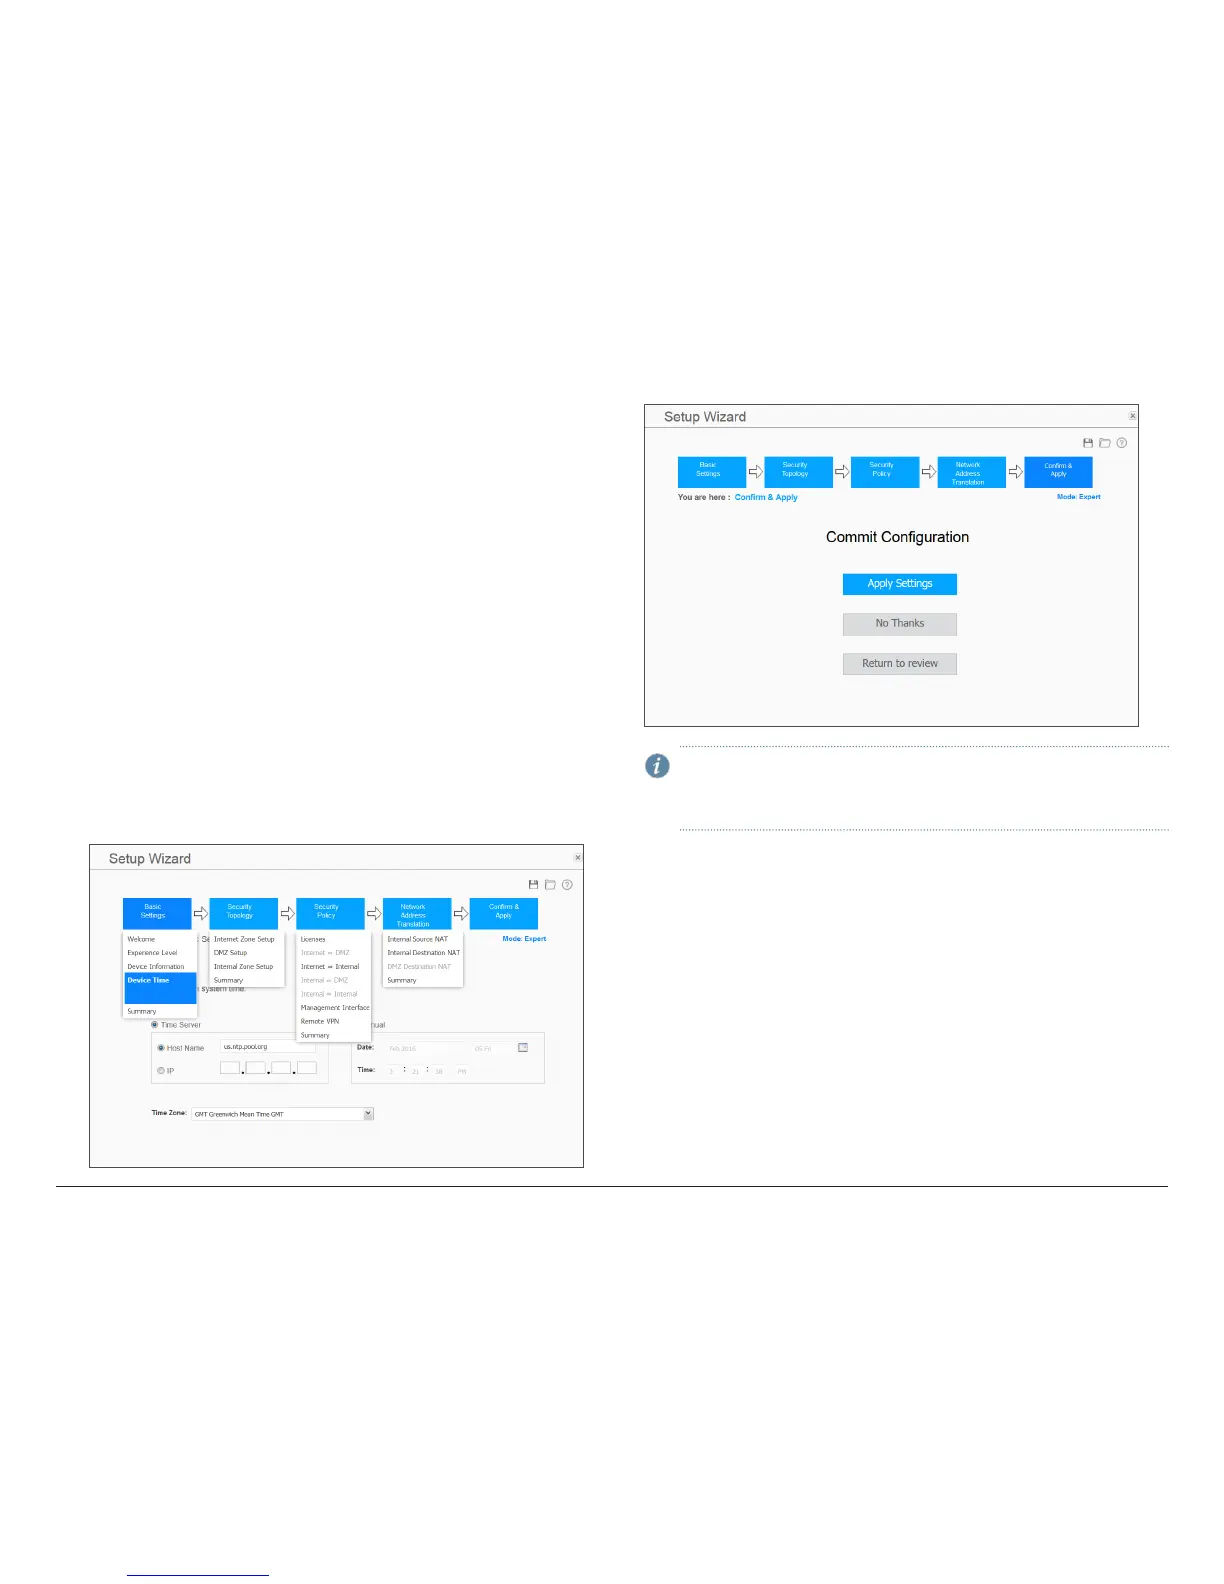
2. Configure the basic settings:
a. Device name
b. Password for the root account (Use the password that you entered in
Step 1 of the “Configure the Device Using J-Web” section.)
c. Time
3. Configure the security topology:
a. Internet zone (Untrust)
b. Internal zones (Trust)
c. DMZ
4. Configure the security policy:
a. Licenses (Security services)
b. DMZ policy
c. Internet and internal policies
d. Remote VPN
5. Configure Network Address Translation:
a. Internal Source NAT
b. Internal Destination NAT
c. DMZ Destination NAT
6. Review the settings and click Apply Settings.
NOTE: Check the connectivity from the management device to the
SRX Series device. You might lose connectivity to the SRX Series device
if you have changed the internal zone IP. Click the URL for reconnection
instructions on the Confirm & Apply page to reconnect, if required.
7. Click Done to complete the setup.