How to Set Up Your SRX300 Services Gateway
6
Configure the Device Using J-Web
To configure the device using J-Web, follow the steps in this section.
1. Enter the root authentication password.
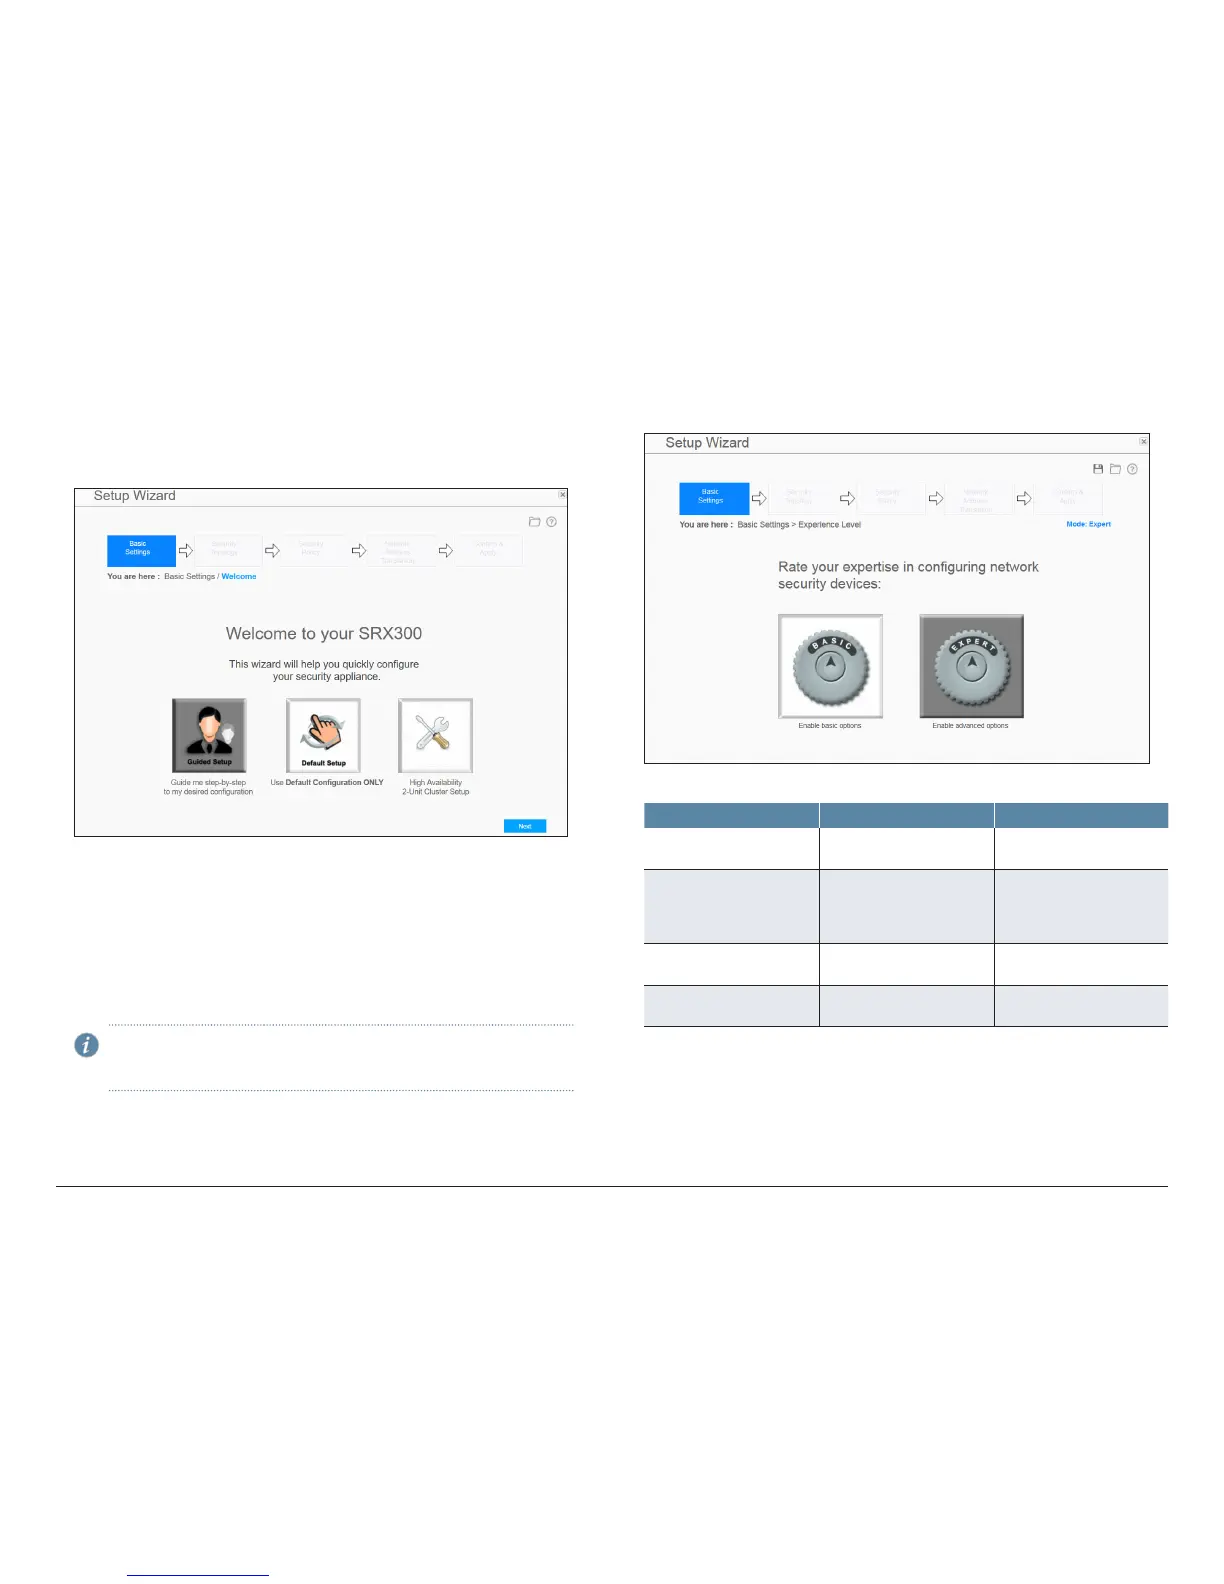
2. Select one of the following setup modes:
• Guided Setup (uses a dynamic IP address)—Allows you to set up the
device in a custom security configuration. You can select either the Basic
or the Expert option.
• Default Setup (uses a dynamic IP address)—Allows you to quickly set up
the device with the default configuration. Any additional configuration can
be done after the wizard setup is completed.
• High Availability—Allows you to set up a chassis cluster with a default basic
configuration.
NOTE: The initial configuration requires that you specify the device
name and root password. You can skip all the other steps and go
directly to the Confirm & Apply page to apply the configuration.
Configure the Device Using the Guided Setup Mode
1. Select the expertise level as Basic or Expert.
The following table compares the Basic and Expert levels:
Options Basic Expert
Number of internal zones
allowed
3 ≥ 3
Internet zone configuration
options
• Static IP
• Dynamic IP
• Static IP
• Static pool
• Dynamic IP
Internal zone service
configuration
Allowed Allowed
Internal destination NAT
configuration
Not allowed Allowed