32
Synchronized Recording onto a Tape
You can start and stop both playback and tape recording at
the same time.
• This function is available only for CD/VCD/SVCD/DVD
Video and Audio files.
• Not available with Random Play.
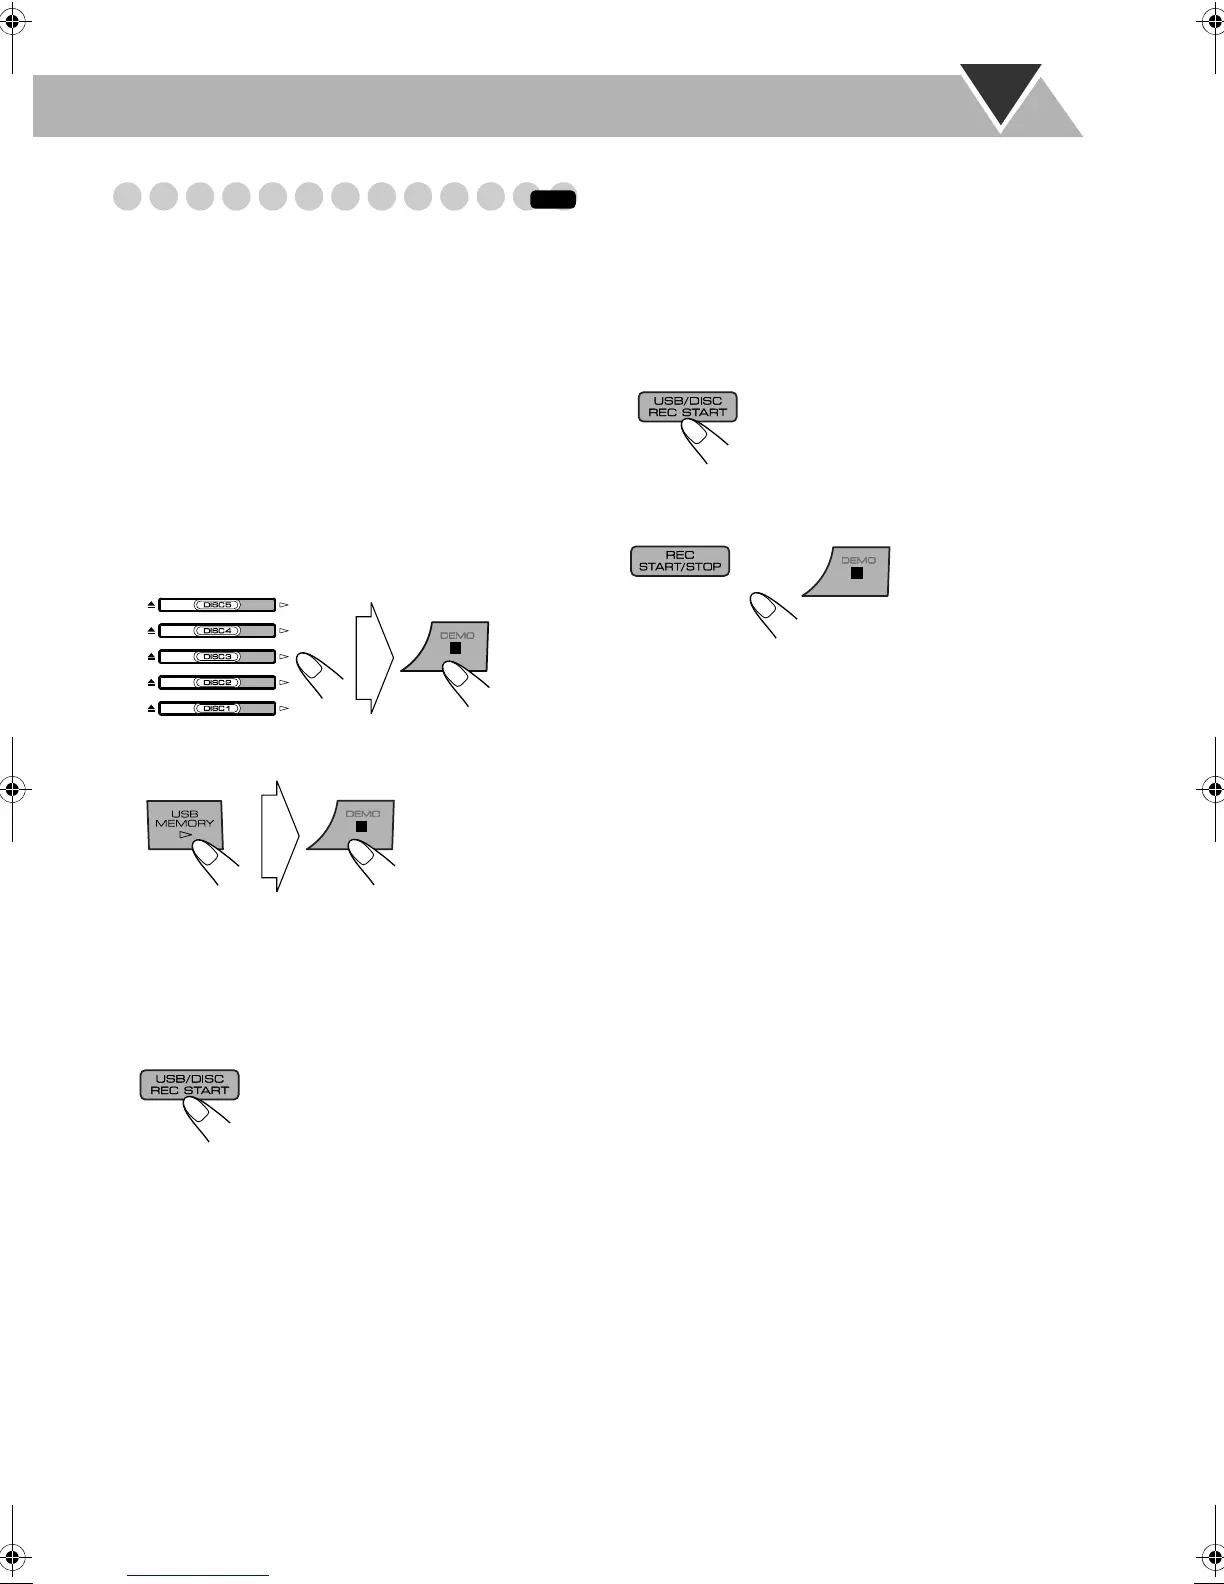
1 Load a disc or connect a USB mass storage class
device and insert a recordable cassette.
2 Check the tape running direction and Reverse Mode
settings on the display.
•See step 2 of “Recording onto a Tape” on page 31.
3 Select the source you want to record.
• When recording from the disc:
Select the disc number you want to start recording from.
• When recording from the USB mass storage class
device:
For recording desired tracks/files from discs:
You can program tracks/files to record in your preferred
order.
Select Program Play (and make a program; see page 20)
before starting playback.
4 Start recording.
When either playback or recording ends, both playback and
recording stop at the same time.
To record only your favorite track/file—One
Track Recording onto a Tape
You can specify track/file to be recorded on the tape while
listening to a disc/USB mass storage class device.
• This function is available only for CD/VCD/SVCD and
Audio files (without PBC for SVCD/VCD).
• Not available with Program Play and Random Play.
While the track/file you want to record is playing...
To cancel while recording
Playback and recording start from the
first track/file.
• The System automatically creates
4-second blank between the tunes
recorded on the tapes.
INFO
Playback returns to the beginning of
that track/file and the track/file is
recorded on the tape. After recording,
both playback and recording stop.
or
DX-U20_9[U].book Page 32 Wednesday, March 4, 2009 10:59 AM
 Loading...