ENGLISH
35
Getting Started
Preparation
Basic Operation
Troubleshooting
Settings
Others
* About “Color Management Adjustment”
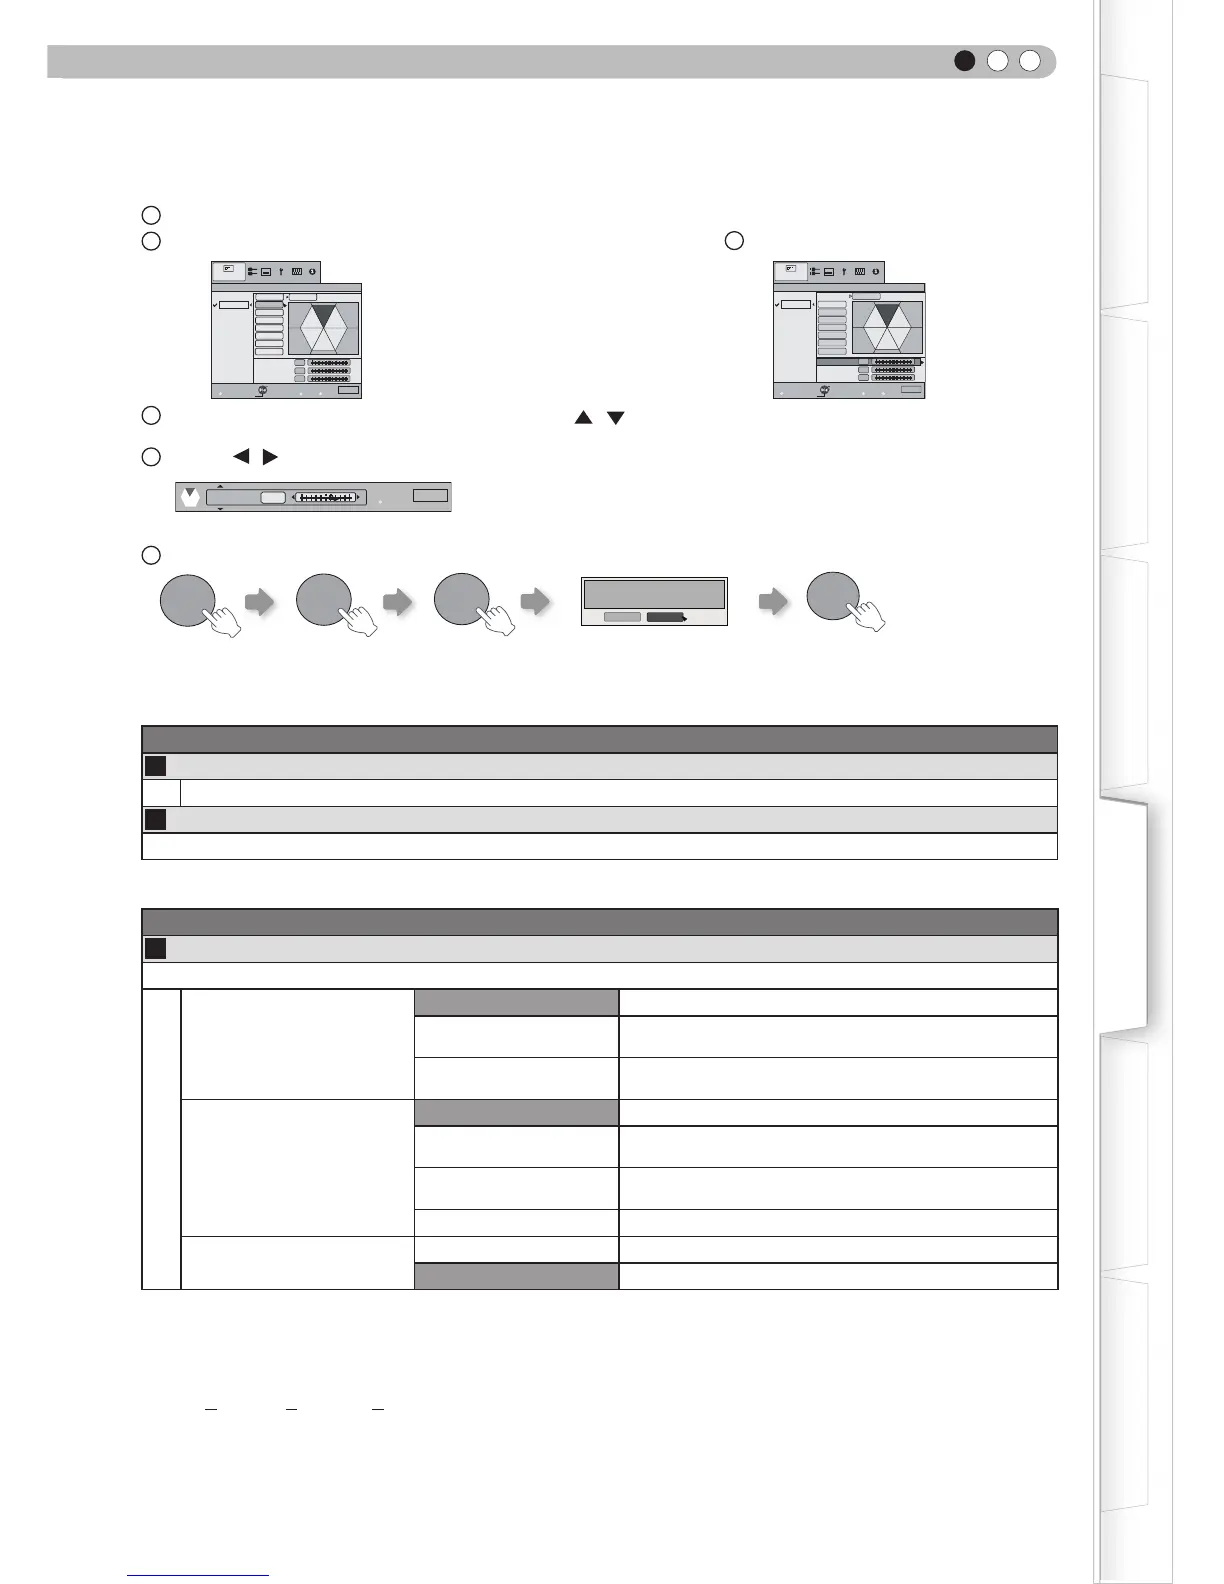
1
Set the picture mode of the color management.
2
Select the color to be adjusted by color management.
3 Select color adjustment.
4
Select the
“
Hue
”
,
“
Saturation
”
or
“
Brightness
”
using the / button.
5
Use the
/ button to adjust.
You can switch between “Before” and “After” using the [TEST] button of the remote control.
6
To end
After selecting “Cinema 1”, “Cinema 2”, or “Cinema 3” from “Picture Mode”, and after adjusting “Advanced”, adjustment of
brightness in each “Color Management” mode is not possible.
Picture Adjust
>
Lens Aperture
09
Lens Aperture
(Dark) -15 to 0 (Bright)
10
Reset
Reset the setting.
Input Signal > HDMI
11
HDMI
Input
Auto
Standard
Select this when the dynamic range of the input images is
16-235.
Enhanced
Select this when the dynamic range of the input images is
0-255.
Color Space
Auto
YCbCr(4:4:4)
Select this when the Y Cb Cr(4:4:4) video signals are
input.
YCbCr(4:2:2)
Select this when the Y Cb Cr(4:2:2) video signals are
input.
RGB Select this when the RGB video signals are input.
Control with HDMI
On Enables CEC communications.
Off Disables CEC communications.
The setting is available only if the HDMI terminal is selected.
For some source devices,“Auto (input)” will not function properly. In such cases, please use Standard Mode or Enhanced
Mode.
Abbreviation
CEC: Consumer Electronics Control
>
0
0
0
Color Management
Off
Custom1
Custom2
Custom3
Pause
Red
Yellow
Green
Cyan
Blue
Magenta
Hue
Saturation
Brightness
Exit
MENU
BACK
Back
Select
Operate
TEST
Check
Before
Picture Adjust
All Reset
Off
 Loading...