6
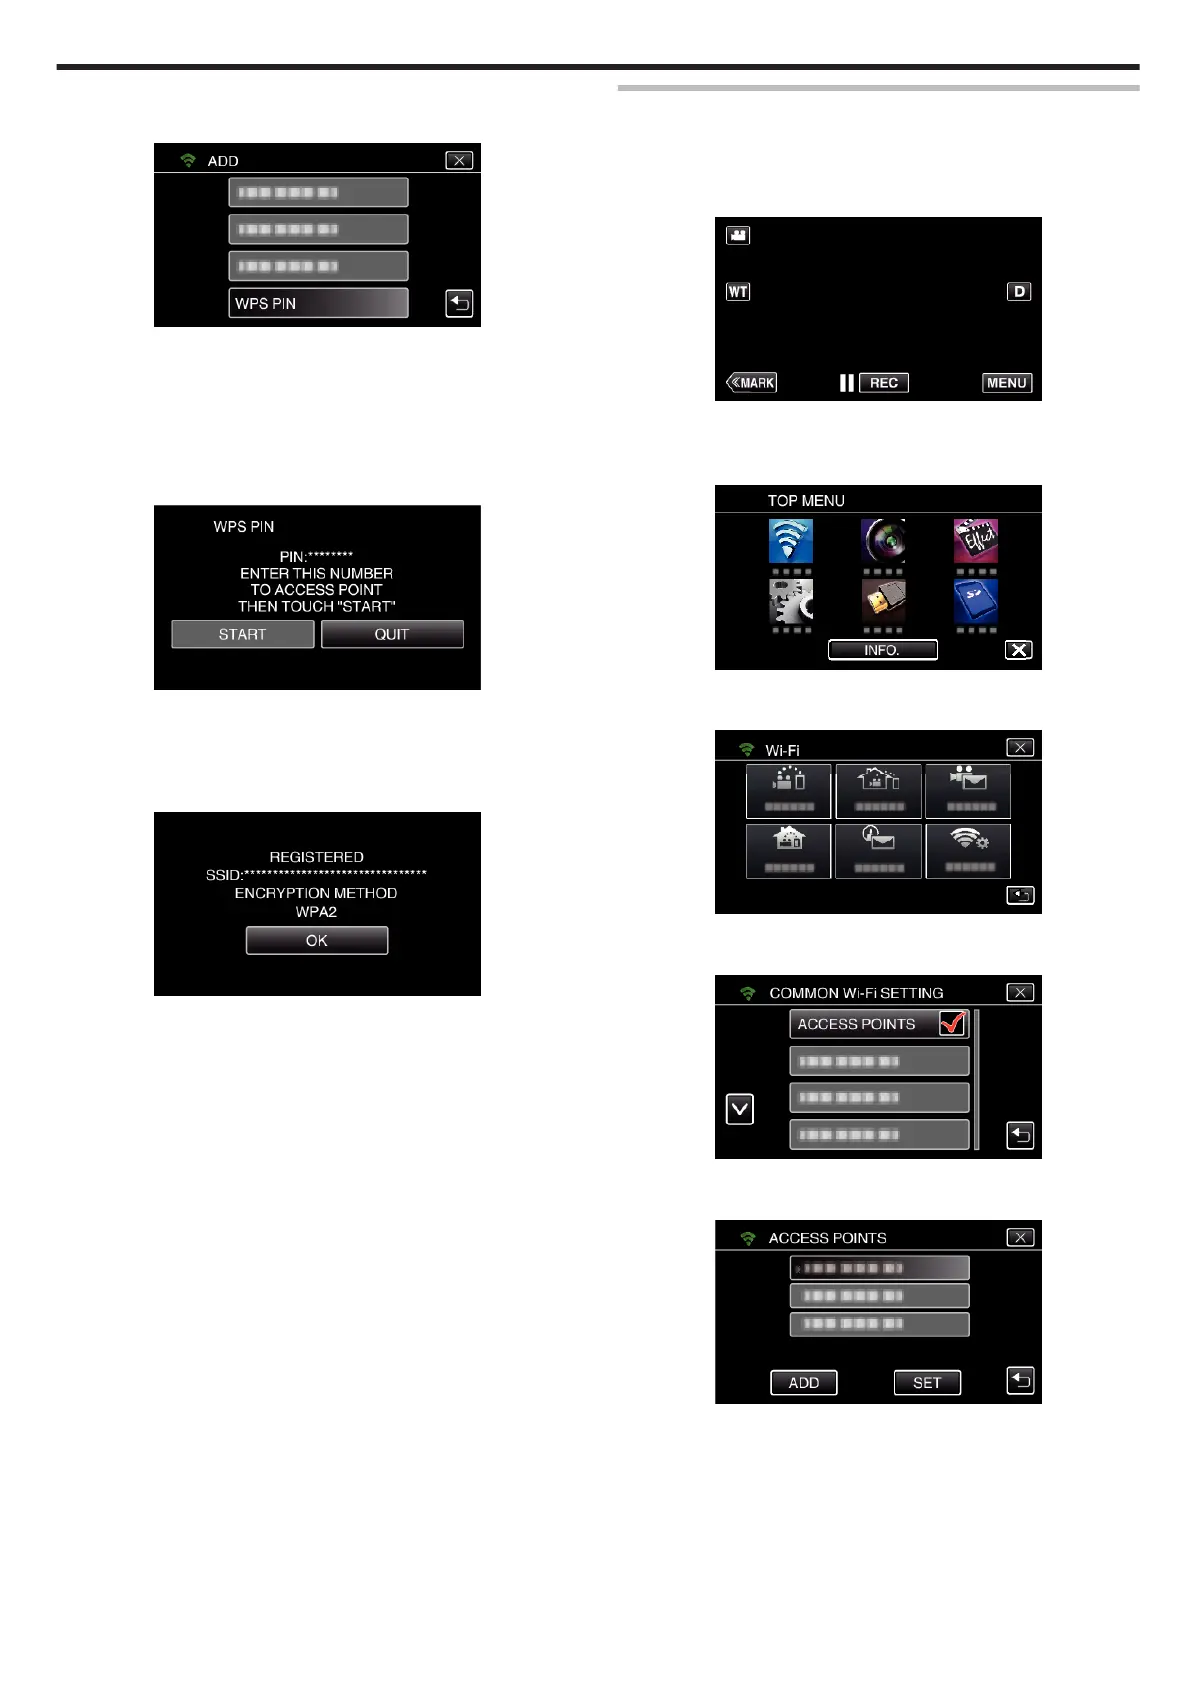
Tap “WPS PIN”.
(Operation on this camera)
.
0
The PIN code appears.
7
Enter the PIN code displayed on the camera to the access point
(wireless LAN router).
0
For details on how to enter the PIN code, refer to the instruction
manual of the device in use.
8
Tap “START”.
(Operation on this camera)
.
0
Tap “START” after entering PIN code to the wireless LAN router.
(Connection cannot be established if “START” is tapped before
entering the code.)
9
After registration is complete, tap “OK” on the camera’s screen.
(Operation on this camera)
.
Editing LAN Settings of Access Points (Wireless LAN Router)
Change accordingly such as when you want to fix the IP address for the
camera.
1
Tap “MENU”.
(Operation on this camera)
.
0
The top menu appears.
2
Tap the “Wi-Fi” (
Q
) icon.
(Operation on this camera)
.
3
Tap “COMMON Wi-Fi SETTING”.
(Operation on this camera)
.
4
Tap “ACCESS POINTS”.
(Operation on this camera)
.
5
Tap the access point for changing the settings.
(Operation on this camera)
.
6
Tap “LAN SETTINGS”.
(Operation on this camera)
Using Wi-Fi
119
 Loading...