P
L
A
Y
O
F
F
RECORDING
Basic Recording For Video
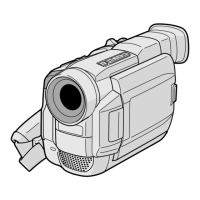
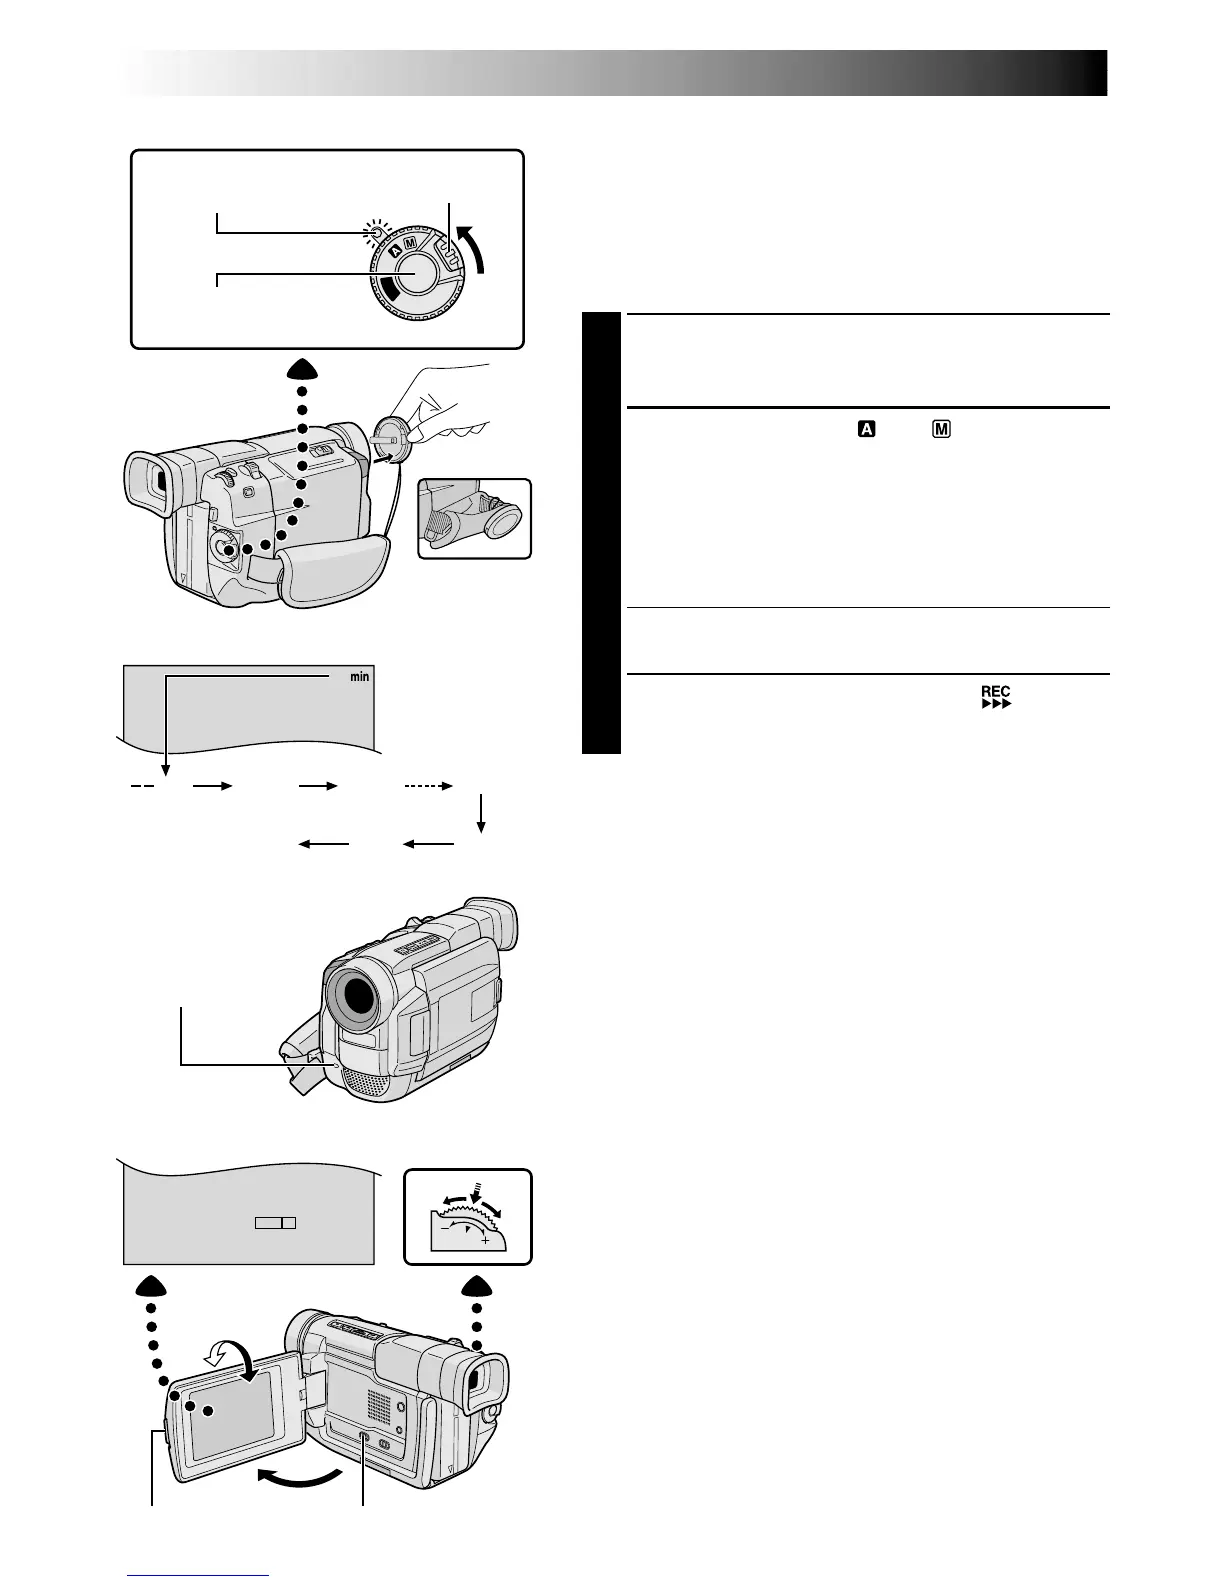
Tally lamp
(lights while recording
is in progress)
Lock Button
Tape remaining
time indicator
(Approximate)
(Now calculating)
(Blinking) (Blinking) (Blinking)
Display
MENU/
BRIGHT Wheel
Power Switch
PUSH OPEN Button
NOTE:
You should already have performed the procedures listed
below. If not, do so before continuing.
●
Power (
pg. 6)
●
Grip Adjustment (
pg. 8)
●
Viewfinder Adjustment (
pg. 8)
●
Load A Cassette (
pg. 10)
●
Recording Mode Setting (
pg. 12)
1
Press in the tabs on the lens cap to remove it. Press
PUSH OPEN, open the LCD monitor and set the
VIDEO/DSC Switch to “VIDEO”.
2
Set the Power Switch to “ ” or “ ” while pressing
down the Lock Button located on the switch.
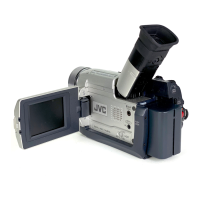
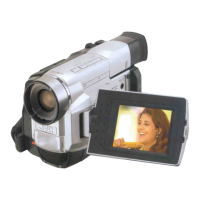
Shooting while using the LCD monitor:
Make sure
the LCD monitor is fully open. Tilt it upward/
downward for best viewability.
Shooting while using the viewfinder:
Close the LCD
monitor.
•The power lamp lights and the camcorder enters the
Record-Standby mode. “PAUSE” is displayed.
3
Press the Recording Start/Stop Button. “ ” appears
while recording is in progress.
To Stop Recording . . .
.... press the Recording Start/Stop Button. The camcorder
re-enters the Record-Standby mode.
To Adjust The Brightness Of The Display
.... rotate MENU/BRIGHT until the bright level indicator
on the display moves and the appropriate brightness is
reached.
•If you are using the GR-DVL309 or GR-DVL308, it is
also possible to adjust the brightness of the viewfinder by
closing the LCD monitor and adjusting as described
above.
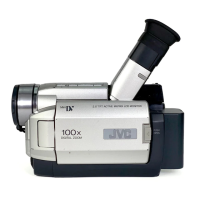
During
shooting
Power lamp
Recording
Start/Stop Button
VIDEO/DSC Switch
 Loading...