64 EN
T
P
O
US
C
H
OP
"
Y
SN
T
A
O
PS
T
H
A
O
P
T
E
"
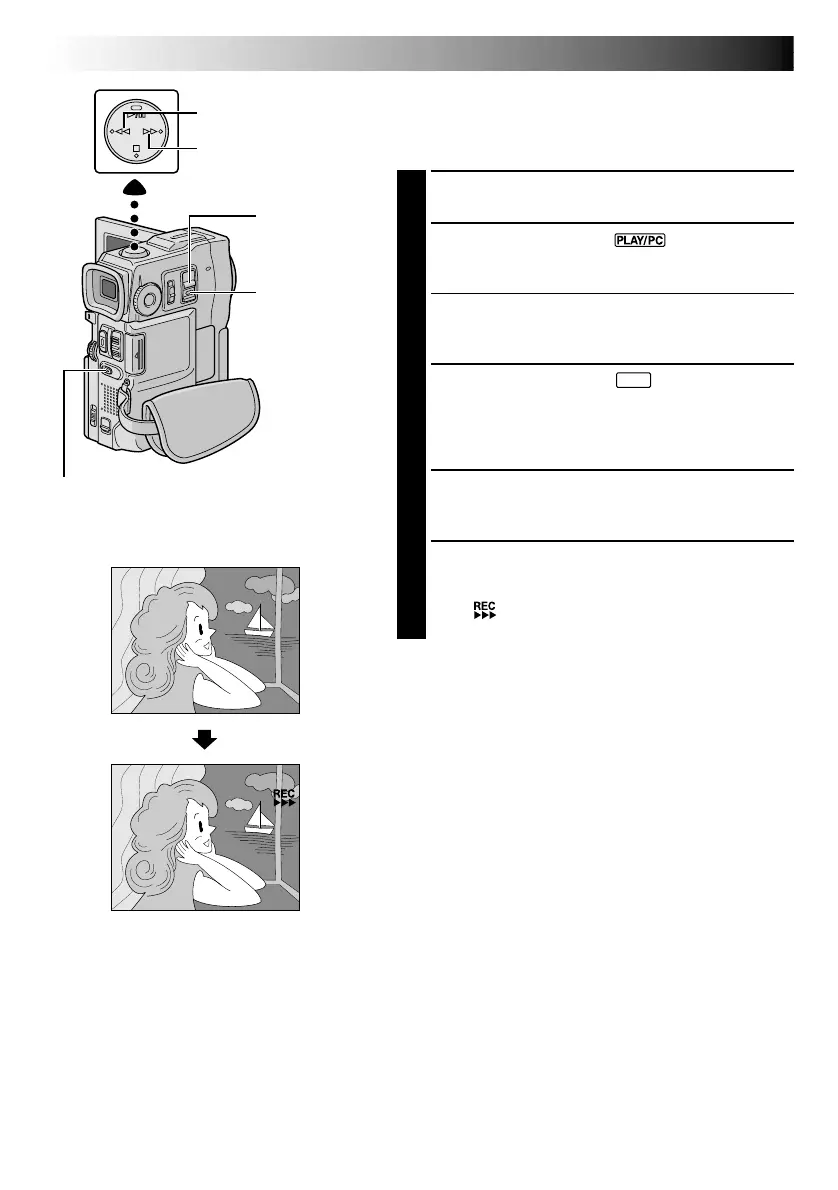
POWER Switch
Rewind Button (
2
)
Fast-Forward Button (
3
)
Dubbing Images Stored In A
MultiMediaCard To A Tape
Images can be dubbed from a MultiMediaCard to a tape.
1
Load a MultiMediaCard (墌 pg. 12) and cassette
(墌 pg. 10).
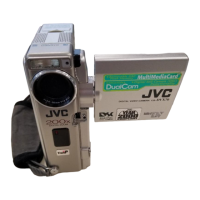
2
Set the POWER Switch to “ ” while pressing
down the Lock Button located on the switch. Open
the LCD monitor fully or pull out the viewfinder fully.
3
2
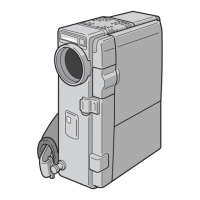
To locate the point where you wish to dub a still
image, play back the tape. Stop playback at the
desired point.
4
3
Set the POWER Switch to “
M
E
M
O
R
Y
P
LA
Y
” while pressing
down the Lock Button located on the switch. To
select a still image to be dubbed, perform Index
Playback (墌 pg. 47), Auto Playback (墌 pg. 45) or
press
2
or
3
to select the image you wish.
5
To engage Dub-Standby, press SNAPSHOT. The
message “TO COPY TO TAPE PUSH "SNAPSHOT"”
appears.
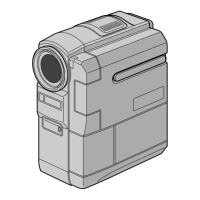
6
While the message is being displayed, press
SNAPSHOT again. The selected still image is
recorded on the tape for approx. 6 seconds.
•The indicator disappears when dubbing is
complete.
NOTES:
●
If SNAPSHOT is pressed in step 5 when the tape’s erase
protection tab is set to “SAVE”, the message “COPYING
FAILED” is displayed.
●
The XGA image is dubbed onto the tape at 720 x 480
pixels.
●
You can superimpose a print frame over the selected still
image to be dubbed (
墌
pg. 51) and dub it to a tape.
After step 4, superimpose a print frame over the still
image and go to step 5.
Display
DUBBING
(cont.)
SNAPSHOT Button
Lock Button
Downloaded from: https://www.usersmanualguide.com/