12
EN
INITIAL SETTINGS (cont.)
5
Set date
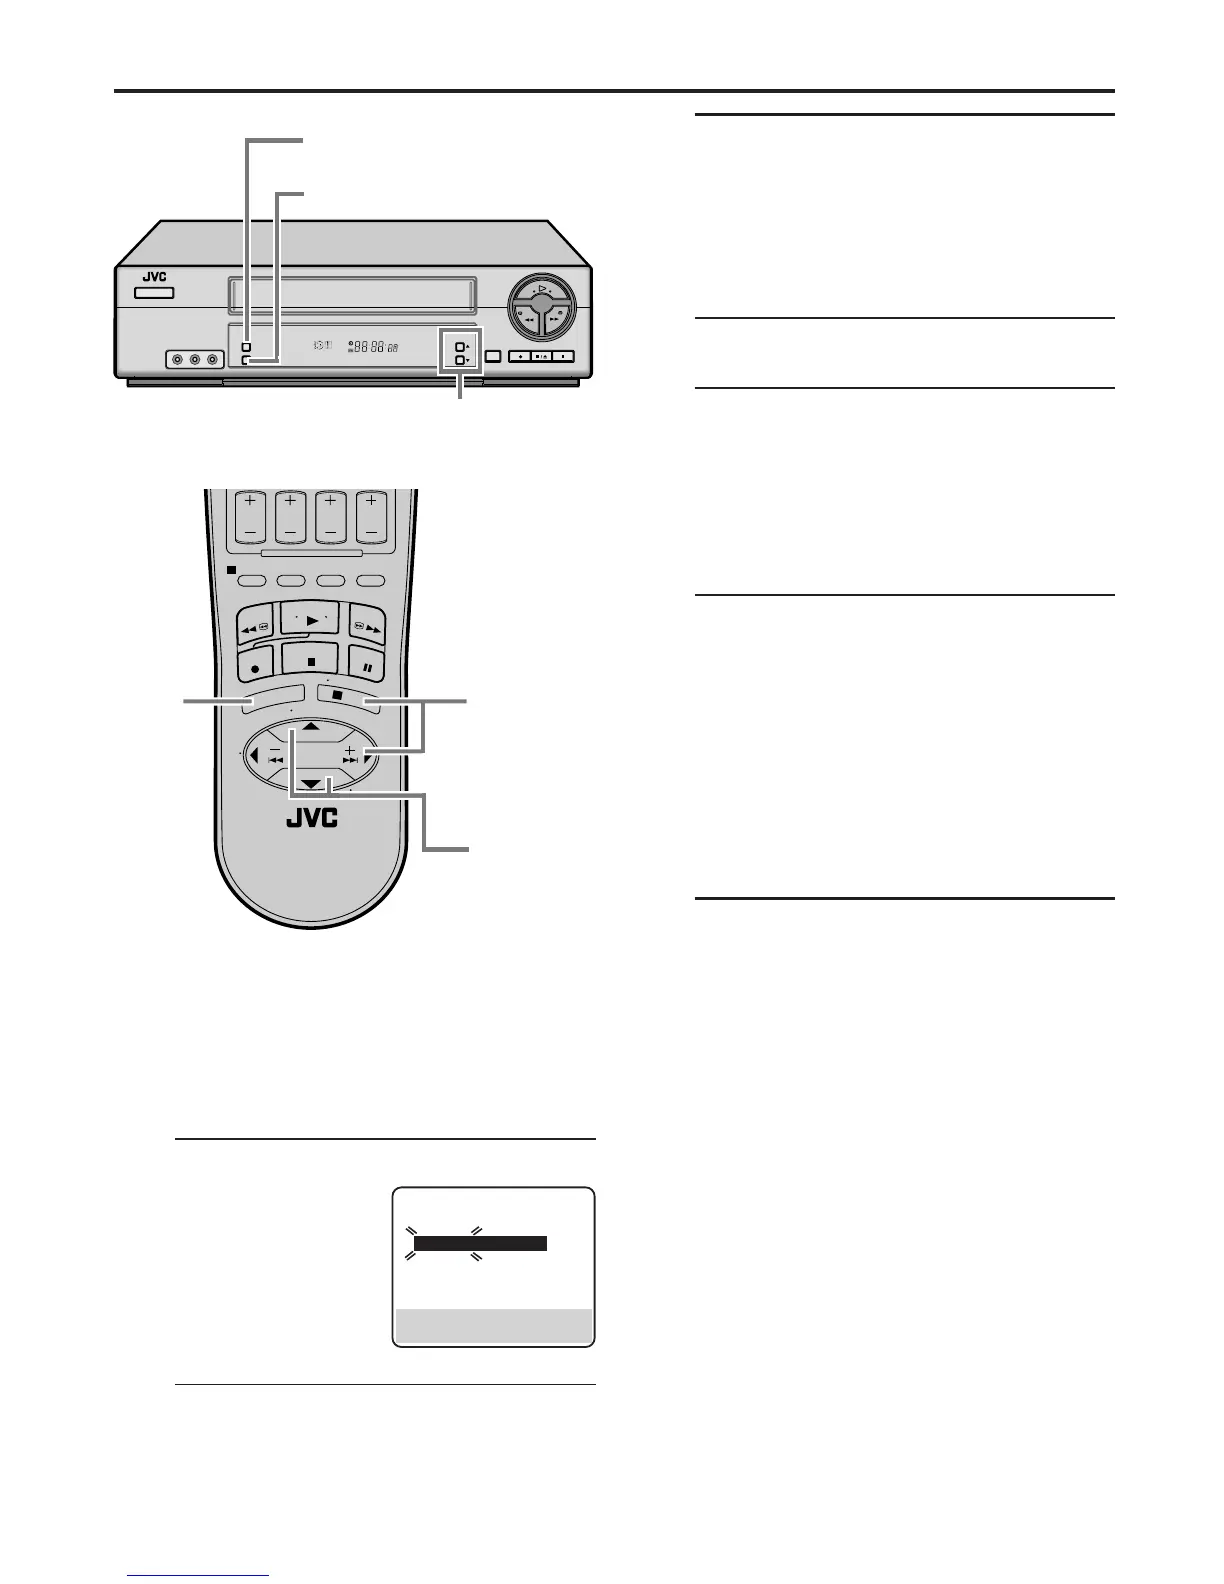
On the front panel:
Press CH5∞ until the desired date appears, then
press OK.
On the Remote:
Press SHUTTLE PLUS 5∞ until the desired date
appears, then press OK or SHUTTLE PLUS
3
.
● Holding CH 5∞ or SHUTTLE PLUS 5∞
changes the date in 15-day intervals.
6
Set year
On the front panel:
Press CH5∞ until the desired year appears, then
press OK twice.
On the Remote:
Press SHUTTLE PLUS 5∞ until the desired year
appears, then press OK or SHUTTLE PLUS
3
twice.
7
Select D.S.T. mode
You can select either “ON” or “OFF”.
ON– Adjustment will be made by the built-in
clock itself.
OFF– Select when Daylight Saving Time does
not apply to you.
On the front panel:
Press CH5∞ to select the desired setting.
On the Remote:
Press SHUTTLE PLUS 5∞ to select the desired
setting.
8
Start clock
Press MENU and normal screen appears.
To make corrections any time during the process
Press OK or SHUTTLE PLUS
3
repeatedly until the item
you want to change blinks, then press CH 5∞ or
SHUTTLE PLUS 5∞.
CLOCK SET
TIME DATE YEAR
– –:– –AM 1/ 1 00
AUTO CLOCK : ON
HOST CH : AUTO (CATV)
D.S.T. : AUTO
TIME ZONE : AUTO
PRESS (5,∞), THEN (OK)
PRESS (MENU) TO END
Setting clock manually
— Manual Clock Set
First follow steps 1 to 3 on page 10, then go to the
following steps.
4
Set time
On the front panel:
Press CH5∞ until the
desired time appears,
then press OK.
On the Remote:
Press SHUTTLE PLUS
5∞ until the desired time
appears, then press OK or SHUTTLE PLUS
3
.
● Holding CH 5∞ or SHUTTLE PLUS 5∞
changes the time in 30-minute intervals.
● When the time is entered manually, “AUTO
CLOCK” is automatically set to “OFF”, and
“HOST CH” and “TIME ZONE” disappear.
8
SP EP
VCR
4 – 7
4 – 7
1
3
8
2 – 7
2 – 7
 Loading...