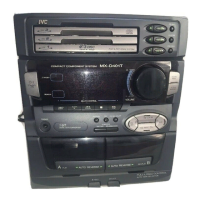
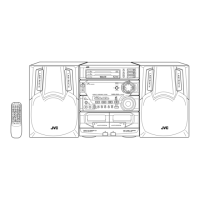
1-22 (No.MB284)
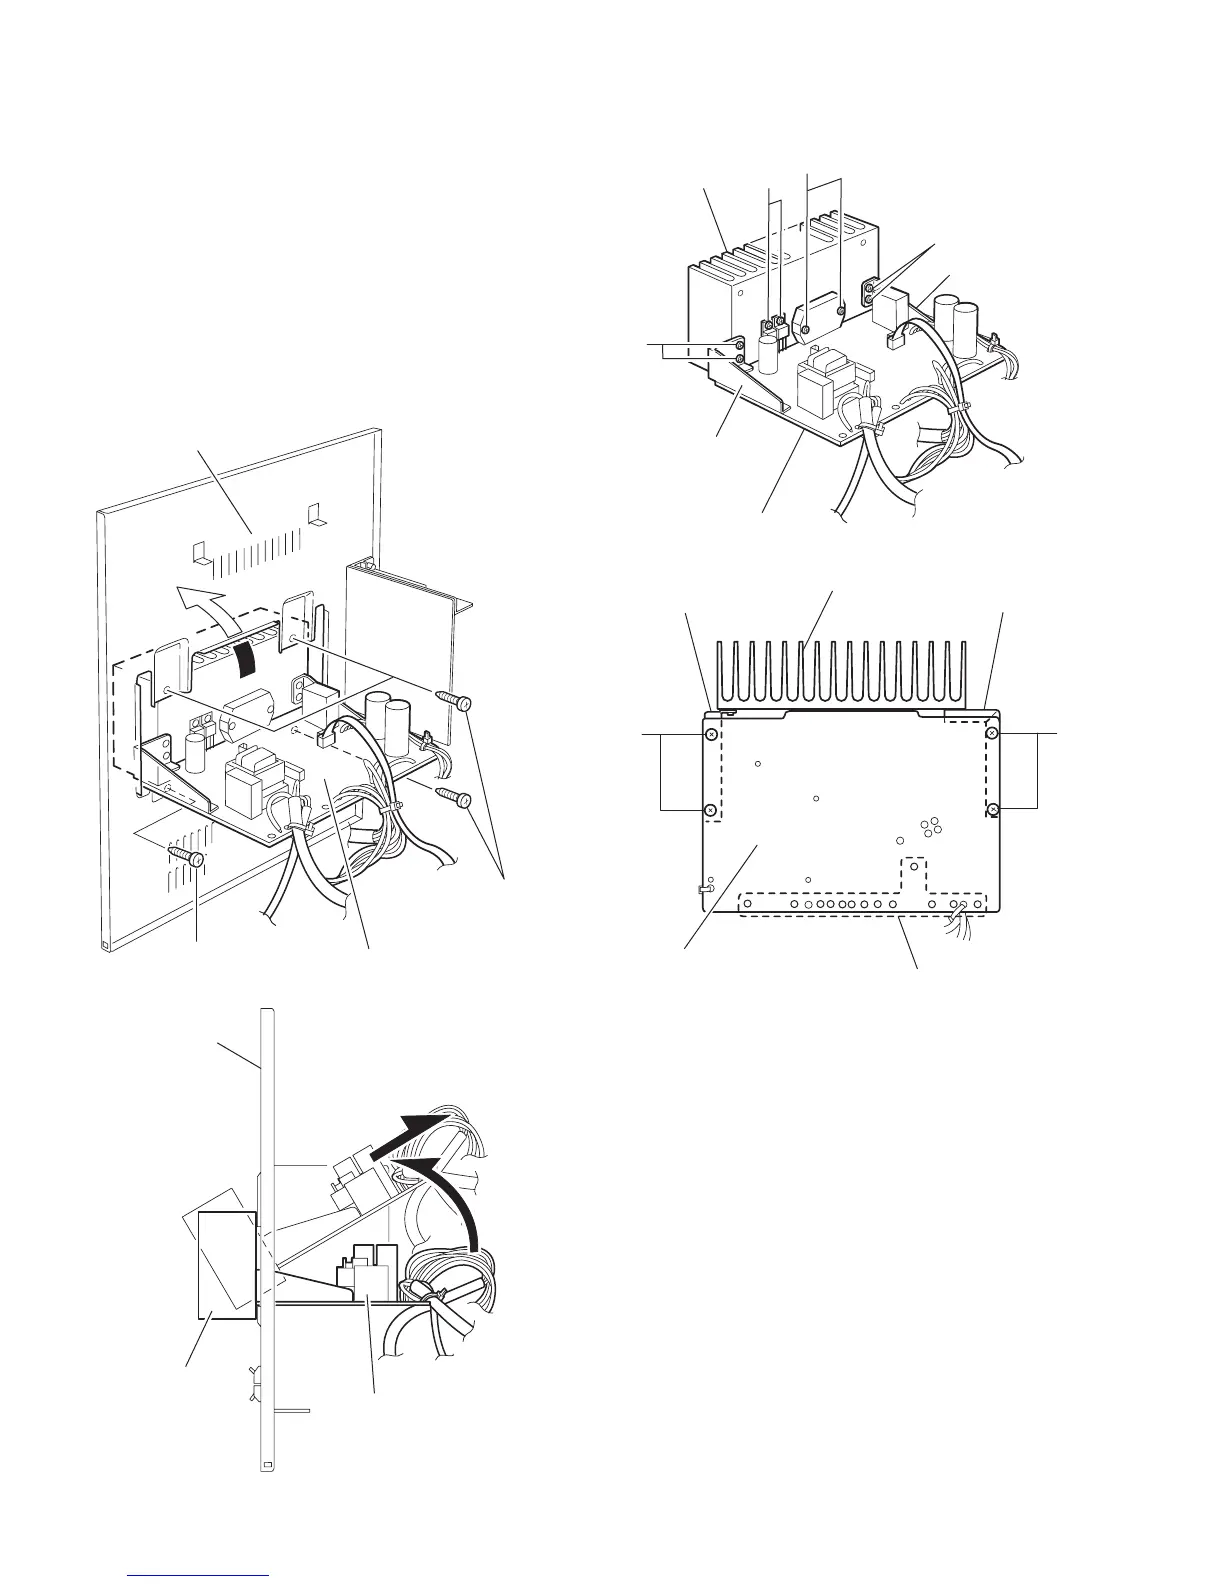
3.1.14 Removing the heat sink / power board
(See Fig.39 to 42)
• Prior to performing the following procedure, remove the top
cover / side cover (R) and (L), the CD fitting / CD changer
mechanism unit, the rear cover / rear panel.
(1) From the inner side of the rear panel, remove the four
screws K’ attaching the heat sink. Move the heat sink in the
direction of the arrow along the notch of rear panel and re-
move it with the heat sink and the power board forward.
(2) Remove the four screws M’ and the four screws N’ attach-
ing the board bracket (R) and (L).
(3) Remove the two screws P’ and the two screws Q’ attaching
the power board.
(4) If necessary, unsolder the power cord and the wire extend-
ing from the power transformer assembly.
Fig.39
Fig.40
Fig.41
Fig.42
Raer panel
Power board
K'
K'
Raer panel
Heat sink
Power board
Heat sink
Power board
M'
M'
Q'
P'
Board bracket (R)
Board bracket (L)
N' N'
Heat sink
Board bracket (R) Board bracket (L)
Power board
Soldered parts