32
• When you select an existing group:
1 Select a desired group.
• See also page 10.
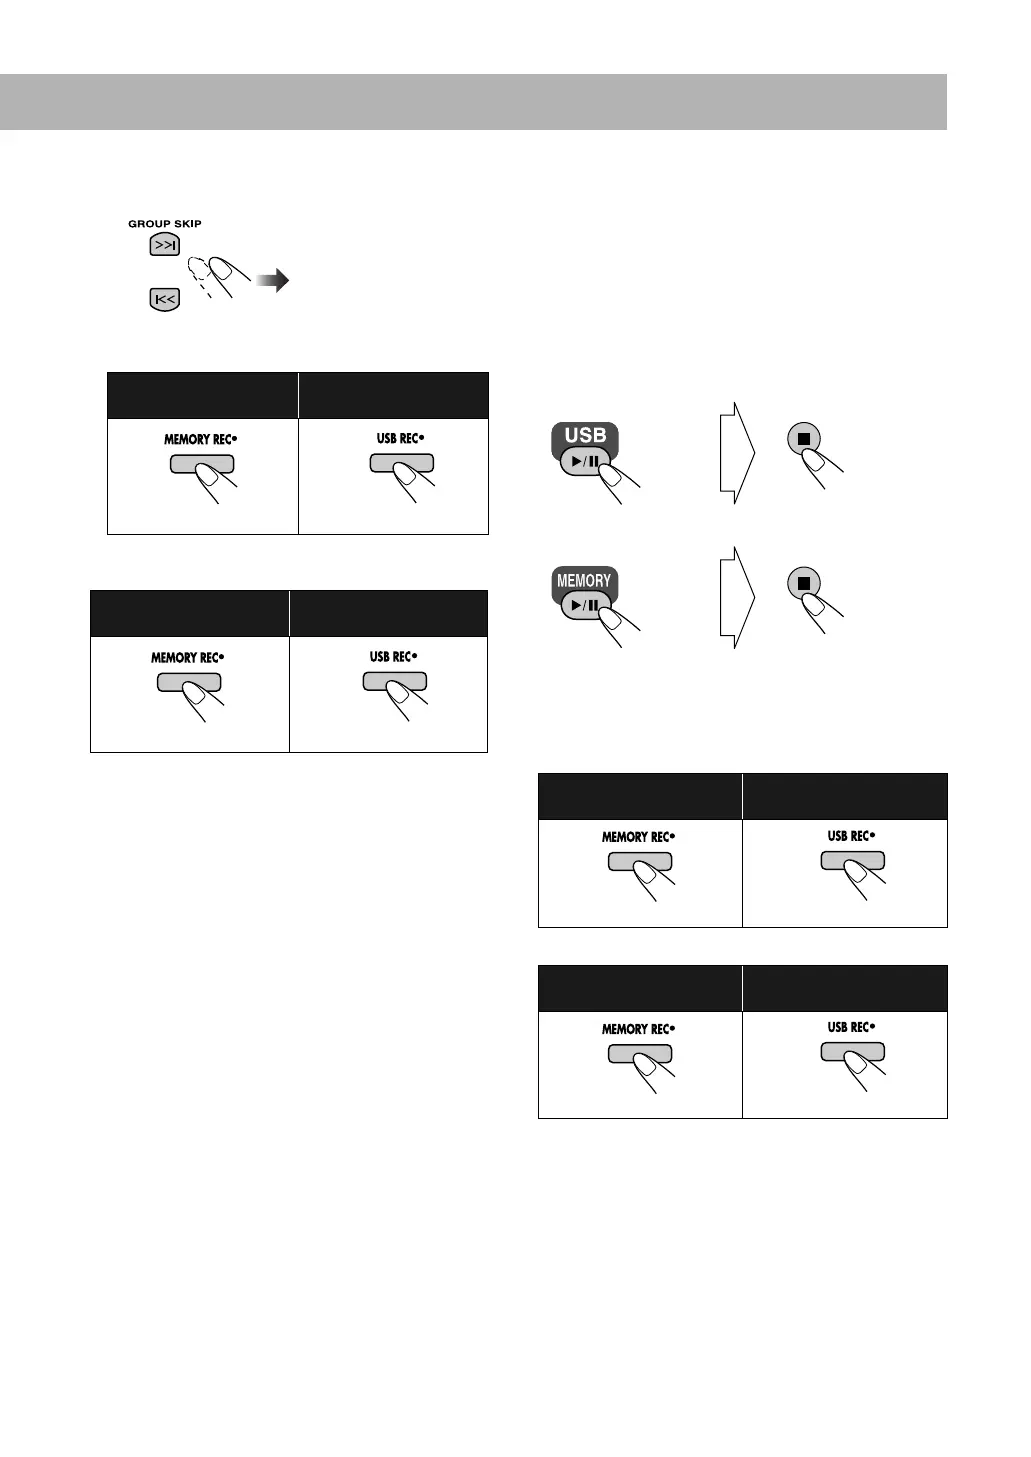
2 Start moving the track.
• When you want to move the track into the root group
(G1 MUSIC) of the target device:
When the transfer starts, “MOVE START” appears and
movement process is shown by “%” on the display.
After the progress indication become 100%, “WRITING”
flashes on the display.
When “WRITING” goes off, the transfer is completed.
To move a group
• After moving a group onto the target device, the original
group is deleted from the original device and the following
groups in the original device are re-numbered
automatically.
• If an unplayable track or a WMA-DRM (Digital Rights
Management) track is included in a group, that group
cannot be moved.
1 Start and stop playback.
•
When moving a group from USB device
• When moving a group from built-in memory
2 Activate Group Play and select a group to transfer.
(See “Playing a Selected Group—Group Play” on
page 23.)
3 Select the target device to move the group onto.
4 Start moving.
When the transfer starts, “MOVE START” appears and
movement process is shown by “%” on the display.
After the progress indication become 100%, “WRITING”
flashes on the display.
When “WRITING” goes off, the transfer is completed, and
Group Play is canceled.
When moving the track
onto built-in memory:
When moving the track
onto USB device:
When moving the track
onto built-in memory:
When moving the track
onto USB device:
(on the main unit)
(on the main unit)
(on the main unit)
(on the main unit)
When moving the group
onto built-in memory:
When moving the group
onto USB device:
When moving the group
onto built-in memory:
When moving the group
onto USB device:
(on the main unit)
(on the main unit)
(on the main unit) (on the main unit)
UX-DM9[B].book Page 32 Friday, July 20, 2007 2:18 PM
 Loading...