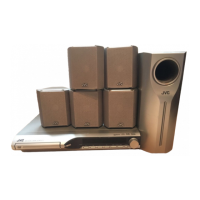
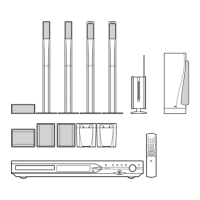
(No.MB393)1-13
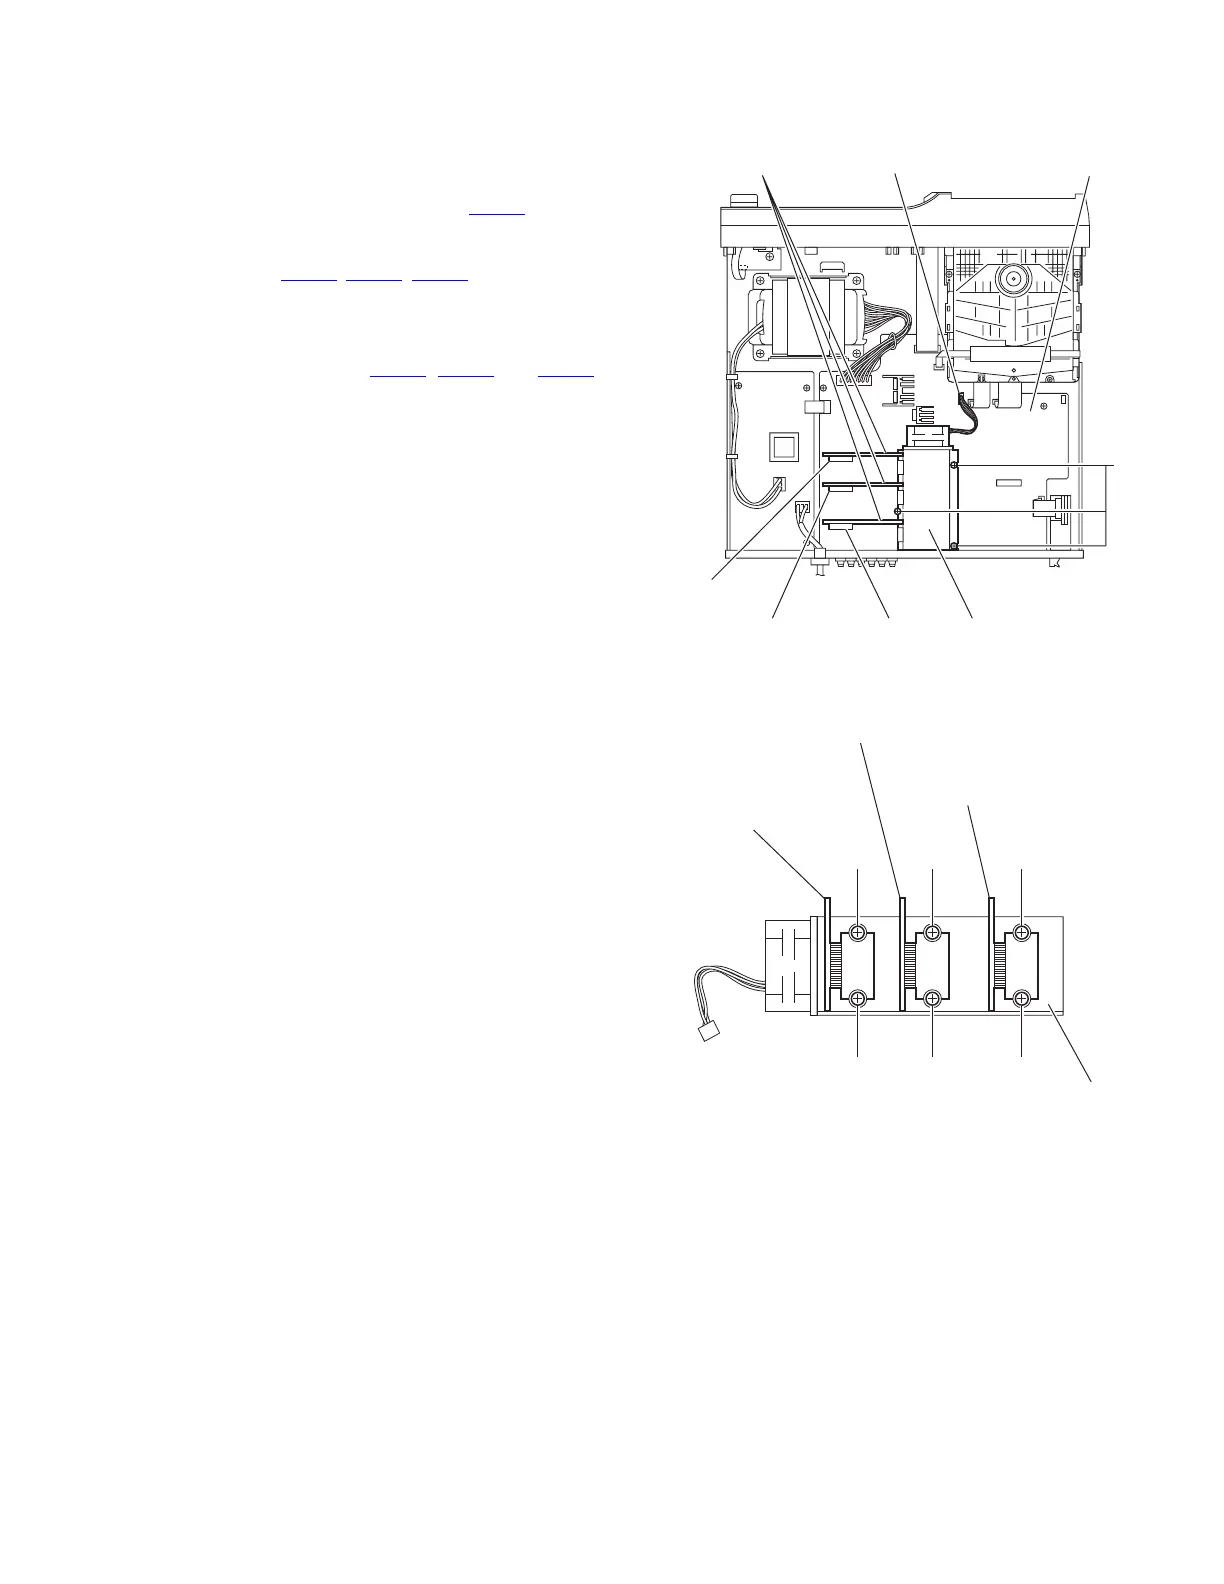
3.1.8 Removing the power amp.boards
(See Figs.12 and 13)
• Remove the metal cover and scart terminal board.
(1) From the top side of the main board, remove the three
screws J attaching the heat sink. (See Fig.12.)
(2) Disconnect the wire from the connector CN100
on the main
board. (See Fig.8.)
(3) Disconnect the each power amp.boards connecters from
the connectors CN271
, CN276, CN281 on the main board.
(See Fig.12.)
Reference:
When attaching the heat sink with power amp.boards,
confirm the connectors CN281
, CN276 and CN271 al-
ready lock before attaching the screws J.
(4) Take out the heat sink with power amp.boards from the
main board. (See Fig.12.)
(5) Remove the two screws K, two screws M and two screws
N attaching the heat sink. (See Fig.13.)
(6) Remove the each power amp.boards from the heat sink.
Fig.12
Fig.13
Power amp. board
Heat sink
CN276
CN281
CN271
CN100
Main board
Heat sink
J
Heat sink
K
K
Power amp. board
(CEN & SW)
M
M
Power amp. board
(SL & SR)
N
N
Power amp. board
(FL & FR)
 Loading...