10 Installation instructions Kelvinator Air Conditioning
Indoor unit installation
Installing the mounting plate
1 Fit the mounting plate horizontally on the wall with five or
more self-tapping screws (type ST4x25, item 3 on page 3).
2 Be sure that the mounting plate has been fixed firmly
enough to withstand about 60kg. The weight should be
evenly shared by every screw.
3 If the wall is made of brick, concrete or the like, drill five
(5) or more holes of 5mm diameter in the wall. Insert
clip anchor (item 2 on page 3) for appropriate mounting
screws.
4 The water tray’s outlet for the indoor unit has two-way
drainage design. During installation, the indoor unit
should slightly slant to water tray’s outlet for smooth
drainage of condensate water.
Fit the mounting plate and drill holes in the wall according to
the wall structure and corresponding mounting points
on the mounting plate. (dimensions are in mm unless
otherwise stated)
Model no.
Indoor unit dimension
W x D x H (mm)
Mounting
plate type
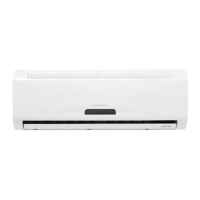
KSV26CRE 912 x 188 x 290 A
KSV26HRE 912 x 188 x 290 A
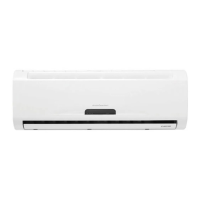
KSV35CRE 912 x 188 x 290 A
KSV35HRE 912 x 188 x 290 A
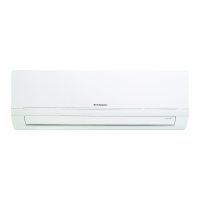
KSV53HRE 1000 x 219 x 326 B
KSV62HRE 1073 x 260 x 338 C
KSV70CRE
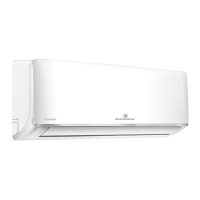
1178 x 253 x 326 D
KSV70HRE 1178 x 253 x 326 D
KSV80HRE 1178 x 253 x 326 D
Mounting plate type A
Mounting plate type B
55mm 55mm
143
135
80
542
235
55
55
31
87
1000
219
694
98
78
256
78

 Loading...
