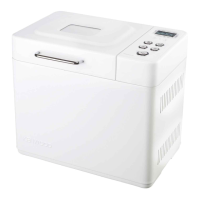
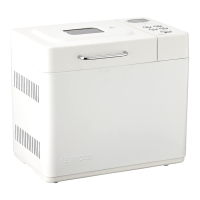
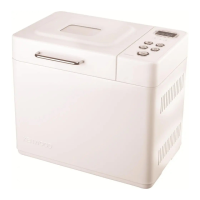
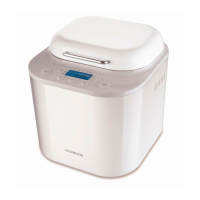
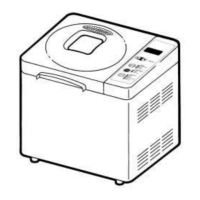
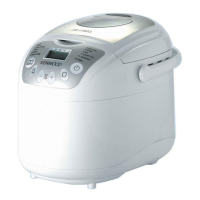
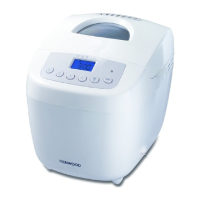
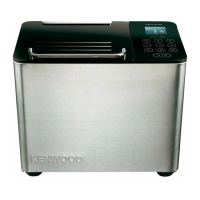
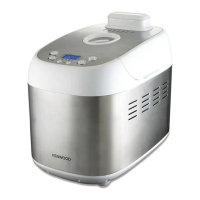
The Kenwood Rapid Bake BM250 series, TYPE BM25, is a bread maker designed for home use, offering a range of programs for various bread types, doughs, jams, and cakes. It features a user-friendly control panel and a robust design for consistent baking results.
Function Description:
The Kenwood BM250 bread maker automates the process of bread making, from kneading and rising to baking. Users can select from 11 pre-set programs, including basic white bread, French bread, wholewheat, sweet bread, gluten-free, packet mix, cake, dough, pasta dough, jam, and a "bake only" feature. There's also a "rapid bake" button for quicker bread production. The machine allows for customization of loaf size (500g, 750g, 1kg) and crust colour (light, medium, dark, rapid). A delay timer function enables users to program the bread maker to start baking up to 15 hours in advance, ensuring fresh bread at a desired time. An alert sounds during the second kneading cycle on certain programs to indicate when additional ingredients can be added manually. After baking, the machine automatically enters a "keep warm" mode for up to an hour.
Important Technical Specifications:
- Programs: 11 pre-set programs (Basic, French, Wholewheat, Sweet, Gluten-free, Packet Mix, Cake, Dough, Pasta Dough, Jam, Bake Only) plus a Rapid Bake option.
- Loaf Sizes: 500g, 750g, 1kg.
- Crust Colours: Light, Medium, Dark, Rapid.
- Delay Timer: Up to 15 hours.
- Keep Warm Function: Up to 1 hour after baking.
- Power Interruption Protection: 8 minutes.
- Power Supply: Matches electricity supply shown on the underside of the bread maker.
- Fuse Rating: 10A or 13A (for supplied plug).
- Earthing: Appliance must be earthed.
Usage Features:
- Control Panel: Features a display window, timer indicator, program status indicator, crust colour indicators, delay timer buttons, loaf size button, start/stop button, rapid bake button, crust colour button, and menu button.
- Ingredient Measurement: It is crucial to use exact measurements. Liquid ingredients should be measured in the provided see-through measuring cup at eye level, using room temperature liquids (20°C/68°F) unless using the rapid 1-hour cycle which requires lukewarm water. Smaller quantities of dry and liquid ingredients are measured with the dual measuring spoon (1 tsp & 1 tbsp), leveled off.
- Adding Ingredients: Ingredients should be added to the bread pan in the order listed in the recipes, with yeast kept separate from liquids until mixing commences.
- Operation Sequence:
- Remove the bread pan by holding the handle and turning it to the back of the baking chamber.
- Fit the kneader.
- Pour water into the bread pan, followed by other ingredients in recipe order.
- Insert the bread pan into the oven chamber, locking it by turning it towards the front.
- Close the lid.
- Plug in and switch on the ON/OFF switch (located at the back); the unit will beep and display 3:25.
- Press the MENU button to select the desired program.
- Select loaf size using the LOAF SIZE button.
- Select crust colour using the CRUST button.
- Press the START button to begin. To stop or cancel, press START/STOP for 2-3 seconds.
- Dough Consistency Check: During the first few minutes of kneading, the dough consistency can be checked. It should be slightly softer than hand-kneaded dough. If crumbly, add a little water; if sticky, add a little flour.
- Cooling Bread: After baking, remove the bread pan using oven gloves and turn the loaf out onto a wire rack to cool for at least 30 minutes before slicing to allow steam to escape.
- Storing Bread: Homemade bread contains no preservatives and should be eaten within 2-3 days. For longer storage, slice and freeze.
Maintenance Features:
- Cleaning:
- Unplug the bread maker and allow it to cool completely before cleaning.
- Do not immerse the bread maker body or the outside base of the bread pan in water.
- Do not use a dishwasher to clean the bread pan, as this can damage its non-stick properties.
- Avoid abrasive scouring pads or metal implements.
- Clean the bread pan and kneader immediately after each use by partially filling the pan with warm soapy water and soaking for 5-10 minutes. To remove the kneader, turn it clockwise and lift off. If stuck, twist the shaft from underneath the pan back and forth.
- Clean the outside and inside surfaces of the bread maker with a soft damp cloth.
- The lid can be lifted off for cleaning.
- Service & Customer Care:
- If the supply cord is damaged, it must be replaced by Kenwood or an authorized Kenwood repairer.
- For operational problems, refer to the troubleshooting guide in the manual or visit www.kenwoodworld.com.
- Contact Kenwood customer care for assistance with machine use, servicing, or repairs.
- Provide the model number (e.g., BM250, TYPE BM25) and date code (e.g., 13L35) found on the base of the bread maker when seeking assistance.
- Spares and attachments can be ordered via a dedicated phone line.
- Warranty: The product is covered by a warranty compliant with legal provisions in the country of purchase. Repairs or replacements are free of charge within one year if the device has not been misused, neglected, damaged, modified, used commercially, or had an incorrectly fitted plug, and proof of purchase is supplied.
- Disposal: At the end of its life, the product must not be disposed of as urban waste. It should be taken to a special local authority waste collection centre or a dealer providing this service, marked with a crossed-out wheeled dustbin, in accordance with the European Directive on Waste Electrical and Electronic Equipment (WEEE).


 To Next Page
 General