4
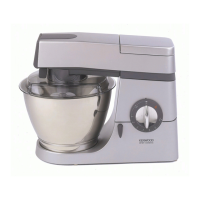
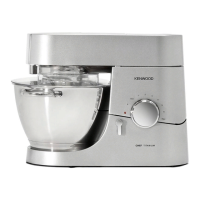
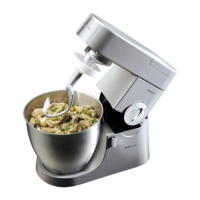
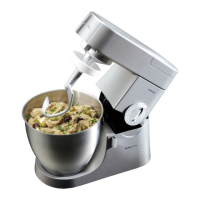
Know your Stand Mixer
before using for the first time
• Wash the parts: see ‘Care and cleaning’ section.
Key
Attachment outlets
1
high-speed outlet
2
slow-speed outlet
3
bowl tool socket
Mixer
4
high speed outlet cover
5
mixer head
6
head release lever
7
speed and pulse control
8
standby button
9
power unit
bk
bowl
bl
slow speed outlet cover
bm
in-bowl illumination
bn
in-bowl illumination touch pad
bo
cord storage compartment
bp
bowl seating pad
bq
K-beater
br
whisk
bs
dough tool
bt
spatula
ck
head shield
cl
splashguard
Note: Spanner
bm
shown is for illustration
purposes only and is not supplied in
pack.
Before plugging in
• Make sure your electricity supply is the same as the one shown on the underside of your
appliance.
Important – Plug and Fuse Information
• The wires in the cord are coloured as follows:
Blue = Neutral
Brown = Live
l
If the plug supplied with your appliance has a fuse fitted and the fuse fails it must be
replaced with one of the same rating.
• If the plug or cord requires replacing a new cord set should be fitted by an Authorised
Kenwood Repairer.
Note:
• For non-rewireable plugs the fuse cover MUST be refitted when replacing the fuse. If the
fuse cover is lost then the plug must not be used until a replacement can be obtained.
The correct fuse cover is identified by colour and a replacement may be obtained from
your Kenwood Authorised Repairer (see Service).
• If a non-rewireable plug is cut off it must be DESTROYED IMMEDIATELY. An electric
shock hazard may arise if an unwanted non-rewireable plug is inadvertently inserted into
a socket outlet.
• This appliance conforms to EC Regulation 1935/2004 on materials and articles intended
to come into contact with food.