EasyManua.ls Logo

Kenwood CMOS-210 User Manual

Kenwood CMOS-210
15 pages
To Next Page IconTo Next Page
Page #1 background imageLoading...
Page #1 background image
CMOS-310
CMOS-210
UNIVERSAL MULTI-VIEW CAMERA/ UNIVERSAL REAR VIEW CAMERA
INSTRUCTION MANUAL
CAMÉRA MULTI-VUES UNIVERSELLE/ CAMÉRA DE RECUL UNIVERSELLE
MODE D’EMPLOI
UNIVERSAL MULTIVIEW-KAMERA/ UNIVERSAL RÜCKFAHRKAMERA
BEDIENUNGSANLEITUNG
UNIVERSELE MULTIVIEWCAMERA/ UNIVERSELE ACHTERUITRIJCAMERA
GEBRUIKSAANWIJZING
TELECAMERA MULTIVISIONE UNIVERSALE/ TELECAMERA PER RETROMARCIA UNIVERSALE
ISTRUZIONI PER L’USO
CÁMARA DE MULTIVISIÓN UNIVERSAL/ CÁMARA DE VISTA TRASERA UNIVERSAL
MANUAL DE INSTRUCCIONES
CÂMARA MULTIVISÃO UNIVERSAL/ CÂMARA TRASEIRA UNIVERSAL
MANUAL DE INSTRUÇÕES
通用多图像摄像头/通用后视摄像头
使用说明书
B64-4963-08/00 (W)
© 2011 JVC KENWOOD Corporation
Take the time to read through this instruction manual.
Familiarity with installation and operation procedures will help you obtain the best
performance from your new Universal Camera.
For your records
Record the serial number, found on the back of the unit, in the spaces designated on the warranty
card, and in the space provided below. Refer to the model and serial numbers whenever you call
upon your Kenwood dealer for information or service on the product.
Model CMOS-310/CMOS-210 Serial number
US Residence Only
Register Online
Register your Kenwood product at www.Kenwoodusa.com
  
Question and Answer IconNeed help?

Do you have a question about the Kenwood CMOS-210 and is the answer not in the manual?

Kenwood CMOS-210 Specifications

General IconGeneral
BrandKenwood
ModelCMOS-210
CategoryDash Cameras
LanguageEnglish

Summary

Before Use and Installation

Care and Maintenance

Guidelines for cleaning and maintaining the camera unit to ensure longevity and proper function.

Installation Procedure

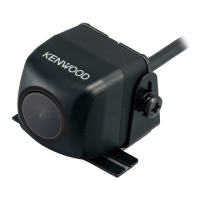
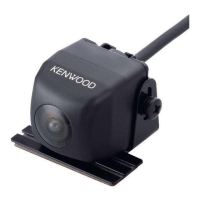
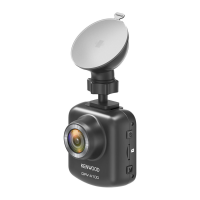
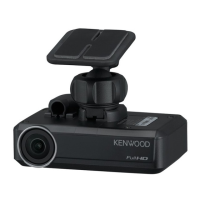
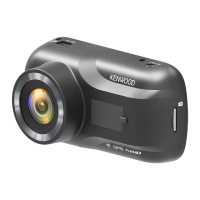
Step-by-step instructions for the physical installation of the camera unit into a vehicle.

Accessories

Installation

Recommended Installation Position

Guidance on optimal placement for the camera installation to ensure proper viewing and avoid obstructions.

Installing the Camera and Adjusting its Angle

Detailed steps for physically mounting the camera and fine-tuning its viewing angle for best results.

Installing the Switch Unit

Instructions for mounting the optional switch unit for CMOS-310, typically on the dashboard.

Connections

Basic Connections

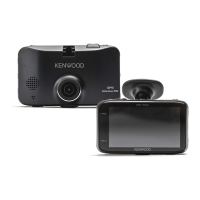
Diagram and explanation for the fundamental wiring of the camera system to the monitor and power.

System Connection

Connection of 2 Cameras

Wiring configuration for using two CMOS-310 cameras, such as for front and rear views.

Camera Setting

Switch Unit Operation

How to use the switch unit to change display modes, view/hide guidelines, and adjust settings.

Preparation Before Camera Setting

Steps to prepare the vehicle and environment before performing camera adjustments and settings.

Camera Setting Procedure

Step-by-step guide to adjust camera settings like positioning, overhead view, and guidelines.

Overhead View Image Adjustment (Centering)

Adjusts the center of the camera installation position using white lines for vehicle center alignment.

Overhead View Image Adjustment (Right-and-Left Angle)

Adjusts the horizontal angle of the camera to align parking space orientation vertically.

Overhead View Image Adjustment (Up-and-Down Angle)

Adjusts the vertical angle of the camera to make vehicle width lines appear vertical.

Wide View Guideline Adjustment (Size)

Adjusts the overall size of the guidelines displayed in the wide view.

Wide View Guideline Adjustment (Horizontal Direction)

Adjusts the left-right positioning of the guidelines displayed in the wide view.

Wide View Guideline Adjustment (Vertical Direction)

Adjusts the length of the guidelines displayed in the wide view.

Wide View Guideline Adjustment (Red Line Position Setting)

Adjusts the position of the red line for setting the vehicle parking reference line.

Finishing the Camera Setting

Finalizes the camera settings and provides a summary of the completed setup.

Display View Switching

Specifications

Related product manuals