© 2000-12 PRINTED IN JAPAN
B51-8558-00
(
N
)
889
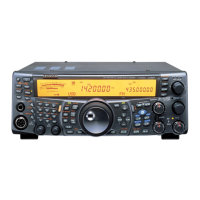
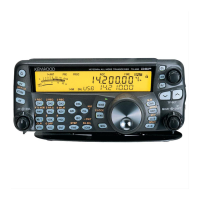
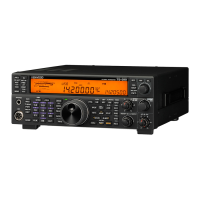
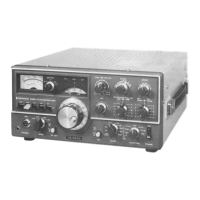
ALL MODE MULTI-BAND TRANSCEIVER
TS-2000/X
SERVICE MANUAL
CIRCUIT DESCRIPTION ............................. 2
DESCRIPTION OF COMPONENTS ......... 24
SEMICONDUCTOR DATA ....................... 34
PARTS LIST .............................................. 51
EXPLODED VIEW..................................... 93
PACKING .................................................. 97
ADJUSTMENT ......................................... 98
TERMINAL FUNCTION .......................... 124
WIRING.................................................. 133
PC BOARD VIEWS / CIRCUIT DIAGRAMS
FILTER UNIT (X51-315X-XX) ............. 135
FINAL UNIT (X45-360X-XX) .............. 137
DISPLAY UNIT (X54-3320-00) ........... 151
CONTROL UNIT (X53-391X-XX) ....... 155
TX-RX 1 UNIT (X57-605X-XX)........... 169
TX-RX 2 UNIT (X57-606X-XX)........... 186
TX-RX 3 UNIT (X57-6070-00) ............ 209
BLOCK DIAGRAM .................................. 223
LEVEL DIAGRAM ................................... 229
MC-52DM ............................................... 233
UT-20 ..................................................... 235
RC-2000 ................................................. 235
ARCP-2000 ............................................ 235
SPECIFICATIONS ................................... 236
Knob
(K21-1104-03)
Knob ring
(K29-5395-04)
Knob
(K29-5397-13) x 2
Knob
(K29-5398-03) x 3
Knob
(K29-5399-03) x 3
Knob
(K29-5396-03) x 2
Key top
(K29-5391-02)
Key top
(K29-5393-12)
Key top
(K29-5394-12)
Key top
(K29-5392-12)
Front glass
(B10-2608-02)
Cabinet (Upper)
(A01-2176-01)
Foot
(J02-0442-04) x 2
Foot
(J02-0440-04)
RF coaxial receptacle (Round)
(E06-0858-15)
Phone jack (9P)
(E11-0438-05)
CONTENTS