2. Wiring Check
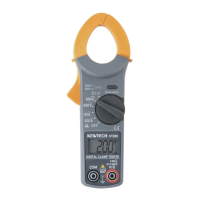
1. Insert the Test Lead into the instrument. (Fig.34)
2. Connect the test leads to the circuit to be tested. (Fig.31, 32)
3. After the connection, ensure that the symbols for Wiring check on the LCD
are in the status indicated in Fig.34 before pressing the test button.
If the status of the symbols for Wiring check differ from Fig.34 or
symbol is indicated on the LCD, DO NOT PROCEED AS THERE IS INCORRECT
WIRING. The cause of the fault must be investigated and rectified.
3. Voltage Measurement
When the instrument is first connected to the system, it will display the line-
earth voltage which is updated every 1s. If this voltage is not normal or as
expected, DO NOT PROCEED.
NOTE: This is a single phase (230V AC) instrument and under no
circumstances should it be connected to 2- phases or a voltage exceeding
230VAC+10%.
If the input voltage is greater than 260V the display will indicate '>260V' and
RCD measurements can not be made even if the Test button is pressed.
10.2.2 RCD Measurement
a) Single Tests
1. Press the Test button
Operating time of RCD is displayed on LCD. At Ramp test, operating current
value of RCD will be displayed.
▲ ×1/2................... The Breaker should not trip.
▲ ×1...................... The Breaker should trip.
▲ ×5...................... The Breaker should trip.
▲ Auto Ramp (
). The Breaker should trip. The tripping current should be
displayed.
Fig. 34
RCD