www.kimray.com
GLYCOL PUMP
6
Repair Guide
DISASSEMBLY
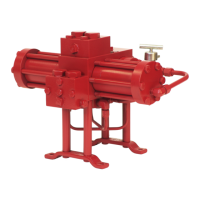
STEP 1
PRESSURE RELIEF
Loosen all plugs in inlet and outlet holes as there might
still be some trapped gas in the pump.
Slowly open needle valves for any additional trapped gas
(Fig. 1.1)
Figure 1.1
Figure 2.1
Figure 2.2
Figure 2.3
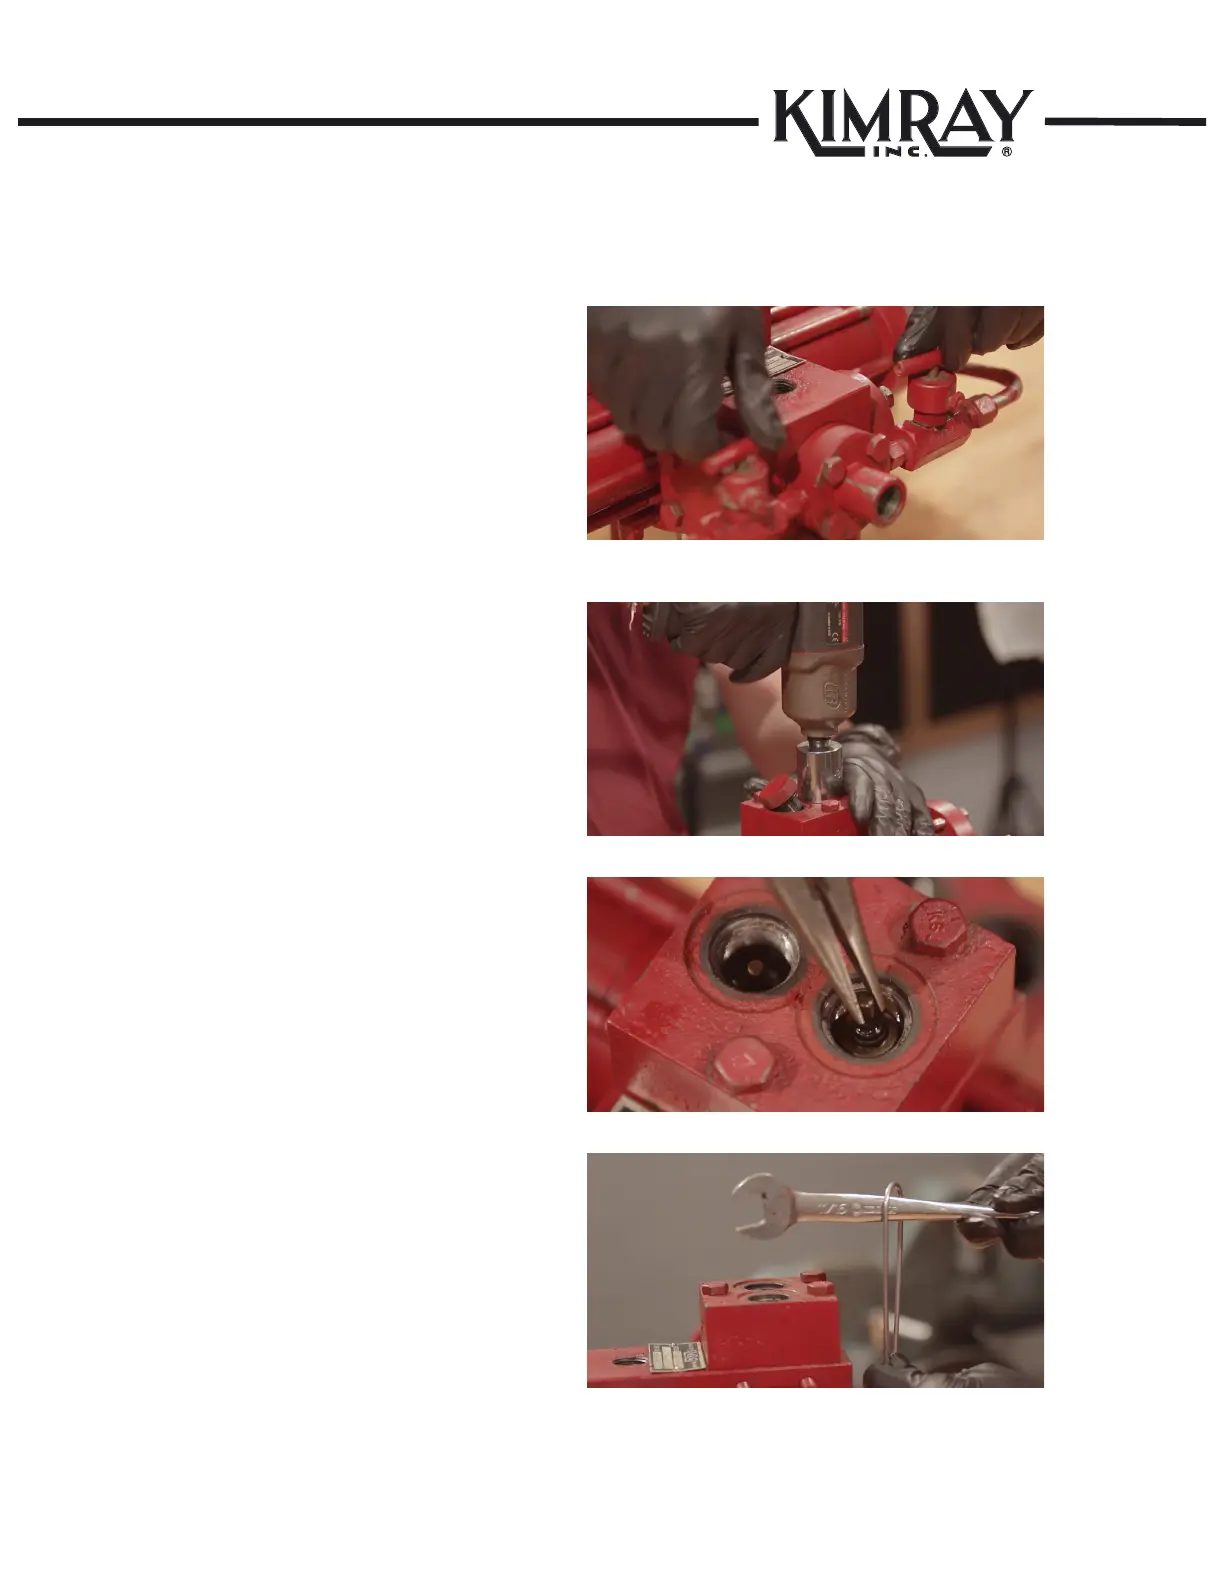
STEP 2
REMOVING SUCTION AND DISCHARGE BLOCKS
Remove Check Valve Caps from the Discharge Block of
the Main Piston Body (Fig. 2.1).
Remove Check Valve Caps from Suction Block of the
Main Piston Body.
NOTE: See special cases for further information (2).
Remove O-Ring from Check Valve Caps.
Use a pair of needle nose pliers to remove the Check
Valves from the Suction and Discharge Block (Fig. 2.2).
Remove upper and lower O-Rings from Check Valves.
NOTE: Check the darts in caps for excessive wear. DO
NOT waste time cleaning. (Ref. Fig 6.1 Inspection section).
Use a wrench and the seat pullers to remove the suction
seat (Fig. 2.3)
NOTE: Sometimes when condensate is present, the
O-Rings swell and the seats are hard to pull.
NOTE: See Special Cases for further information (1).