3. Assembly Tutorial 4. configure network
76
Step 6
Tear off the protective film on board 3 and use one M4 * 6
screw to secure the handle to board 3.Use 4 M3 * 6 screws
to secure the 3rd board to the front of the machine.
M3*6-2PCS
Step 7
Fix the filament holder to the back of the machine using M3 * 6
screws.
No.3-1PCS
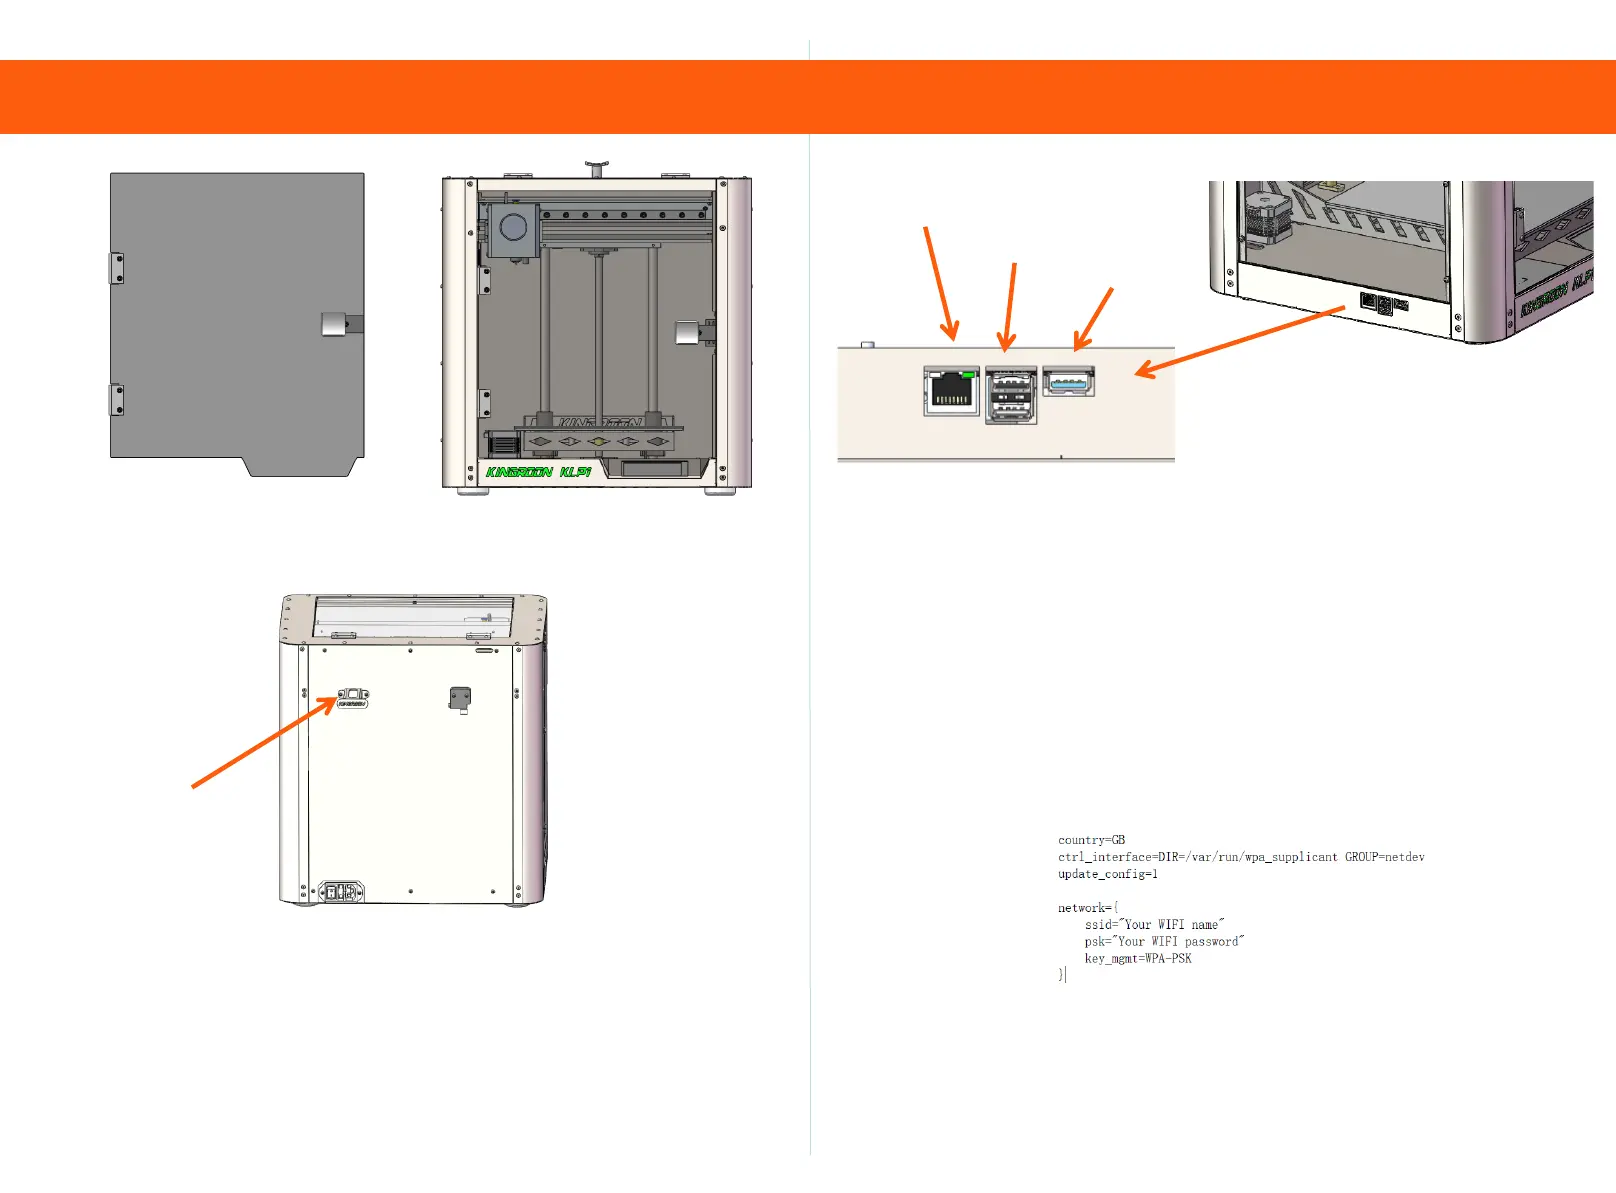
Network cable
U disk
Camera
(Optional)
Step 1
1. Network cable connection: Insert the network cable and power
cord to power on and turn on. (Please note: Before starting the
machine, please confirm the local voltage requirements and
switch between 110V/220V)
2. 2. WIFI connection: Use a USB flash drive to configure WIFI,
open the (wpa_supplicant wlan0. conf) file in the USB flash
drive, modify the 2.4GZ WIFI account password, insert the USB
flash drive into the machine before starting up, and then power
on the USB flash drive. (Note that the distance between the
machine and the router cannot exceed 5 meters)It is strongly
recommended to use a network cable to connect your printer
and router.