2
GETTING STARTED
Thank you for purchasing the Kirsch
®
Cellular Shade Collection. With proper installation,
operation, and care, your new shades will provide years of beauty and performance.
To get started, unpack the shade and remove all foam/packaging materials. Check that all
parts shown on the packing list are included with the order. Please thoroughly review this
instruction booklet before beginning the installation.
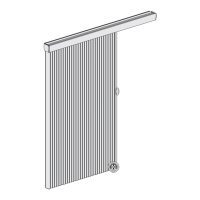
IMPORTANT: Cords are wrapped around a cord organizer located approximately 6" from
the top of the moving rail. Please do not unwrap the cords until instructed to do so.
Tools and Fasteners Needed
1
⁄
4
" Hex, Flat Blade and magnetic-tipped Phillips Screwdrivers
Level (laser level is recommended)
Measuring tape and pencil
Power drill,
3
⁄
32
" drill bit, and
1
⁄
4
" hex driver
Scissors
In addition, you will need fasteners designed to work with your specific mounting surface(s).
#6 Hex Head Screws (Provided). Two 1
1
⁄
2
" screws are provided per installation bracket.
Longer #6 Hex Head Screws (Not Provided). If using spacer blocks, use #6 screws long enough for a secure attachment.
Speed Nuts and Screws (Provided). Extension brackets come with speed nuts and screws.
Drywall Anchors (Not Provided). Use drywall anchors when mounting into drywall.
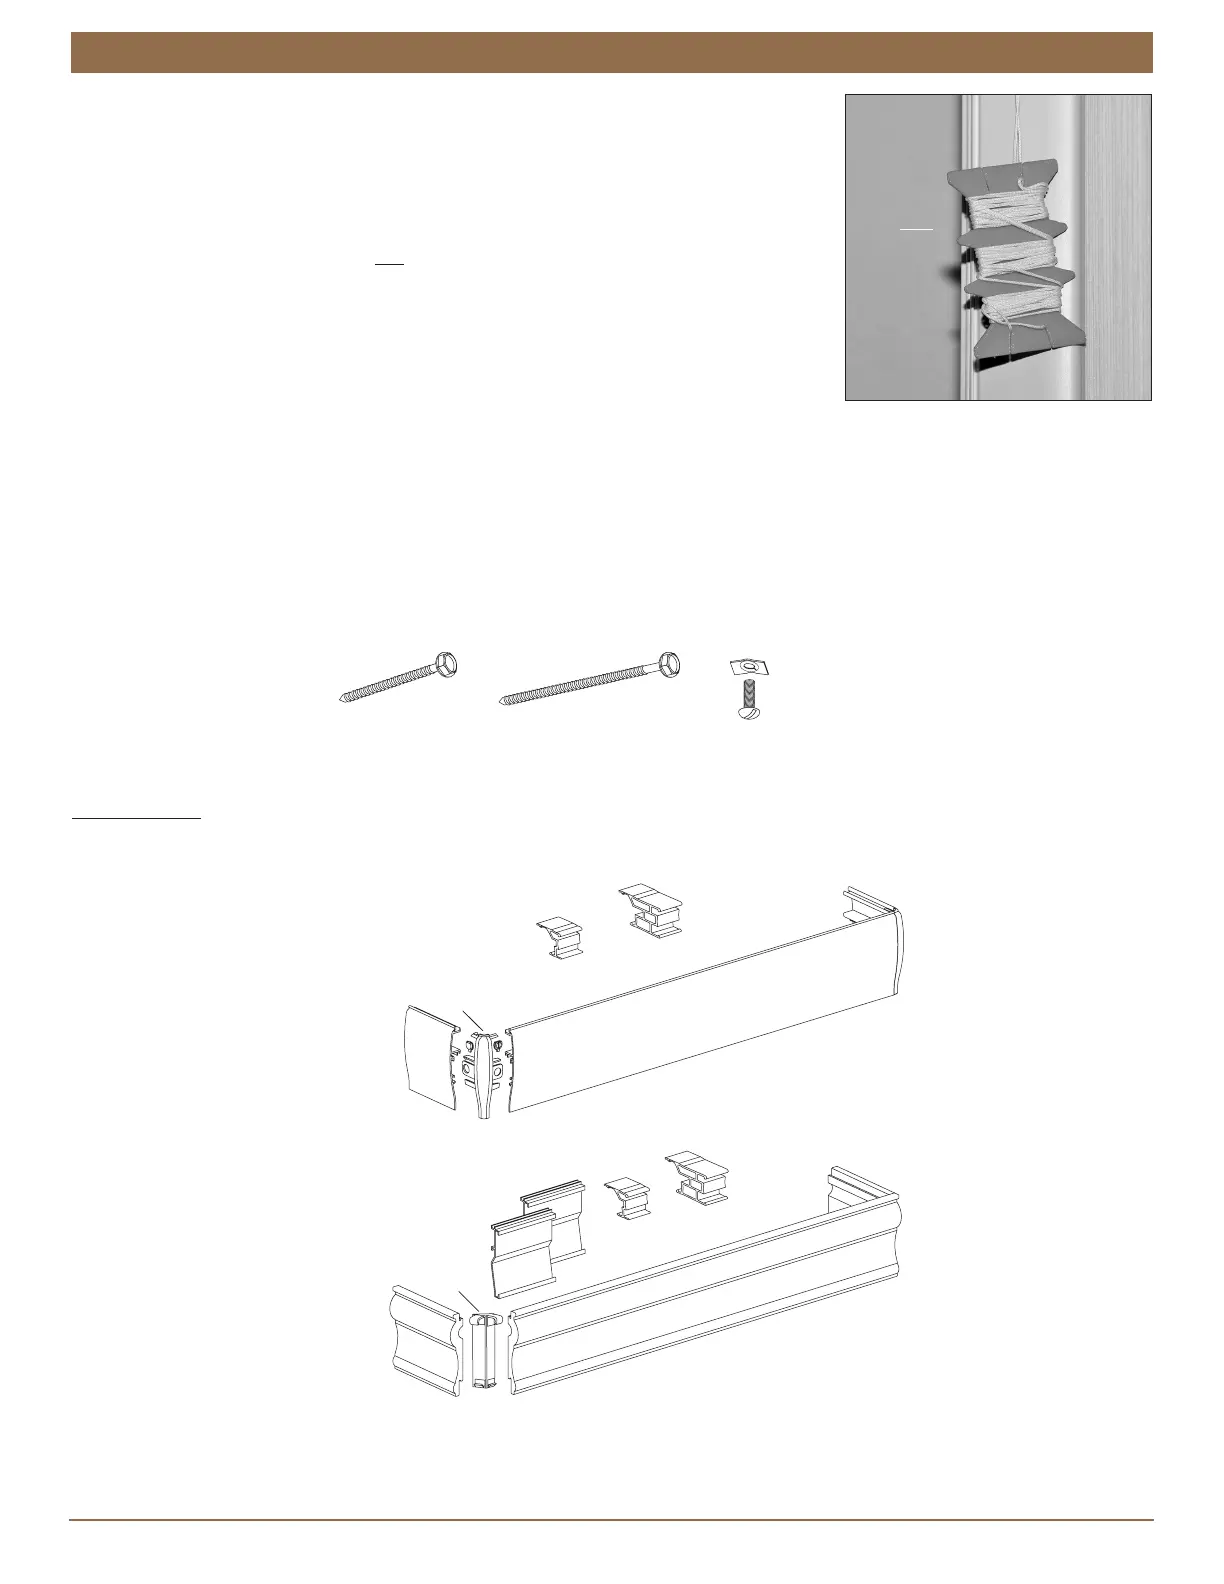
Valance Types
Determine the type of valance you are installing with your shade: aluminum or traditional.
Speed Nut
and Screw
(Two Provided with
#6 x 1
1
∕
2
"
(Provided)
Longer #6 Hex Head Screw
for Use with Spacer Blocks
(Not Provided)
Valance
aditional Valance
Corner
End Cap
Corner
Bracket
Return
Return
Dovetail Brackets
1
1
∕
4
" Cell
Size
3
∕
4
" Cell
Size
Valance Clips
1
1
∕
4
" Cell
Size
3
∕
4
" Cell
Size
Valance Clips
Do Not
Unwrap
Cords