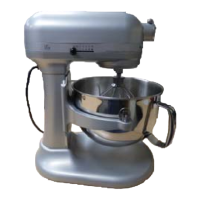
15. Replace the 4 Transmissions Housing
Screws and tighten them.(Fig. 36)
Fig. 36 Transmission Housing
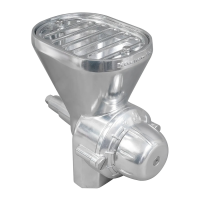
16. Mount the Control Board with the 2
screws and hook up the wires. The New
Control boards from 2016 will have the
Hall Effect soldered. (Fig. 37)
Fig. 37 Control Board
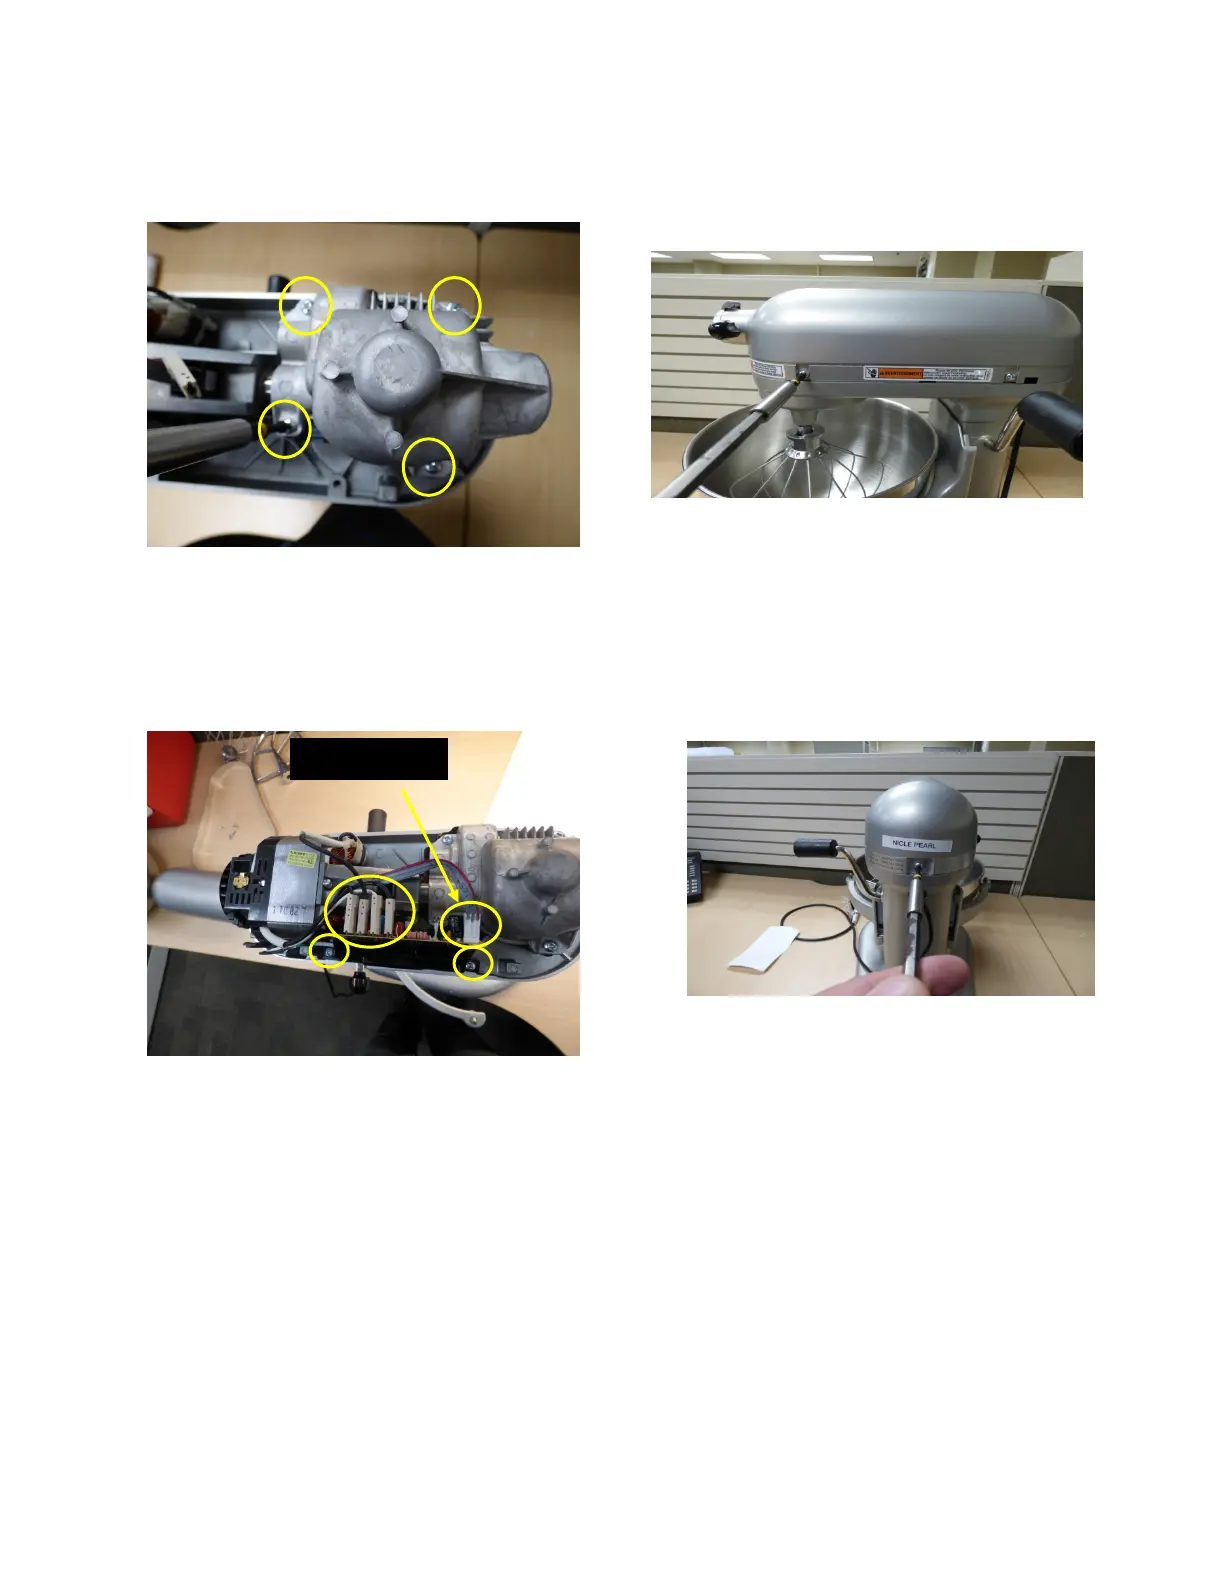
17. Locate and mount the Upper Housing
with the 4 Screws, 2 on each side.
(Fig. 38)
Fig. 38 Mount Upper Housing
18. Locate Trim Band and attach with 1
Screw. (Fig 39)Be sure to check Trim
Band fits correctly. The speeds need to
align and there should be no gaps
between the Housing and the Trim
Band.
Fig. 39 Trim Band
19. HiPot the unit and make sure it is safe,
no pinched wires or wires unhooked.
20. Plug in and cycle the unit through all the
gears and make sure it runs correctly.
21. Cycle the bowl up and down to make
sure the lift mechanism works correctly.
HallEffect