34 35
Mounting onto your motorcycle helmet
There are three ways to mount the camera with the 90º Adaptor onto the Body Piece: Either use the Tilting Head Adaptor
or the Quick Release Adaptor socket to mount your camera with the 90º Adaptor onto the Body Piece, or attach your
camera with the 90º Adaptor directly onto the Body Piece. Please note that the Tilting Head Adaptor provides a wider
angle to allow for greater adjustment.
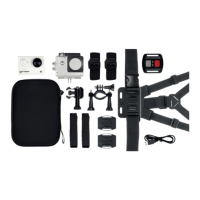
a. Attaching the camera to the Body Piece via the Tilting Head Adaptor (for details, please refer to
the section ‘Attaching the Tilting Head Adaptor to the camera with the 90º Adaptor’, page 33)
Note:Thecamerapositioncanbeadjustedhorizontally,plusthecameraanglecanberotated
upwards or downwards by loosening or tightening the nut on the Tilting Head Adaptor.
Rotate the wheel
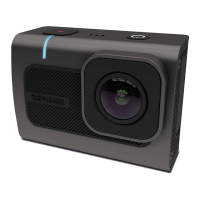
b. Attaching the camera with the 90º Adaptor to the Body Piece via the Quick Release Adaptor
and Quick Release Adaptor socket (for details, please refer to the section ‘Attaching the Quick
Release Adaptor with socket to the camera with the 90º Adaptor’, page 33).
Note:Thecamerapositioncanbeadjustedhorizontallywhenusingthismethod.
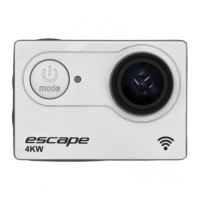
c. Attaching the camera with the 90º Adaptor directly to the Body Piece.
Note:Thehorizontalandverticalpositionofthecamerawillbexedwhenusingthismethod.
Note: Before mounting, make sure the surface of the helmet on which the 3M adhesive will be adhered is clean so that the
Curved Mount can be fixed onto the helmet securely.
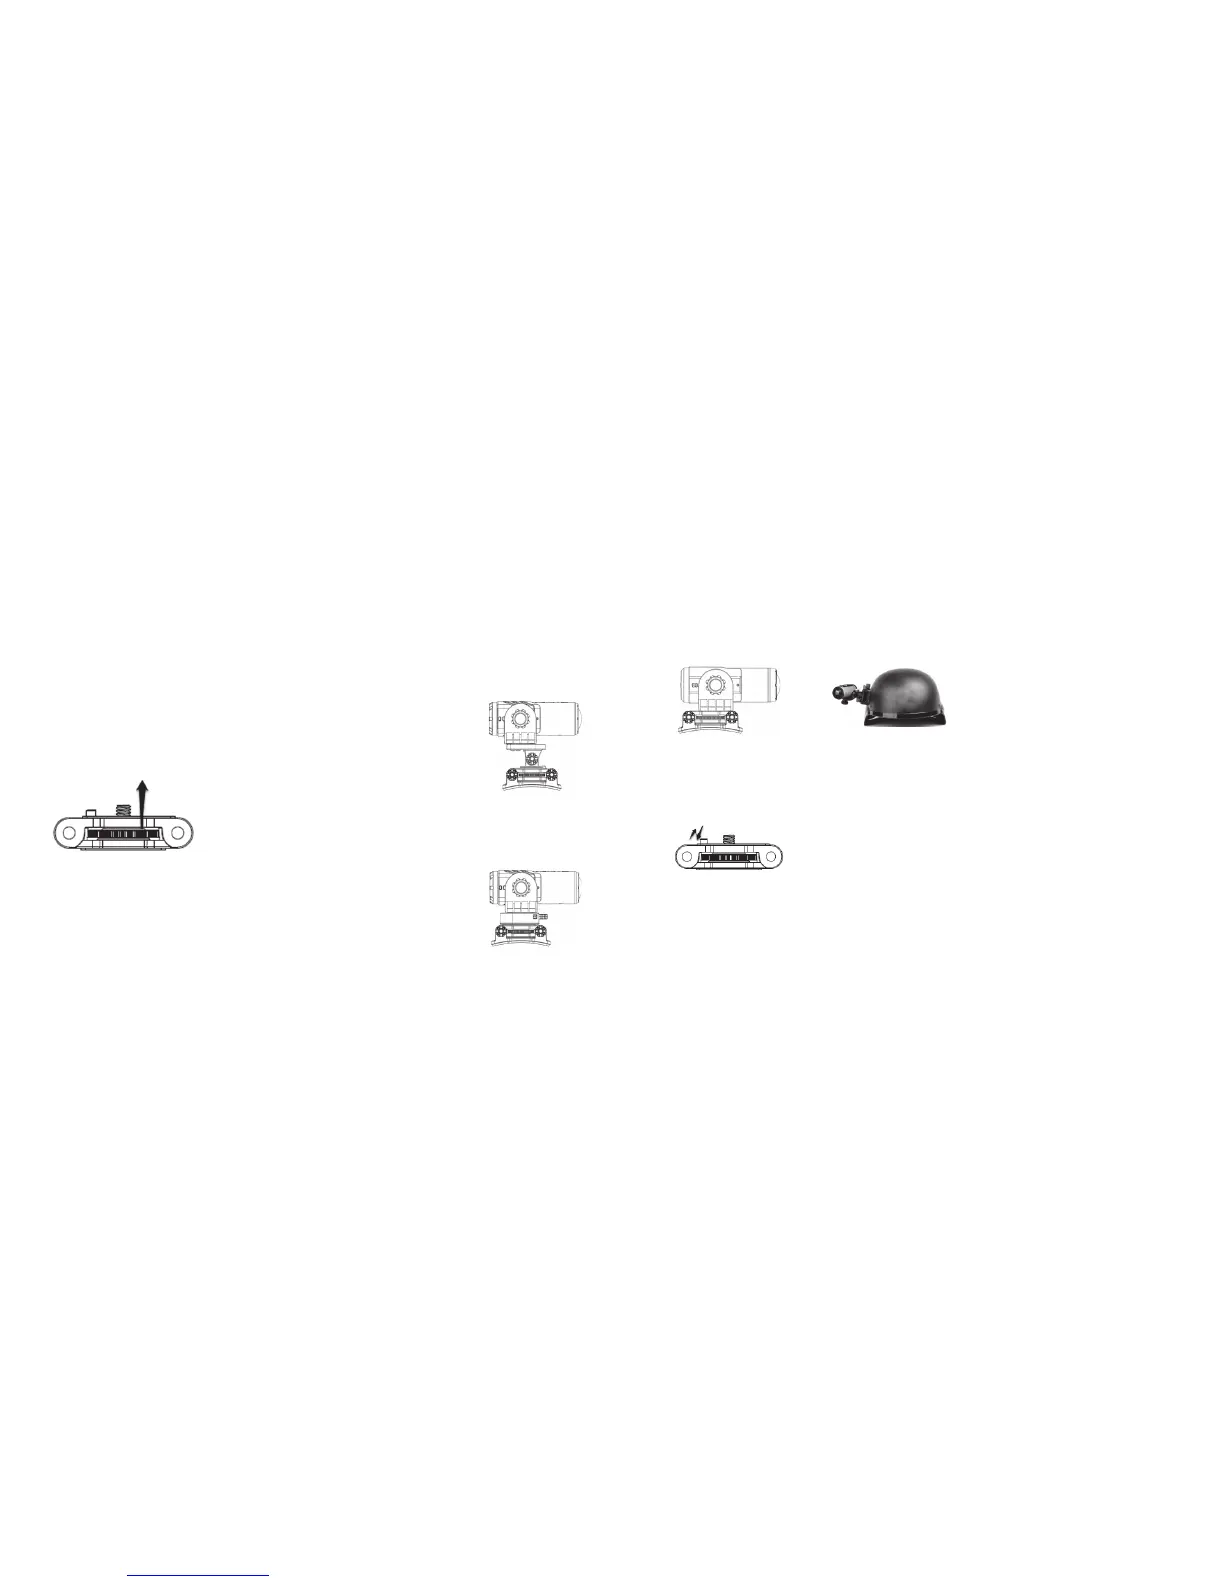
Note: When mounting your camera with the Tilting Head Adaptor or the Quick Release Adaptor socket, please make sure
you push the orientation column on the Body Piece down. When mounting your camera directly onto the Body
Piece, please pull the orientation column up.
Note:Ifyouwanttomakechangestothehorizontalpositionofthecamera,youcanrotatethewheelontheBodyPiece
clockwise, adjust the camera position and rotate anticlockwise to re-tighten the mount.