10 11
Using the camera
Charging
ChargeyourcamerawiththeUSBcableviaaPCorUSBadaptor(notincluded).TheredLEDlightsuptoindicatethatthe
cameraischarginganditwillturnoffassoonasthecamerahasbeenfullycharged.Ittakesabout3hourstofullycharge
the camera.
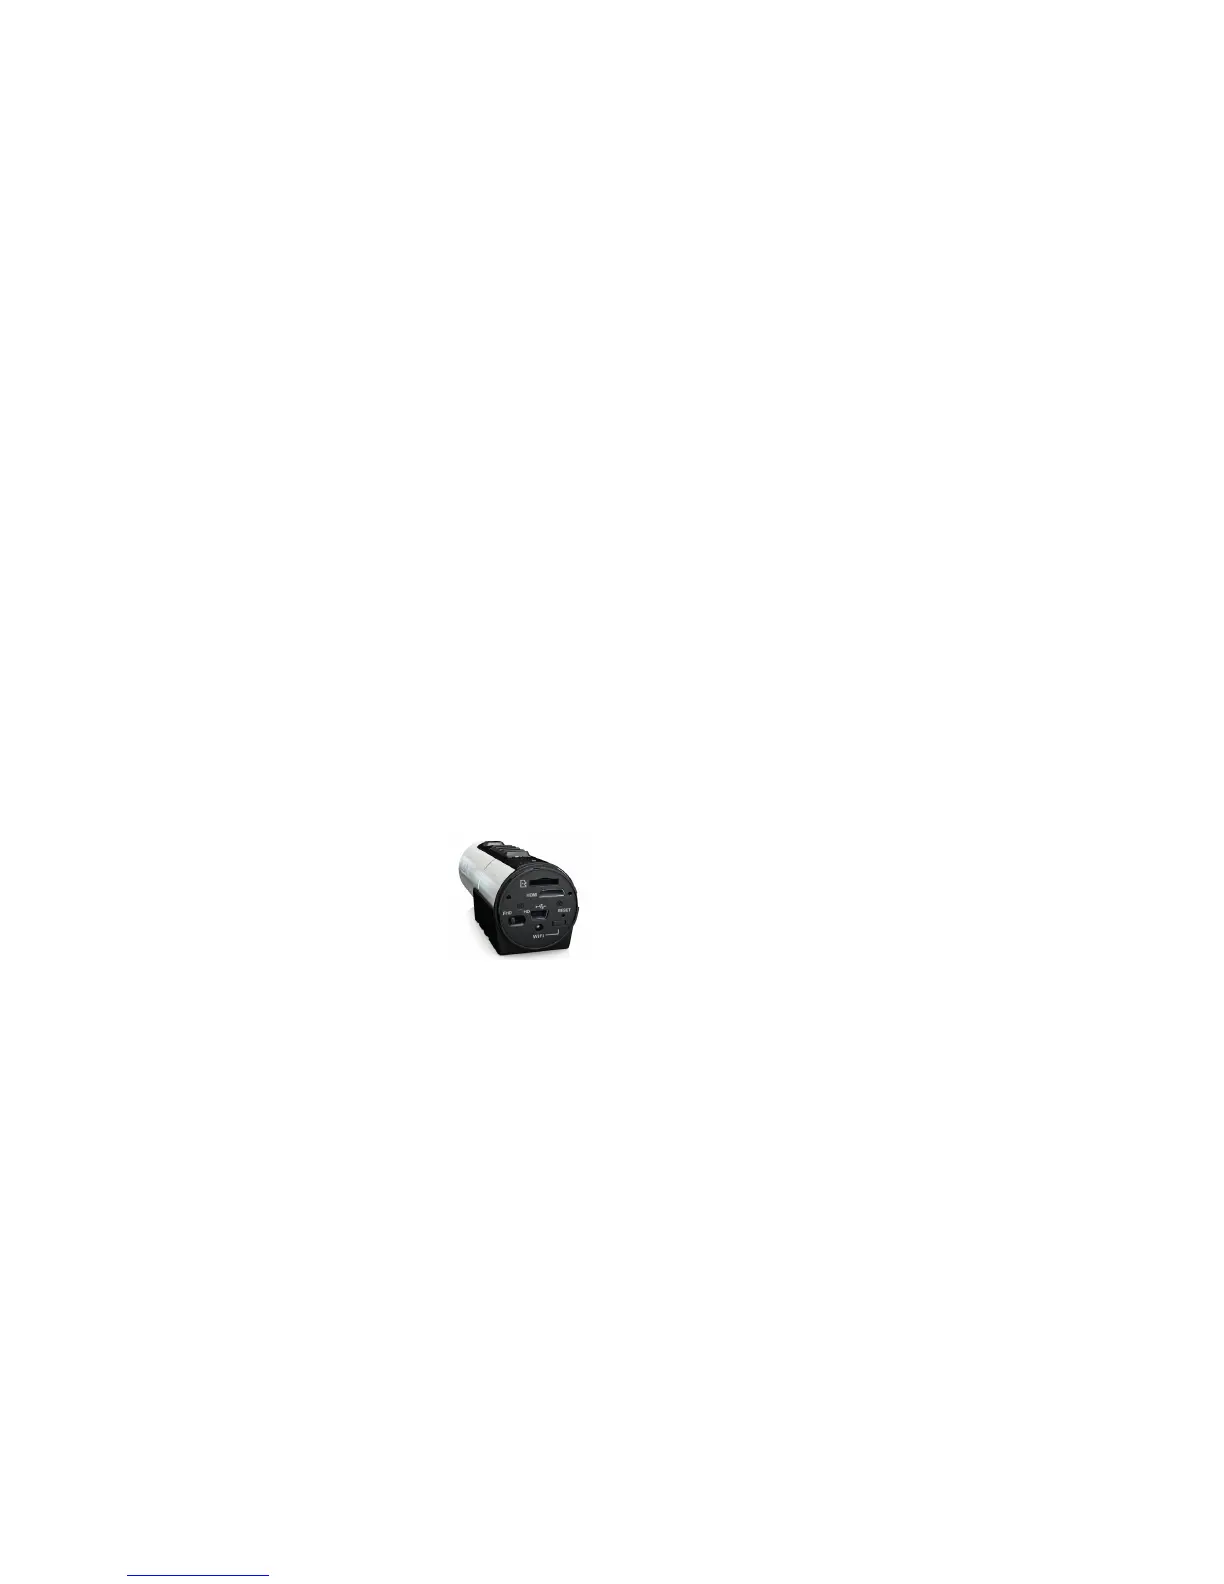
Inserting a memory card
InsertamicroSDcard(notincluded)beforeusingthecamera.EnsurethatthecamerapoweristurnedOFFbefore
inserting the card into the slot.
Note:ThereisonlyonecorrectdirectiontoinsertthemicroSDcardintotheslot.
DonotforcethecardintothecardslotasitmaydamageboththecameraandthemicroSDcard.
Note:AnewmicroSDcardshouldbeformattedbeforeuse.
For more information, please see ‘Connecting your camera’, page 18
Setting date and time
You can set the camera’s clock with the software to ensure that your video and photo files are saved with the correct
date/time information.
To set up the camera clock
1. ConnectyourcameratoacomputerwiththeUSBcable.Runactionplus.exeinyourmicroSDcardfolder(PConly).
2. Findthe‘DateandTime’andclick‘SET’.
3. Adjust the date and time or click ‘Sync with PC’ to set with your PC clock.
4. Click‘OK’tosavethesettings.
5. After completing the setting, disconnect the camera from the PC immediately to ensure that the date and time
are set correctly.