11
OPERATING INSTRUCTIONS
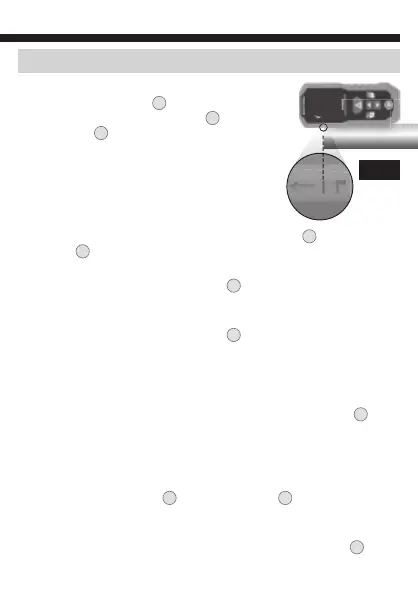
USING THE 1" (25 mm) ALIGNMENT MARK (FIG. 6):
When the Reference Point
A
is set to the top of the
unit, the 1" (25 mm) Alignment Mark
14
can be used.
Align the mark
14
with the front face of the surface
being measured from and take a measurement. Add
1" (25 mm) to calculate the final measurement.
ADD / SUBTRACT MODE: In this mode you can
cumulatively add and/or subtract sequential
measurements to calculate a final result.
1. From Single Measurement Mode, Press the Up/+
7
Button or
Down/-
8
Button to enter Add / Subtract Mode, and to select the
first function (add or subtract) you'd like to perform.
2. Press the Laser / Power-ON Button
1
once to capture an initial
measurement, which will appear on the top line. This is considered
the "current" measurement. The laser will turn off.
3. Press the Laser / Power-ON Button
1
to turn the laser back on,
then press again to capture a second measurement which will
appear on the second line. The laser will turn off. Depending on
which function you selected, the unit will add to or subtract from
the "current" measurement, displaying the "total" on the third line.
4. For cumulative results, press the Laser / Power-ON Button
1
again to turn the laser on, at which point the original "total" will
become the "current" measurement and move up to the top line.
Continue this process for as long as you wish to accumulate results.
NOTE: You can switch between the add or subtract functions at any
time by pressing the Up/+
7
Button or Down/-
8
Button prior to
taking a measurement. The previously selected function will be used
until it is changed.
To exit Add / Subtract mode, press the Clear/Power-OFF Button
5
twice.
FIG. 6