Installing and Uninstalling the Printer Driver
March 2018 2-5
Uninstalling the Printer
Driver on a WINDOWS 8
Operating System
You must have “administrator” privileges to remove a printer.
1. On the keyboard, press the WINDOWS “START” Key and “C”.
2. Select Settings > Control Panel > Devices and Printers.
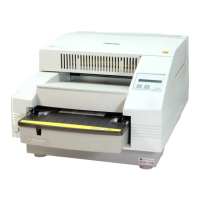
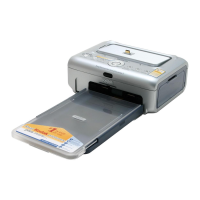
3. Click the icon for the KODAK 305 Photo Printer.
4. Right-click and select Remove Devices.
5. Click Ye s at the message prompt.
6. From the “Devices and Printers” window, click the icon for the
MICROSOFT XPS Document Writer or any other printer.
7. Click Print Server Properties.
8. Select the “Drivers” tab.
9. Click Change Driver Settings.
10. Select the printer driver that you want to remove.
11. Click Remove.
12. At, “Remove Driver And Package”:
• Select “Remove driver only.”
•Click OK.
13. At, “Printer Server Properties”, click Ye s .
14. If “Driver package information collected” appears, click
Delete.
15. At, “Driver package deleted”, click OK.
16. Confirm that the driver is removed:
• Select Settings > Control Panel > Programs and Features
• Right-click Windows Driver Package –KODAK KODAK
305 Photo Printer.
• Select Uninstall/Change.
• Make sure that the printer driver is removed.
17. Disconnect the USB cable from the printer.
18. Restart the computer.

 Loading...
