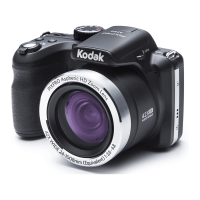
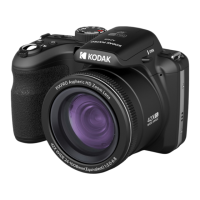
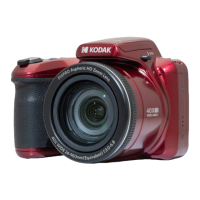
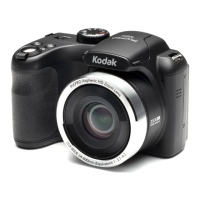
Why my Kodak PixPro AZ422 Digital Camera does not turn on?
A
Angela Benton MDAug 15, 2025
If your Kodak Digital Camera does not turn on, it could be due to a depleted battery. Recharge the battery. Another possibility is that the battery is not correctly inserted. Make sure to reinstall the battery correctly.
J
Jennifer AllenAug 18, 2025
What to do if I cannot write to the memory card of Kodak PixPro AZ422?
D
Debra ScottAug 18, 2025
If you cannot write to the memory card in your Kodak Digital Camera, it is likely that the SD memory card has been locked. To resolve this, release the write lock on the memory card or replace it with another card.
A
Ashley CervantesAug 21, 2025
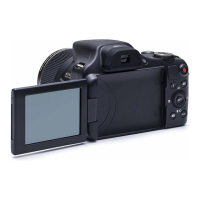
How to fix blurred picture on Kodak Digital Camera?
B
Bobby WalkerAug 21, 2025
If your Kodak Digital Camera pictures are blurred, it might be due to camera shake while taking the picture. Try turning on the OIS (Optical Image Stabilization) feature. Also, consider using a tripod for high magnification (above 15X) optical zoom to stabilize the camera.
J
Joshua SanchezAug 25, 2025
What to do if my Kodak PixPro AZ422 images and video files cannot be saved?
V
vjonesAug 26, 2025
If your Kodak Digital Camera images and video files cannot be saved, it might be because the SD memory card is full. Try using another memory card or deleting unnecessary files. Alternatively, the memory card may be locked; in this case, unlock the memory card.
C
carly24Aug 28, 2025
Why does my Kodak PixPro AZ422 turn off suddenly?
D
Deborah SchwartzAug 28, 2025
If your Kodak Digital Camera turns off suddenly during operation, it is likely that the batteries have been depleted. In this case, you should recharge the battery.
J
john84Aug 31, 2025
What to do if images will not print from my Kodak PixPro AZ422 Digital Camera?
J
James WilliamsAug 31, 2025
If images will not print from the connected printer when using your Kodak Digital Camera, first check the connection between the camera and printer to ensure it is correctly set up. Also, confirm that your printer is PictBridge compatible; if not, use a compatible printer. Ensure that the printer has paper and ink; load paper or replace the ink cartridge if needed. Finally, check for and remove any jammed paper in the printer.
T
Tammie CollinsSep 4, 2025
Why is saving data to memory card slow on Kodak PixPro AZ422 Digital Camera?
W
William MeyerSep 4, 2025
If saving data to the memory card is slow on your Kodak Digital Camera, it could be because you are using a memory card below Class 4. Using a memory card with write Class higher than 4 to improve performance.
M
Michael DuranSep 7, 2025
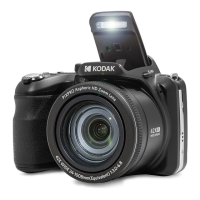
Why does the flash flash on the LCD screen of my Kodak PixPro AZ422 Digital Camera?
G
Gabriella AyalaSep 7, 2025
If the flash flashes on the LCD screen of your Kodak Digital Camera, it indicates that the current shooting environment requires flash. Turn on the flash to address this issue.
A
Alicia MilesSep 10, 2025
What does 'Too many movies to process' mean on Kodak Digital Camera?
M
Matthew LaneSep 12, 2025
If your Kodak Digital Camera displays 'Too many movies to process', it means that the number of pictures or folders on the SD memory card exceeds the specifications, preventing the playback of the data folder. To fix this, delete unwanted files from the memory card.