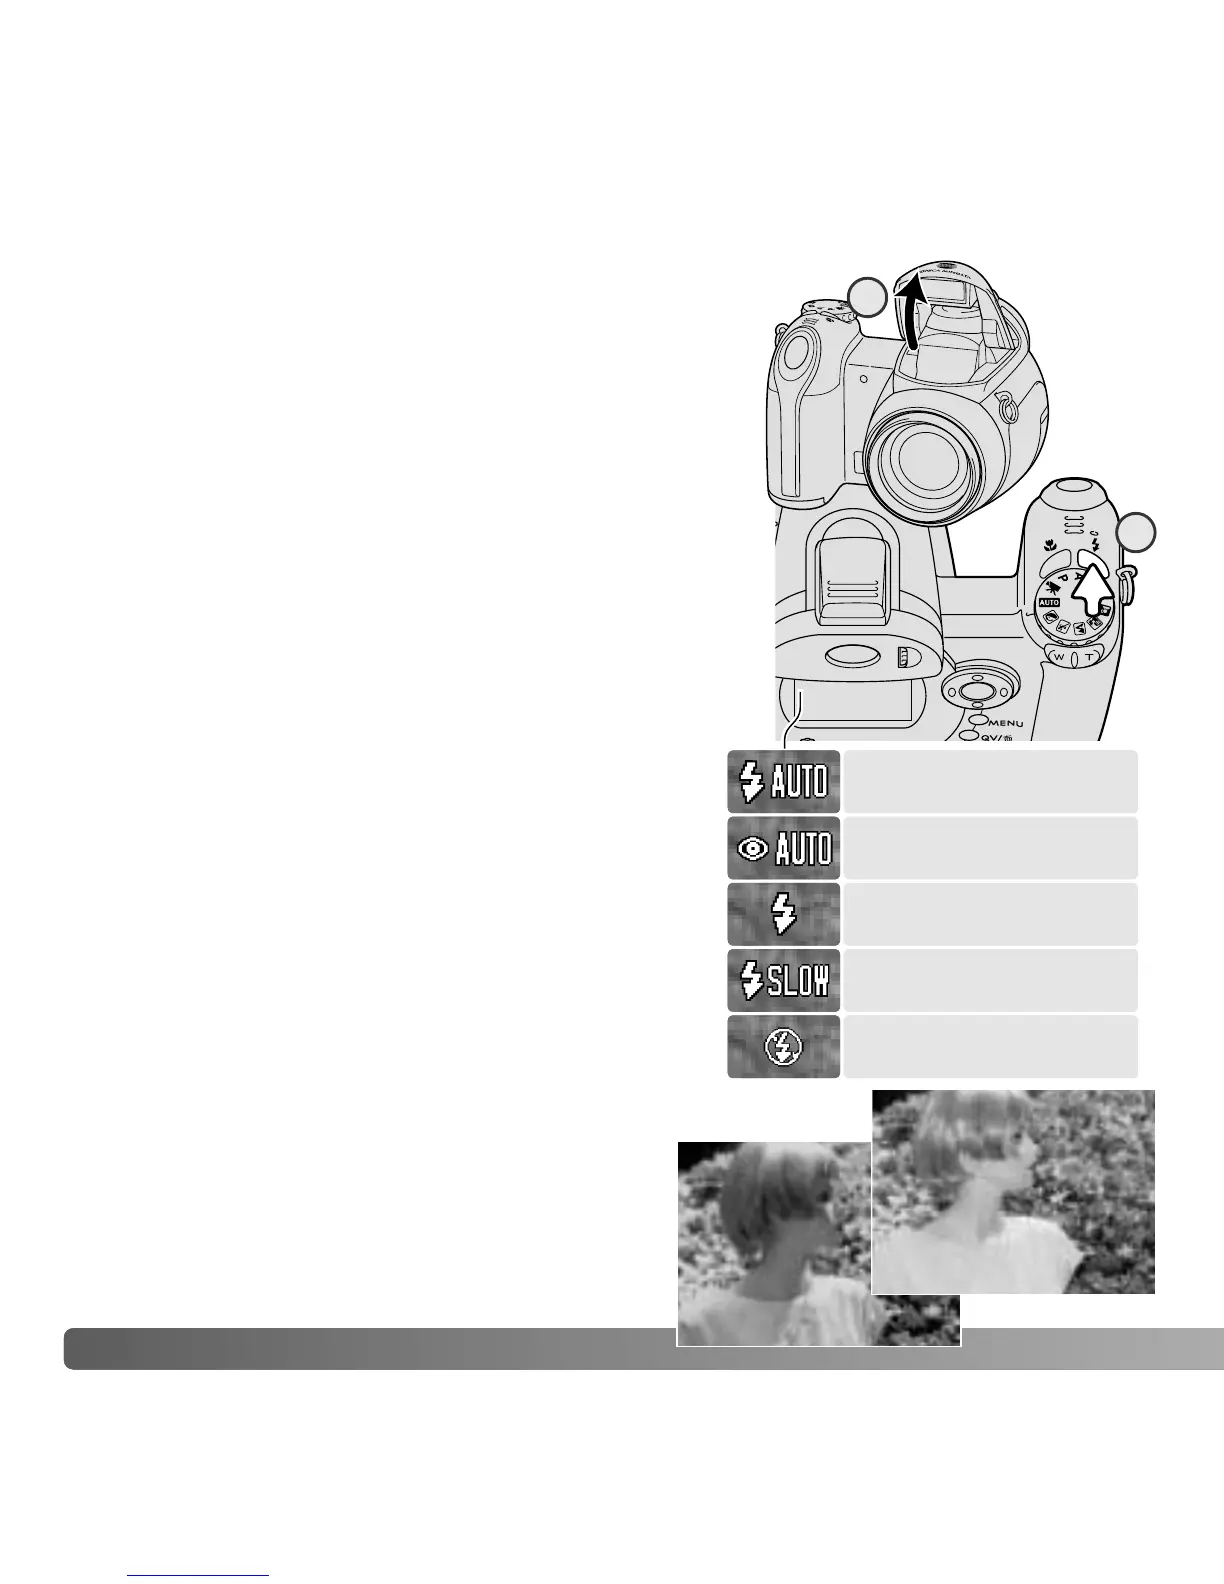
To use the built-in flash, simply raise it (1). Lower the
flash unit to prevent it from firing. Flash-mode indicator
turns red while the flash is charging; wait until it
becomes white before taking pictures.
To change the flash mode, simply press the flash mode
button (2) until the appropriate mode is indicated.
Autoflash - the flash fires automatically in low-light and
backlit conditions.
Red-eye reduction - multiple flashes are used before
the main flash burst to reduce red-eye; an effect
caused by light reflected from the retina. Use in low-
light conditions when taking photographs of people
or animals. The pre-flashes contract the pupils of the
subject’s eyes.
Fill-flash - the flash fires with each exposure
regardless of the amount of ambient light. Fill-flash
can be used to reduce harsh shadows caused by
strong direct light or sunshine.
Slow sync. - flash and ambient light exposures are
balanced; red-eye reduction is used. Use slow sync.
when in dark locations to reveal background
details. Ask your subject not to move after the
flash burst; the shutter may still be open for the
background exposure. Because exposures can
be long, the use of a tripod is recommended.
Flash cancel - the flash is down and cannot fire.
26 BASIC RECORDING
Autoflash
Fill-flash
Slow sync. with
red-eye reduction
Autoflash with
red-eye reduction
FLASH MODES
Fill-flash
Flash cancel
2
1
 Loading...