33
E
Step 1: Installing the USB driver on Windows computers
The USB driver on the supplied CD-ROM is required only for Windows 98. It is not
necessary to Install the USB driver on computers running Windows 2000/ME/XP.
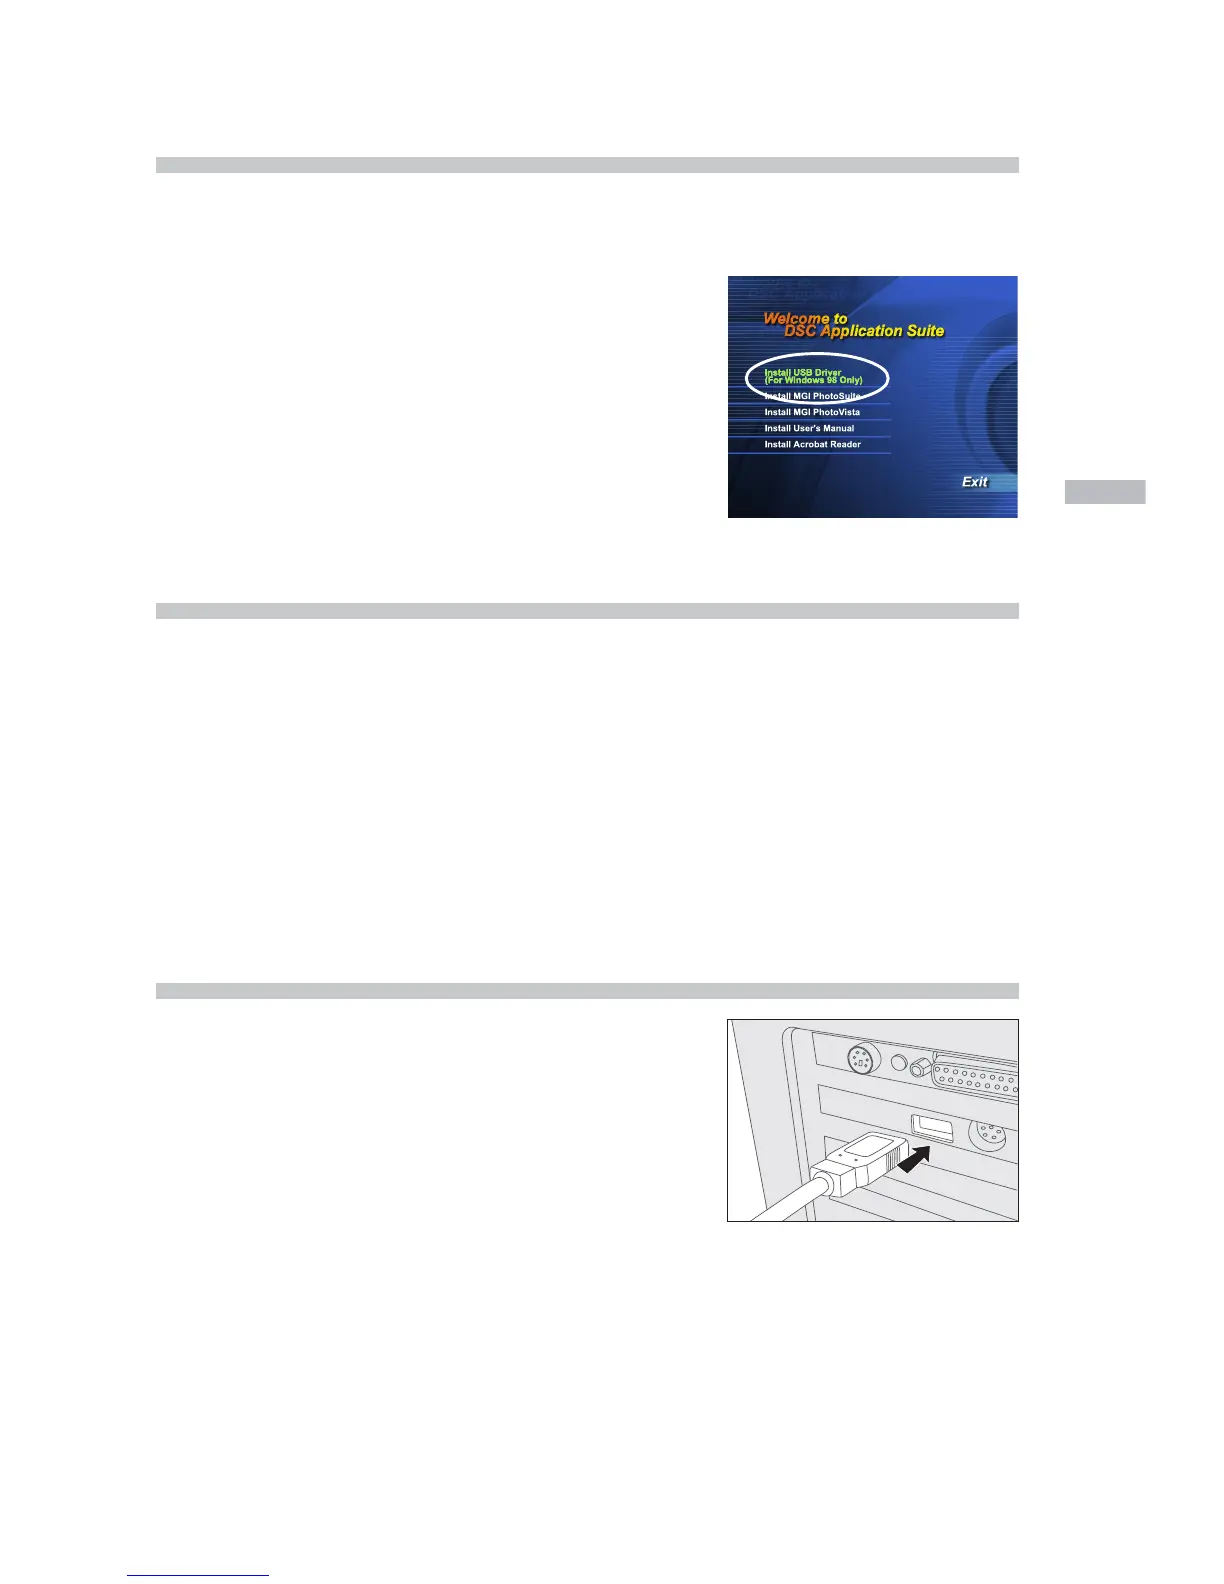
1. Insert the CD-ROM that came with the cam-
era into the CD-ROM drive. The welcome
screen appears.
2. Click “Install USB Driver”. Follow the on-
screen instructions to complete the
installation. After the USB driver installation
is complete, restart your computer.
Installing the USB driver on Macintosh computers
For Mac OS 9.0 or higher users, the computer will automatically recognize the
camera and load its own USB drivers. It is not necessary to install anything
separately. For Mac OS 8.6 users, however, you need to install the USB driver
first.
1. Insert the CD-ROM that came with the camera into the CD-ROM drive.
2. Select and double-click “Digital Camera Driver Installer “.
3. Select “Install Location” and click “Install”.
4. Follow the on-screen instructions to complete the installation and restart your
computer.
Step 2: Connecting the camera to your computer
1. Connect one end of the USB cable to an avail-
able USB port on your computer.
2. Connect the other end of the USB cable to
the USB connector on the camera.
3. Turn the camera on.
“PC” appears on the status LCD.
4. In “My Computer”, look for a new “removable
disk” that has appeared. Your recorded im-
ages/video clips will be in a folder on this “re-
movable disk”. (For Mac users, double-click
the “untitled” disk drive on the desktop.)
 Loading...