H
Heidi WilcoxAug 16, 2025
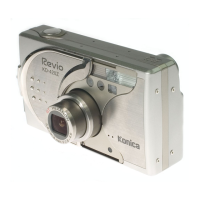
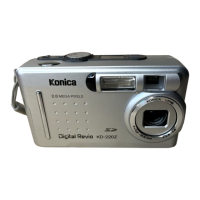
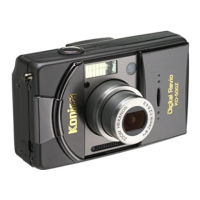
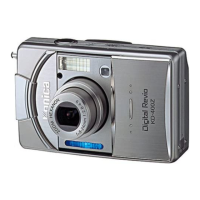
What to do if my Konica Minolta Revio KD310Z can't take a picture?
- TTimothy RodriguezAug 16, 2025
If your Konica Minolta Digital Camera won't take a picture, make sure the power is on. Also, check if the SD Memory Card or Memory Stick is write-protected and remove the write protection if needed. If you've reached the maximum number of pictures, erase some unwanted ones. Ensure the camera isn't set to Self-Timer mode, and wait for the flash to fully charge if it's charging.