1. Turn on the power switch and press the DOWN + SET button at the
same time for 3 seconds with any signal on the FND window.
Forced drainage will be done for 30 seconds.
2. Turn off the power switch and disconnect the power plug from the
outlet.
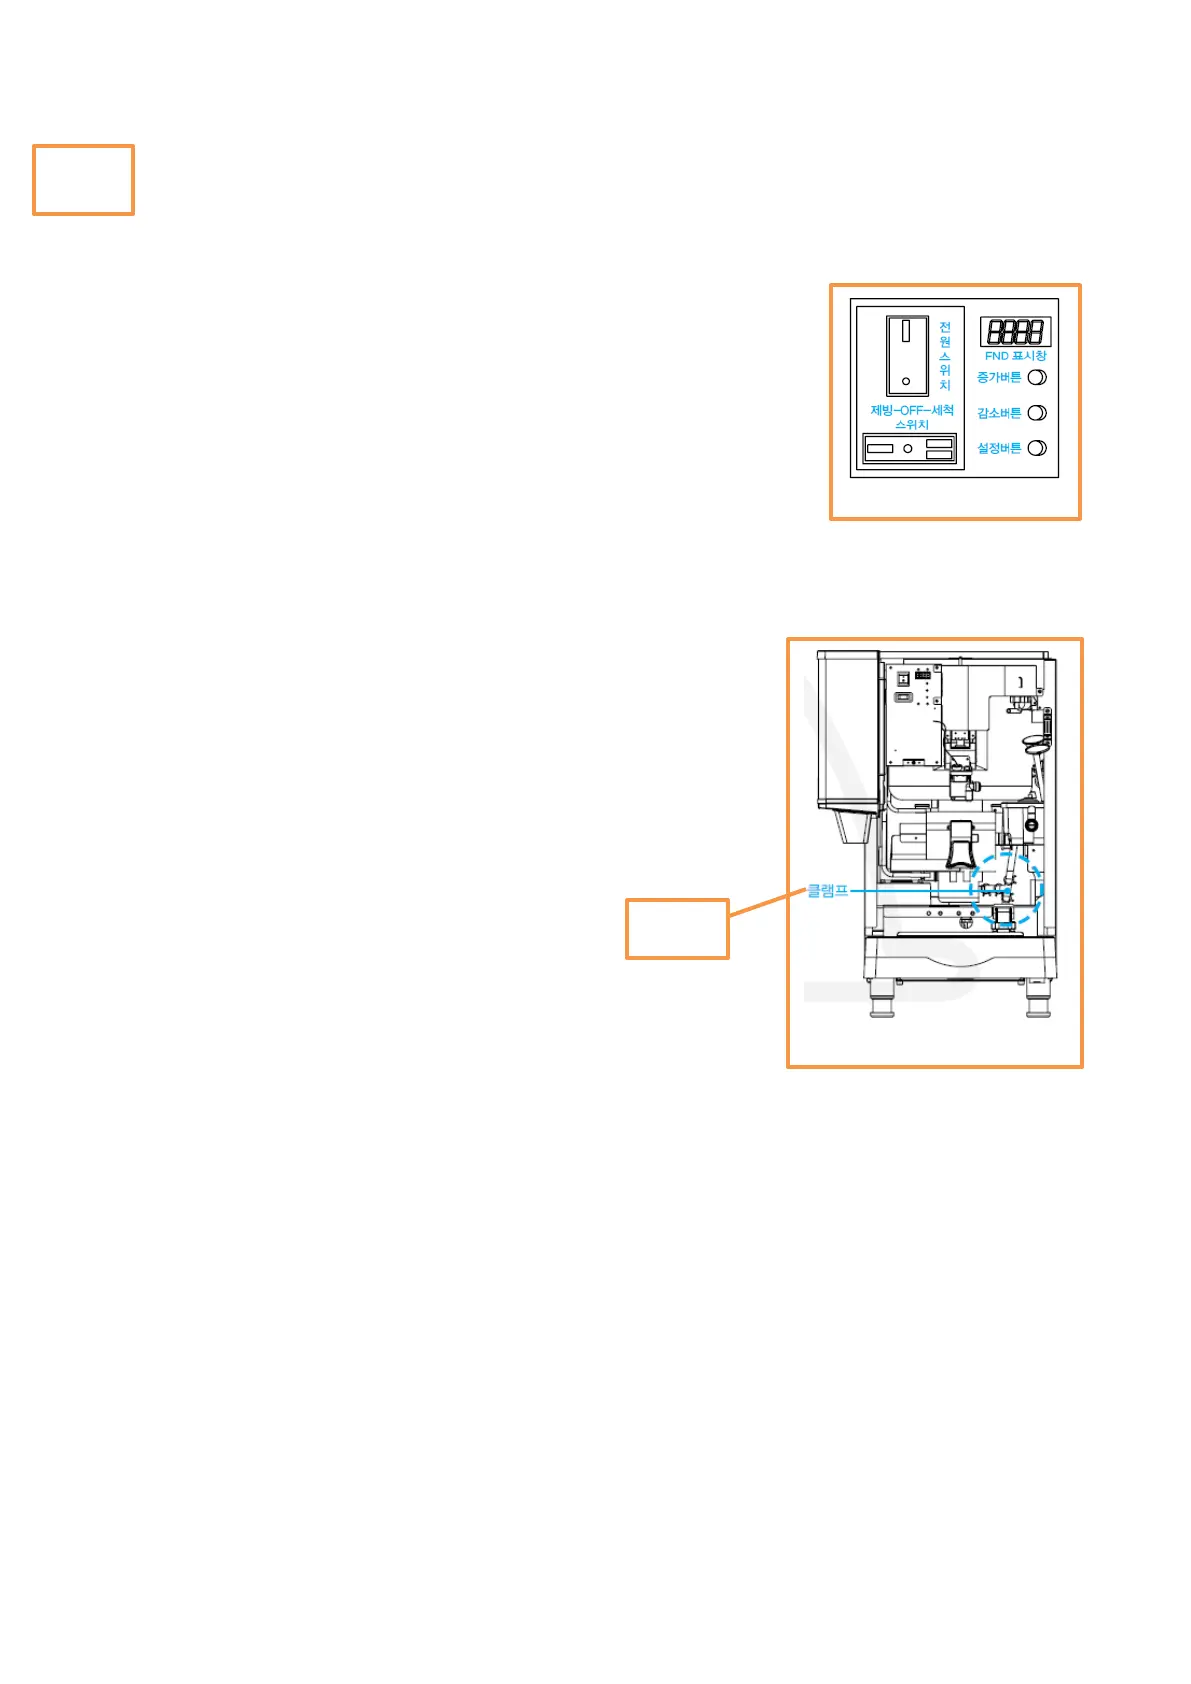
3. Remove the upper panel → the front panel.
4. Remove the evaporator cylinder drain hose clamp and remove the
hose, wait until the ice in the evaporator cylinder melts
completely.
(It is possible to remove internal water quickly by using a
compressed air gun etc.)
5. Reassemble the evaporator cylinder drain hose and tighten the
clamp.
6. Assemble in the following order left panel → upper panel → front panel.
7. Maintenance, repair and disinfecting
※ Please keep the product condition in accordance with the instruction manual and label provided.
● Be sure to have a qualified service technician service the product.
● To reduce the risk of electric shock, do not touch or disassemble the parts of the ice maker.
● Before service
- Turn off the power switch of the ice maker and the circuit breaker, and disconnect the
power plug from the outlet.
● Choking hazard
- After performing maintenance and repair, make sure that all components (such as fixtures,
screws, bolts, etc.) are completely assembled.
- Be careful not to let any components fall into the ice making compartment and ice
reservoir.
15
If the ambient temperature falls below 32F, water will freeze inside the unit and it will cease operation.
If not used for a long period of time (winter), be sure to completely remove the water
inside the body by following the instructions below. If you do not remove the ice making water or if it is
insufficient, it will cause serious damage to the product. This shall not be guaranteed by the manufacturer
and may result in expensive repair costs. Please observe the following points.
CAUTION
6. Required Actions to prevent freezing
Water Removal in Water Tank and Evaporator