2.10 Wall-Mounting Installation
Follow the steps below to install JetNet 5010G with the wall mounting plate.
1. To remove DIN-Rail clip from JetNet 5010G, loosen the screws from DIN-Rail clip.
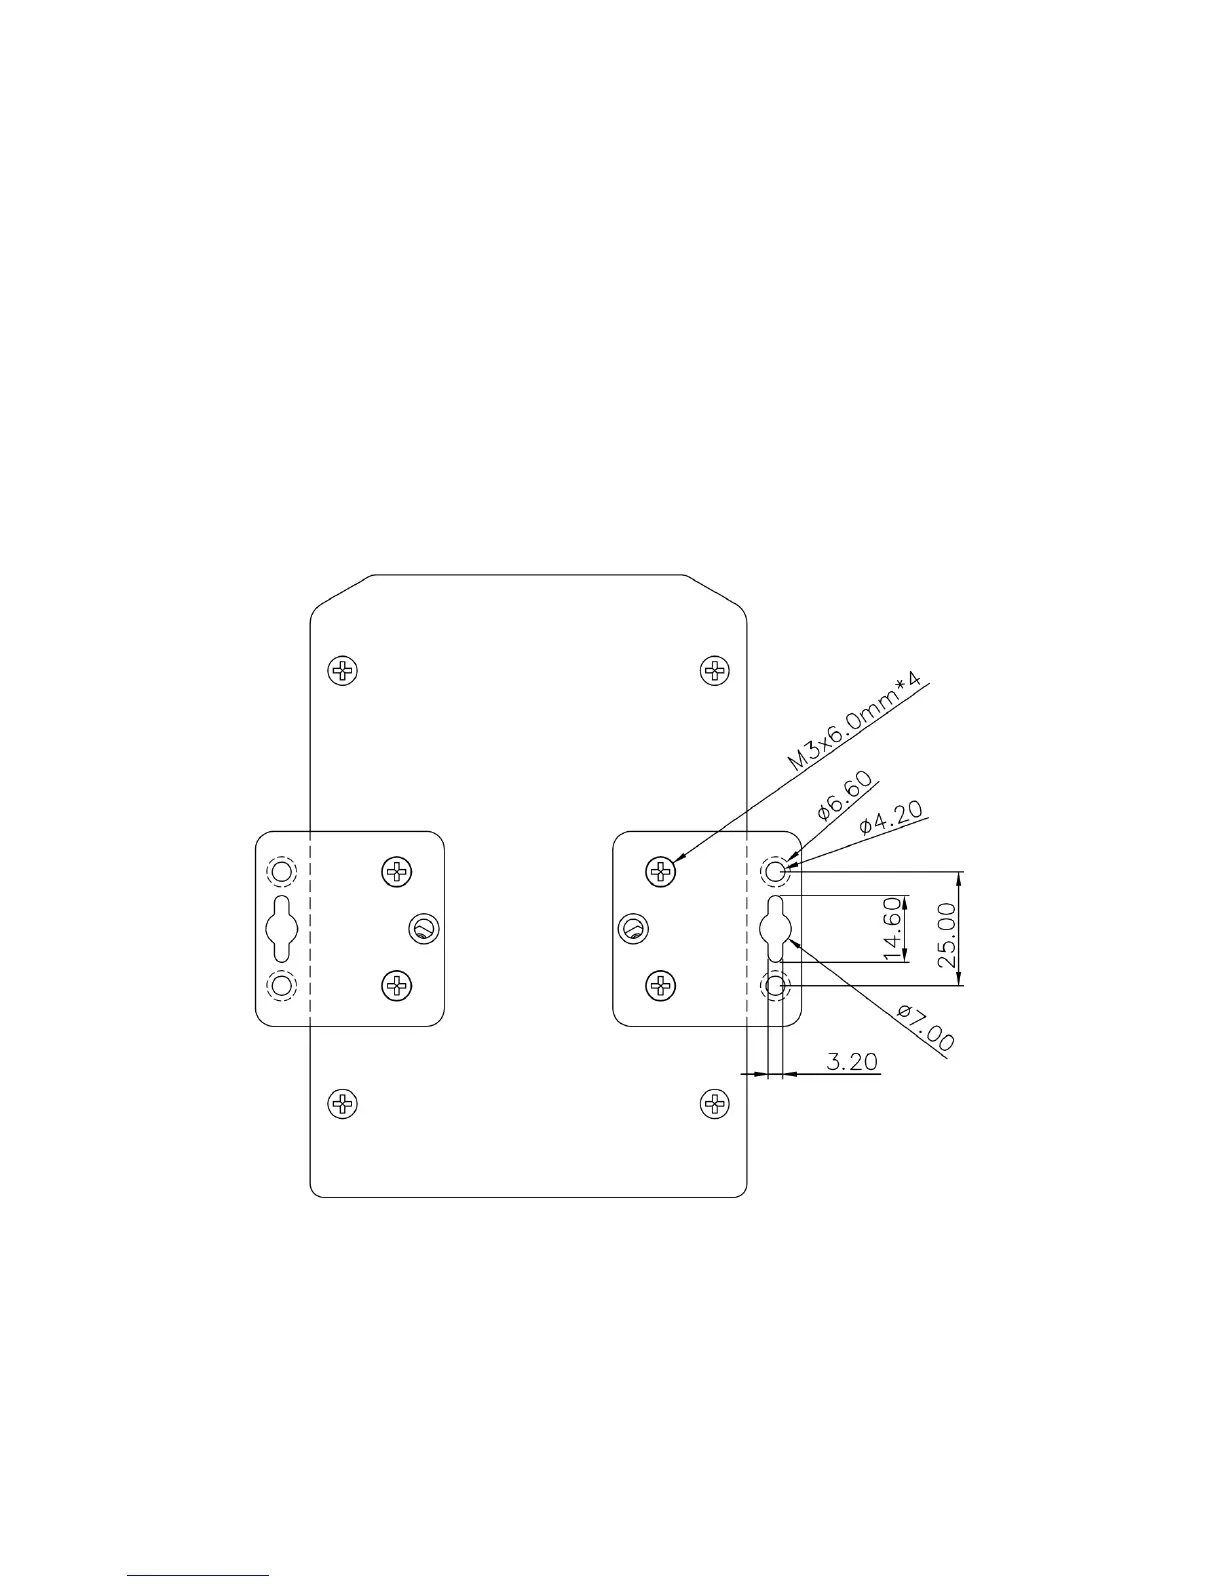
2. Place the wall mounting plate on the rear panel of JetNet 5010G.
3. Use the screws to tighten the wall mounting plate onto JetNet 5010G.
4. Use the hook holes at the corners of the wall mounting plate to hang JetNet 5010G
onto the wall.
5. To remove the wall mounting plate, reverse the steps above.
Note: To avoid damage the internal circuit, be sure use the screw included in
the package to screw and tight the wall-mount kit onto the rear side of the
JetNet switch. The specification of screw is M3 in 6 mm length.
 Loading...