12
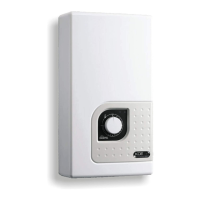
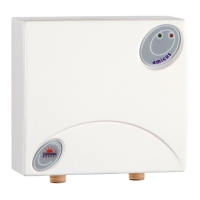
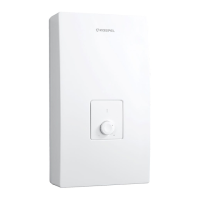
Installation – Assembly
1. Apply the supported template on the
place where the unit will be tted. Mark
points for drilling the holes for xing
screws.
2. Bring the water system pipes and elec-
tric supply cables to the marked places.
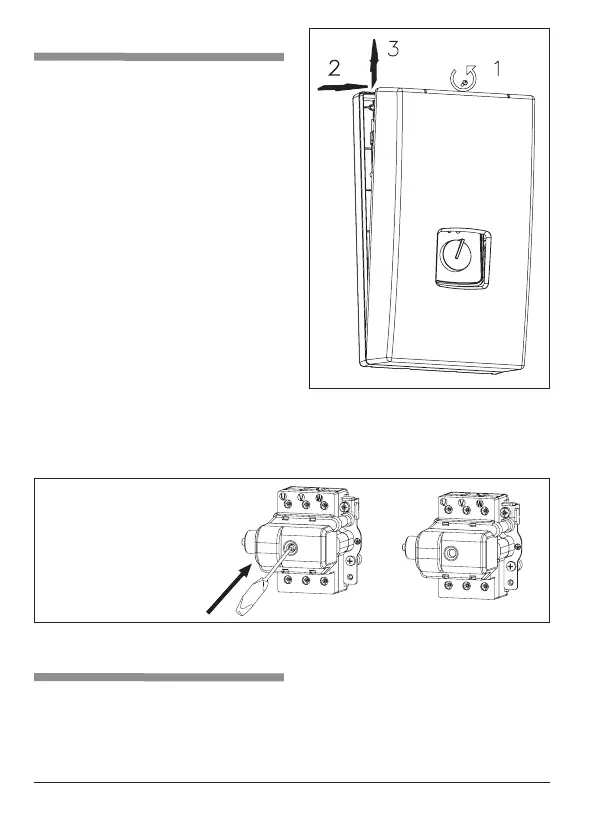
3. Take off the unit’s cover.
4. Run the supply wire through the hole
before you x the unit on the wall.
5.
Connect the unit to the electric mains.
6. Remove rubber plugs from cold and hot
water ttings.
7. Connect the unit to the water supply
system.
8. Open the cold water valve and check
for leaks.
9. Vent the unit. See page 8, section
“Venting”
10. Make sure that the WC3 or WT3 temp.
2
3
1
limiter is at working position (the knob should be pushed in).
11. Put the unit’s cover back.
12. Make sure that there is no access to live parts through the holes at the back
plate.
Safety temperature limiter
WC3/WT3
a) to switch on
b) WC3/WT3 on
a) b)
Venting
1. Shut off electric mains from the heater.
2. Turn the ow on (turn the hot water tap on) in order to vent the water installation
(for about 15-30 seconds), until the ow of water becomes constant and even.
3. Switch on the electric supplies.