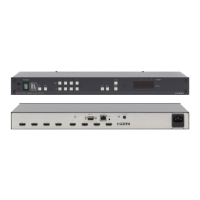
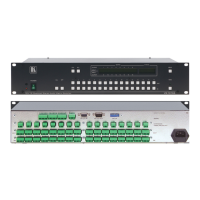
Step 4: Connect the inputs and outputs
Always switch OFF the power on each device before connecting it to your VS-44DT. For best results, we recommend that you always use
Kramer high-performance cables to connect AV equipment to the VS-44DT.
For the Ethernet and HDBaseT connectors, see the proper wiring
diagram below
For optimum range and performance use the
recommended Kramer cables available at
www.kramerav.com/product/VS-44DT.
Step 5: Connect the power
Connect AC power to the rear of the VS-44DT, switch on its power and then switch on the power on each device.
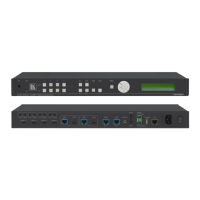
Step 6: Set operation parameters via the menu buttons
Enter the menu via the MENU
button on the front panel or the IR
remote control transmitter. Select a
menu item and set parameters as
required.
Set the audio output to be routed to AUDIO OUT, set the volume level for
each output and toggle mute (on/off) for each output
Turn the RS-232 DATA serial communication routing on and off for each
port. The current state is displayed when entering the RS-232 ROUTING
menu, for example: ON To port-04.
Set auto switching on or off
If you cannot see any video output,
verify that the display, TV, or
projector is in good working order
and is connected to the
VS-44DT. Verify that the
VS-44DT is selected as the source.
Set DHCP (on/off) IP address, netmask and gateway settings
Displays the following communication parameters: IP address, netmask,
gateway, TCP port number, UDP port number and MAC address
Displays the firmware version
 Loading...