01/2022 – 4009110601 - QS MAC 100 R01 en
Connecting the sensor(s)
When ordering the one channel version, only the interface "Pos.A" is populated. In the version with two channels the
interfaces "Pos.A" and "Pos.B" are populated (see also terminal compartment). The configuration of the signal converter
(i.e. the number and type of sensor inputs) has to be set in the factory and cannot be changed later. The number and
type of sensor inputs is specified via the order code and visible on the nameplate.
For all information concerning the signal cables of the used sensor(s) and their connection refer to the relevant sensor
handbook(s).
After sensor connection close the converter housing and tighten all screws of the housing.
3 Quick Setup
The manufacturer delivers the device preconfigured and ready for operation with the sensor(s) specified in the
customer's order. Though due to the physics of the measurement, the operator has to perform an onsite calibration or an
adjustment to the relevant sensor(s) and to the environmental conditions at the initial start-up. For more details refer to
the manual of the relevant sensor!
For start-up switch on the power with the help of a disconnecting device (switch, circuit breaker). The device performs a
self test; afterwards it begins to measure immediately in the measuring mode if a sensor is connected and the display
shows the current value(s).
Note that the display can only show a temperature reading if a temperature sensor is attached! If this is not the case, the
maximum or minimum range of the measuring range appears in the last line.
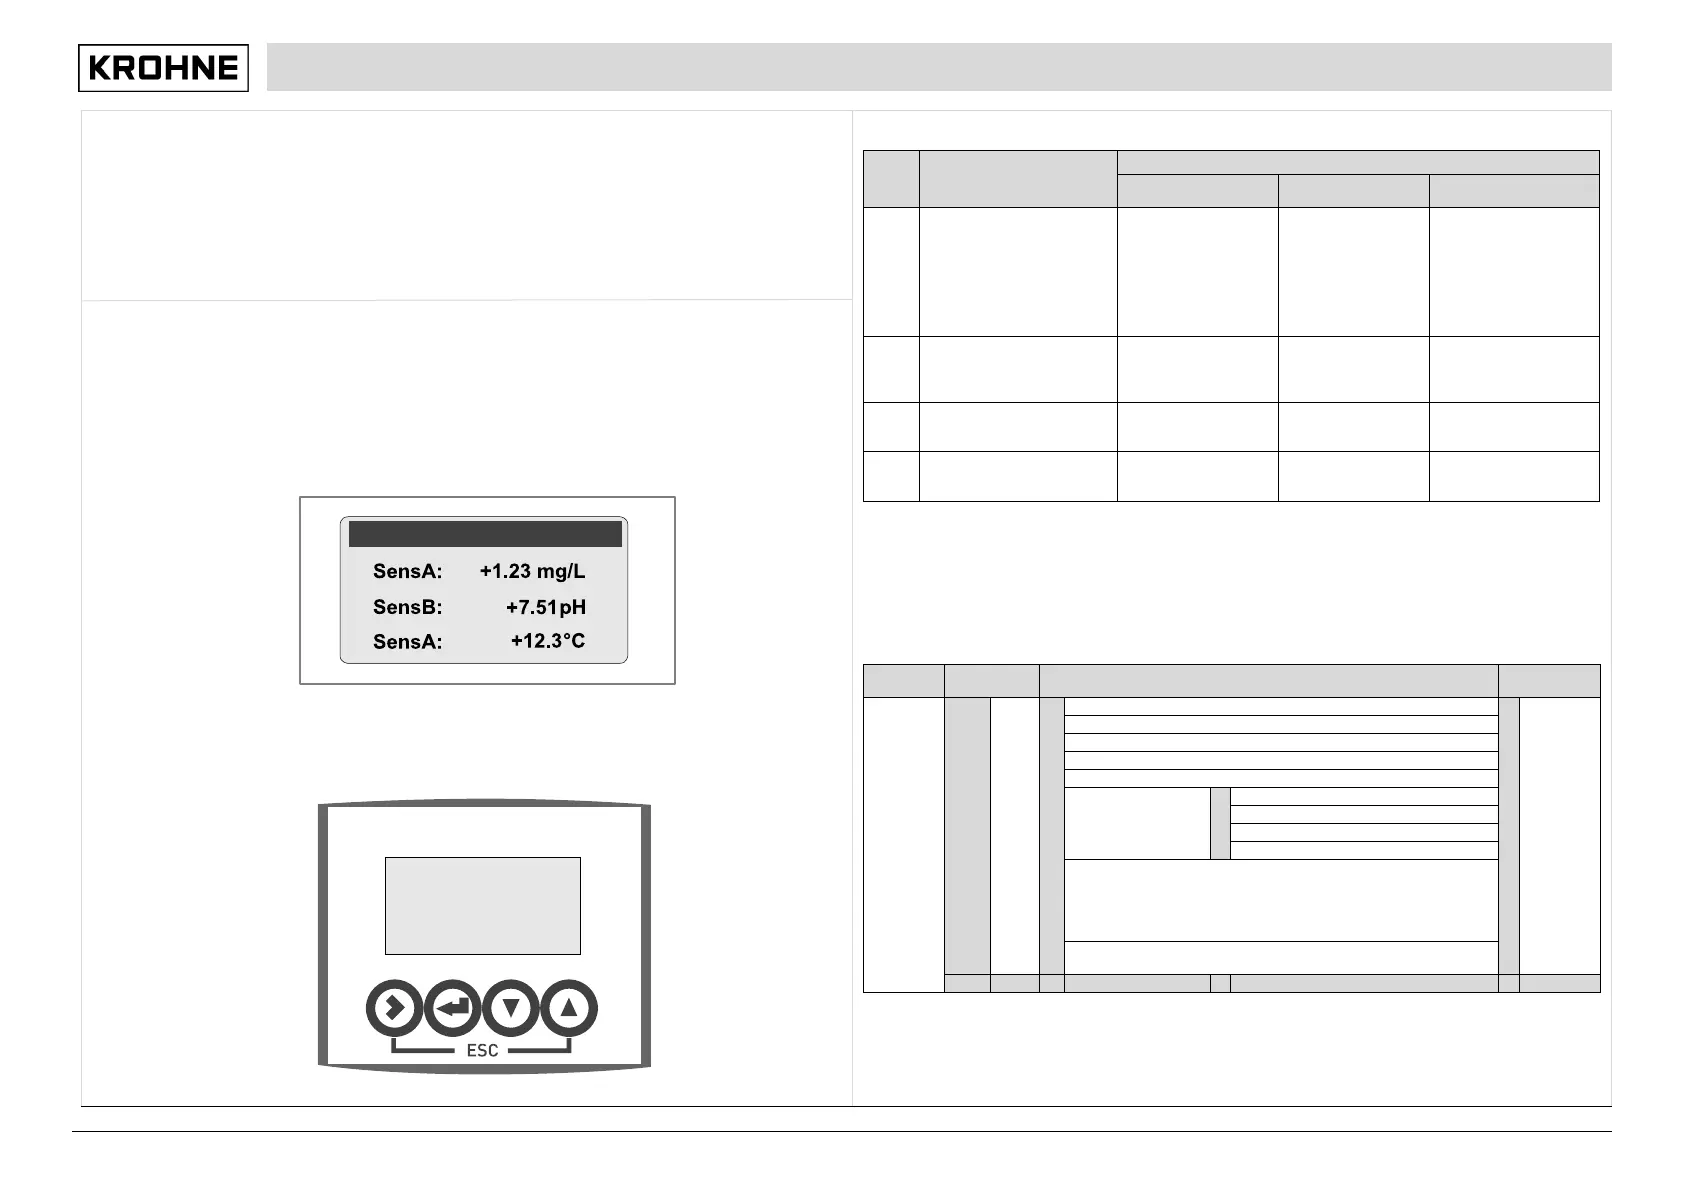
Key functions and menu level
The function of a key depends on the mode of the device and on the menu level:
This function allows checks with respect to custody transfer; it can be used in few situations, e.g. if the display is
disturbed
Main menu A, quick setup
When you are in the menu mode press > to enter quick setup, which groups the most important functions of the other
main menus.
Sub-menu or
function level
mode to menu mode; press
key for 2.5 seconds (display
shows "keep key pressed"
and countdown) and release
it after further 2.5 seconds
(display shows "release key
menu, then 1st
submenu is displayed
sub-menu or
function
move curser one
position to the right
controller
mode (prompt
appears whether the
higher level or
sublevel, data are
function, data are
saved
pages
moving up or down
function, moving up
marked by the cursor,
>+
menu level, data not
level, data not saved
pages,
scrolling
with
or
quick
setup
information
see
function
tables
A9...A11: calibration menus for process input A; existence of the
single sub-menus depends on the hardware setting and the used
sensor (e.g. if you use a pH sensor then only the menu A8 with the
name "pH cal." appears); refer to sensor manual for further
A12...A19: calibration sub-menus for process input B, existence
also depending on the hardware setting and the used sensor.
 Loading...