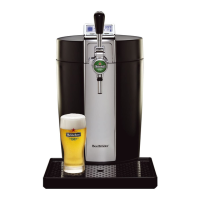
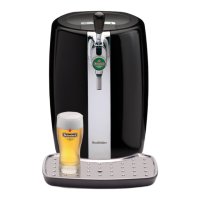
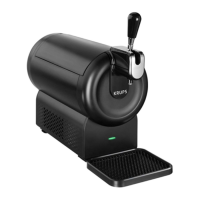
9
* Adjust to the desired temperature by pressing the
thermometer button on the righthand side of the
display panel.
* The top temperature readout reflects the
temperature inside the Draughtkeg.
* The bottom temperature next to the thermometer
image reflects your desired temperature.
* Wait for your ideal temperature to be reached
before pouring a beer.
* Volume indicator – the barrel on the lefthand side of
the display screen reflects the volume left in your
DraughtKeg™.
* There are 4 volume levels – when down to the
bottom level, the panel will flash indicating your
DraughtKeg is almost empty.
* Never immerse the appliance in water.
Pouring a beer from the BeerTender
* Before pouring a beer, rinse clean glass in cold water
which chills the glass and wets the inside to enable a
perfectly smooth draught pour. Use of 8 oz glasses is
recommended to maintain the ideal serving
temperature.
Draught and Drink
* Be aware that the first glass you pour from every new
DraughtKeg will contain mostly foam. This is typical of
draught beer. Allow the foam to settle and continue to
pour.
* Tilt and pour: Tilt your glass at a 45 degree angle as
you pour and adjust upright as the glass fills.
* Ensure you pull the tap handle all the way down. Not
opening the handle all the way will result in excessive
foam.
* For the optimal draught beer drinking experience,
serve your beer with a foam head of 2 fingers in height
(approximately 1.5”).
Proper Care and Cleaning of your BeerTender
* The drip tray and grate should be emptied and
cleaned after each use.
* Before cleaning the appliance, it is essential to turn off
the main power switch and then pull the plug out of the
socket.