2F8/2F9/2GA-2
1-2-10
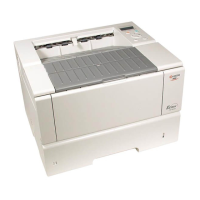
1. Connect the printer cable (parallel, USB or
network*) to the printer and the PC.
*: Remove the cap.
Figure 1-2-13
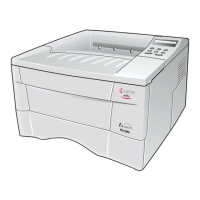
1. Connect the power cord to the printer’s AC
inlet and the other end into a power outlet.
2. Turn the power switch to on ( | ).
The message display should indicate [Self
test]. When the printer is first switched on
after installation, there will be a delay of
approximately 15 minutes before the printer
gets ready to print as the developer needs to
be filled with toner. During this period, the
message display shows [Please wait (Add-
ing toner)].
Wait until the READY indicator is also lit and
the message display indicates [Ready]. The
printer is ready to print.
Figure 1-2-14
Connecting the printer cables.
Parallel
Network
USB
Cap
Parallel cable
Network cable
USB cable
Connecting the power cord and toner installing.
Power switch
Power cord
AC inlet
> MSG language
? English

 Loading...