10
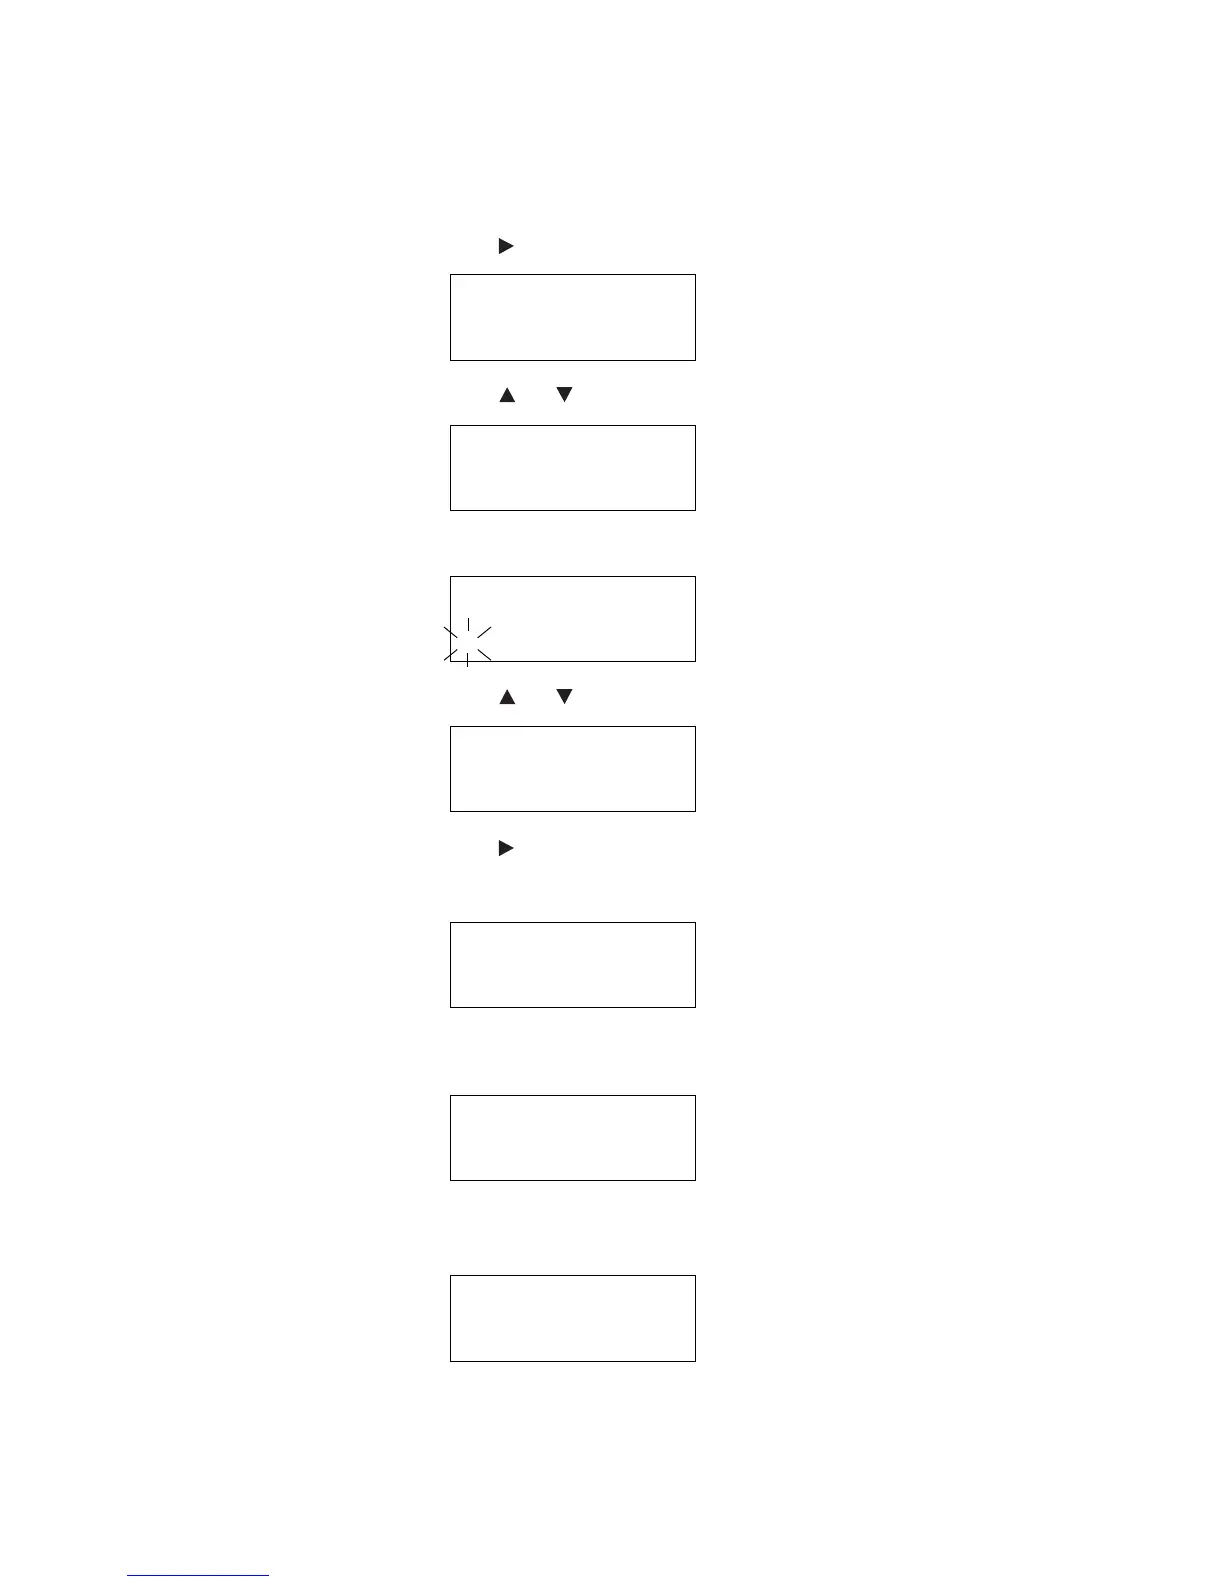
2 Press [ ]. Select Account appears on the operator panel.
3 Press [] or [] to display Add Account.
4Press [ENTER]. The cursor blinks on the operator panel.
5 Press [ ] or [ ] to enter a number (0 through 9).
6 Press [ ]. The number is entered and the cursor auto moves to the next right
position. Repeat step 5 and this step at each position to enter the account code (up
to 8 digits).
7Press [ENTER]. The account code is registered and Account Management
appears on the operator panel.
8 To add another account code, repeat steps 2 through 7.
9Press [MENU]. Ready is displayed again on the operator panel.
>Select Account>
00000000
>Add Account
>Add Account
_
>Add Account
1
>Add Account
12345678
Account >
Management On
Ready
 Loading...