La Crosse Technology, Ltd. Page 6
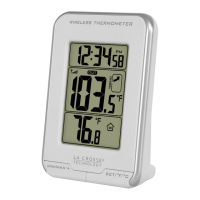
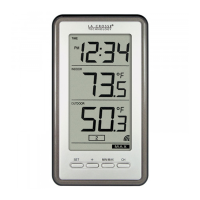
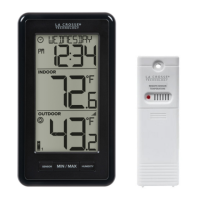
• Reset MIN data: Hold the MIN/MAX button for 5 seconds and the Indoor and Outdoor
Minimum Temperatures will reset. The temperature area will show dashes briefly then
return to current temperatures.
• View MAX data: Press and release the MIN/MAX button to view the maximum Indoor
and Outdoor Temperatures.
• Reset MAX data: Hold the MIN/MAX button for 5 seconds and the Indoor and all
Outdoor Maximum Temperatures will reset. The temperature area will show dashes
briefly then return to current temperatures
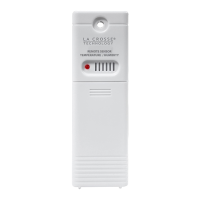
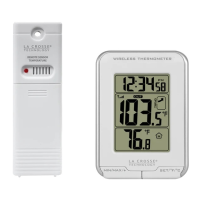
Mounting/Positioning Outdoor Transmitter
• Mount outdoor temperature transmitters vertically and under a bit of an overhang.
• Protect the outdoor transmitter from standing rain or snow, and from the overhead sun,
which can cause it to read incorrectly. Mounting under an eave or deck rail works well.
• Construct a small roof or box for the transmitter if you do not have an overhang. Please
be sure it is well vented.
• Mount the transmitter on the North side to prevent sun from causing incorrect readings.
• Mount at least 6 feet in the air for a strong RF (radio frequency) signal.
• Outdoor transmitters are water resistant but not water proof.
• Avoid more than one wall between the transmitter and the Wireless Thermometer.
• Do not mount near electrical wires, transmitting antennas or other items that will
interfere with the signal.
• RF (radio frequency) signals do not travel well through moisture or dirt.
• Place the outdoor transmitter and the Wireless Thermometer in the desired shaded
locations and wait approximately one hour before permanently mounting the
transmitter to ensure that there is proper reception.
• Do not mount the transmitter on a metal fence. This significantly reduces the effective
range.
MOUNT
• Choose a location for the transmitter that is within range of the Wireless Thermometer
and under an overhang for accuracy.
Option 1:
Install one mounting screw (included) into a wall leaving approximately ½ of an inch
(12.7mm) extended.
Place the transmitter onto the screw using the hanging hole on the backside.
Gently pull the transmitter down to lock the screw in place.
Option 2:
• Insert the mounting screw through the front of the transmitter and into the wall.
• Tighten the screw to snug (do not over tighten).
• To achieve a true temperature reading, mount where direct sunlight cannot reach the
outdoor transmitter.