46
Product Service: Domestic 1-800-522-7658, International 816-333-8811
Chapter 7: Troubleshooting
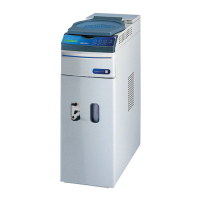
The next test is used to check the collection chamber
integrity. The figure below points out potential areas to
locate a leak.
1. Remove the vacuum hose from the vacuum tube
and place a freeze dry flask over the connection
port.
2. Fill the collection chamber with approximately
2 inches of water, enough to cover all fittings.
Replace the collection chamber lid and turn on
the vacuum pump. Allow the vacuum pump to
run for approximately 5 to 10 seconds. (If the
vacuum pump is left on, the water will begin to
boil and the test will not be correct.) Look
inside the chamber for any bubbling while the
pump is running and after you shut the pump
off.
3. If desired, you may check the vacuum port
connection. This is done by filling the chamber
with water to the top of the collector coil. Do
not fill above the holes in the vacuum tube as
damage to the vacuum pump may occur.
Areas for potential leaks