AQ-00073-000, Rev. 7 6
Installing the Accessory in Your Sample Compartment
1. Unplug the instrument and remove the sample compartment cover and any accesso-
ries within the sample compartment.
2. Mount the 8
°
sample holder against the reflectance port of the integrating sphere, tight-
ening the two set screws using a 0.035" hex wrench.
3. Mount a 0
°
sample holder against the transmittance port of the integrating sphere, tight-
ening the two set screws with the 0.035" hex wrench.
4. String the accessory connector cable through the sample compartment wall cable
run leading to the side plate. Attach the 9-pin connector to the 9-pin port marked
INTEGRATING SPHERE (J88) on the side of the instrument.
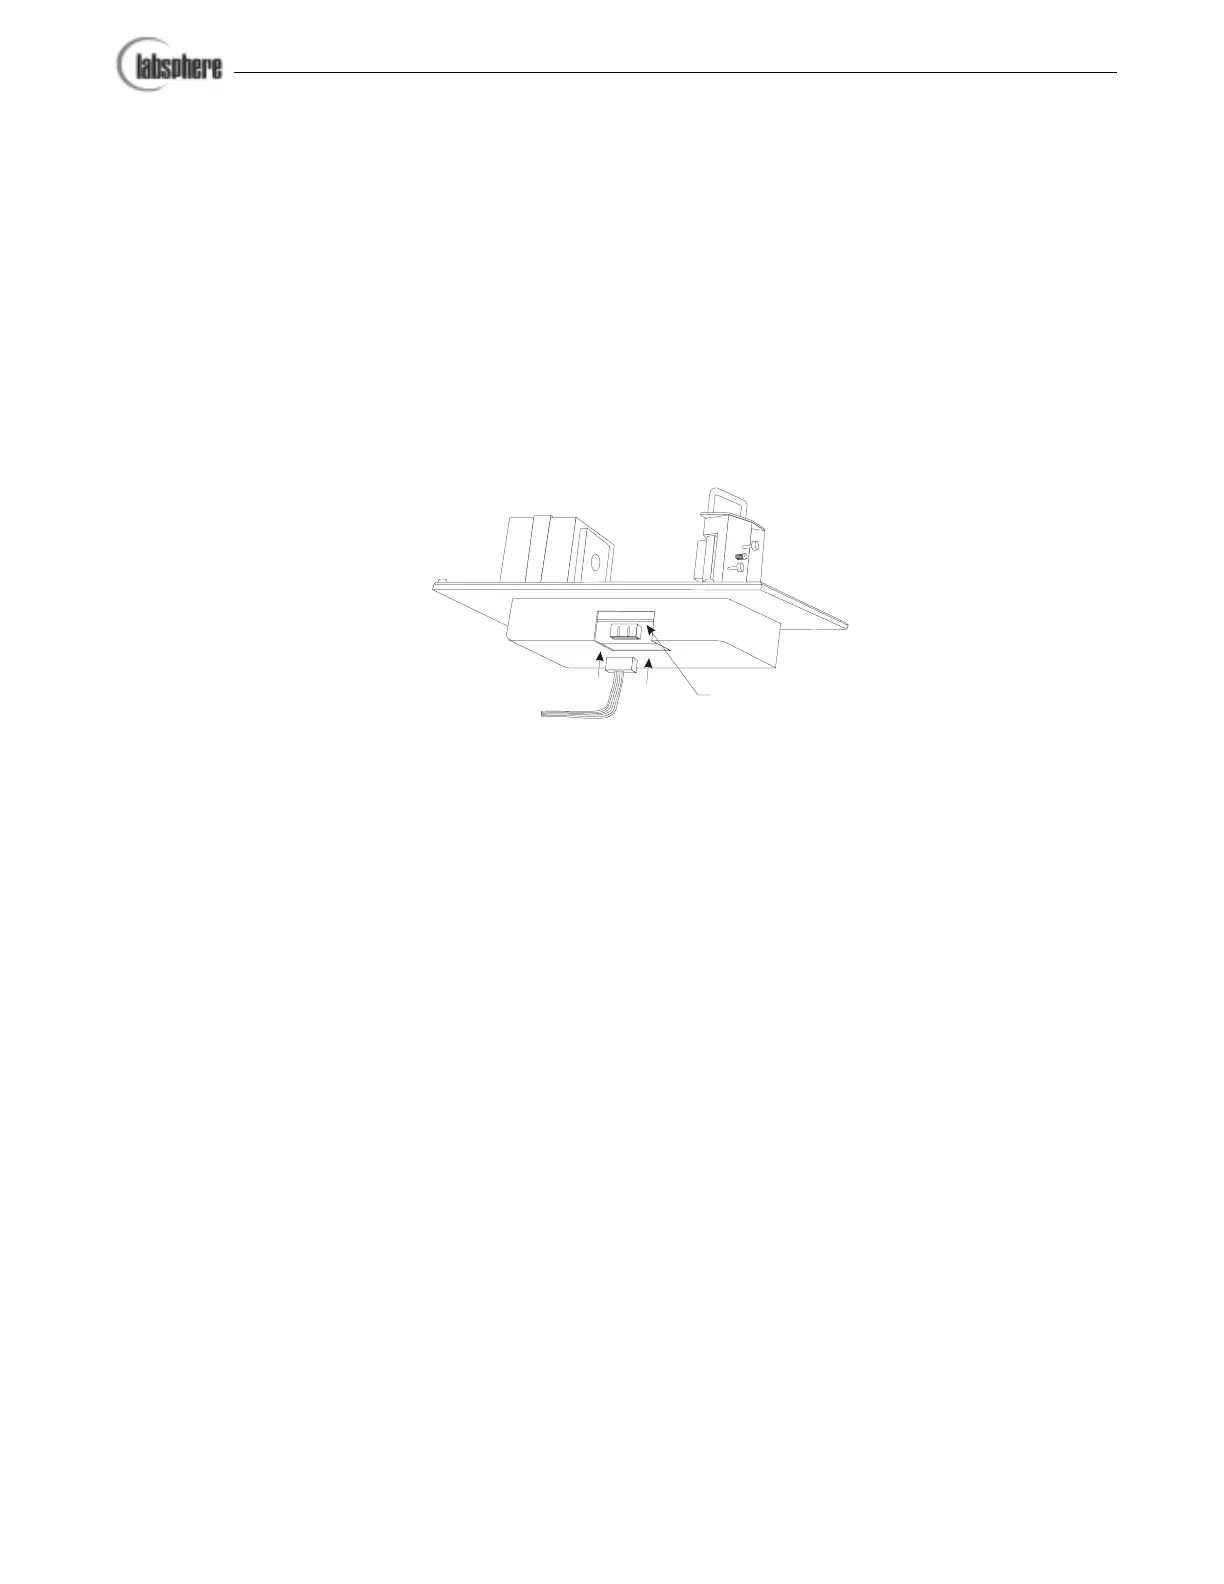
5. Plug the remaining end of the detector cable into the mating plug located in the
preamp board enclosure underneath the base of the accessory.
6. Carefully lower the accessory into the sample compartment and slide it horizontally
until the four self-retaining mounting screws on the accessory base mate with the
sample compartment base. Tighten the screws with a 2.5 mm hex wrench.
7. Lower the instrument cover, replace the sample compartment door and reconnect
the power plug to the instrument.
Accessory Alignment
The accessory was aligned precisely at the Labsphere factory before shipping and should be
ready for use upon installation. Check the alignment of the accessory before using and, if neces-
sary follow this procedure to adjust the optical alignment.
1. Load the Spectralon reflectance standard at the reflectance port.
2. Close the sample compartment, turn on the instrument and boot your UV Winlab
software application.
Accessory Cable
Accessory Preamp Board
Figure 5. The accessory cable connects the sphere detector
to the instrument electronics.