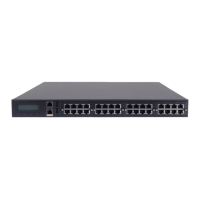
45
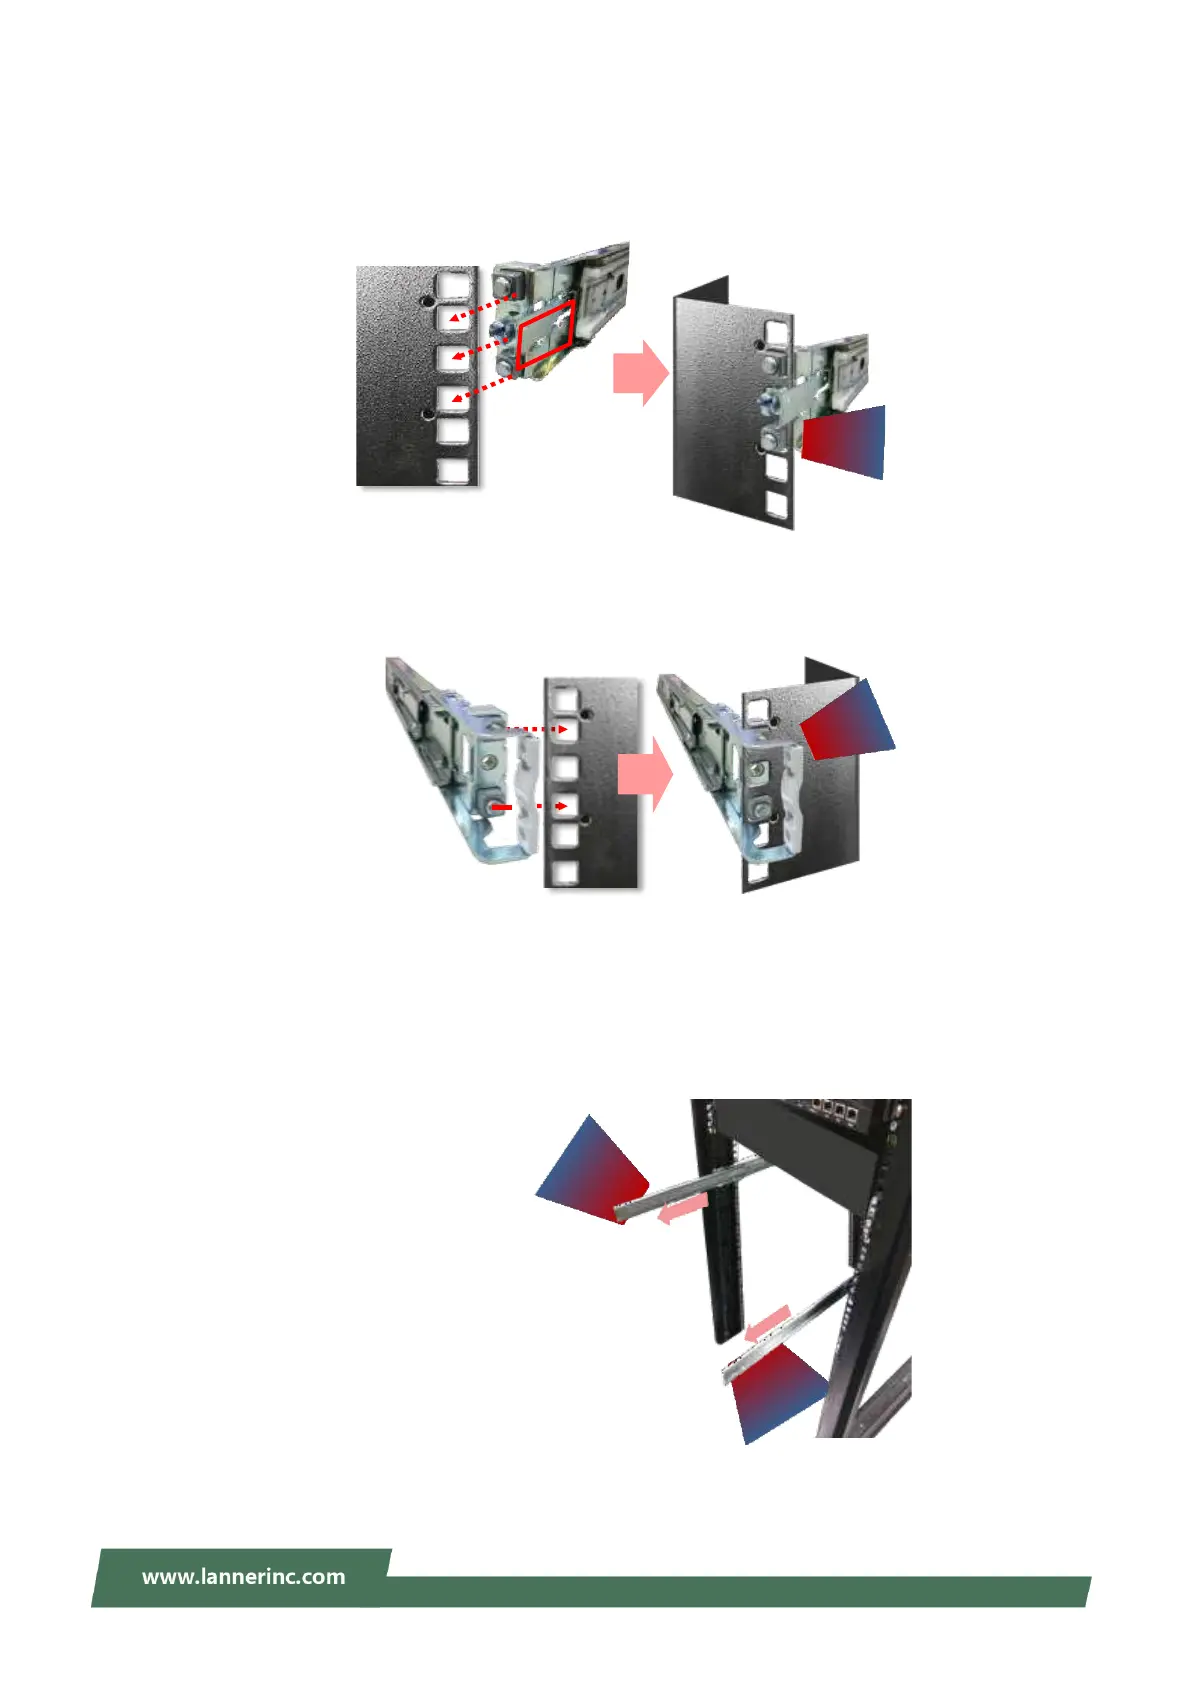
Installing the Slide Rail Assemblies
1. This slide-rail kit does NOT require screw-fixing. Aim at three (3) available screw holes on the rack front
and lock it by clipping the rail’s front end to the post, as shown in the image below. You should hear a “click”
sound once it is firmly attached.
2. For the rear rack installation, slide the rail to aim and engage the bolts on the rail’s rear end with the two
(2) available holes on the post, and the rail assembly will click into place.
3. Repeat Steps 1~2 to install the other rail onto the post.
Installing the Chassis onto the Rack
1. Stretch both of the inner channels out to their fullest extent. You will hear a click sound when they are
fully stretched and locked.