0IJXWMHISJ4PSXXIVWIIRJVSQXLIFEGO
%P]WQEMRXIRERGIQERYEP %%
7RXQSOXJDQGSOXJEDFNLQWKHULEERQFDEOHVXVHWKHVDPHSURFHGXUHDV
GHVFULEHGIRUWKHULEERQFDEOHOLQNHGWRWKHFRPPDQGNH\ERDUGh
3. Remove the fastening screws from the board (identified with circles),
remove the main board and replace it.
4. Fasten the new board by means of the five fastening screws (torque of 1
N.m), and replace the connectors.
5. Make sure that all the connectors are plugged to the appropriate places.
6. Put the electronics shielding cover back into place.
7. Replace the side protective cover, fasten it and plug the command
keyboard back in.
6ITPEGMRKXLIQEMRXVERWJSVQIV
!
$OZD\VVWDUWE\XQSOXJJLQJDOOWKHHOHFWULFDOFRQQHFWLRQVOLQNLQJWKH
SORWWHUWRWKHPDLQVDQGWRWKHFRQWUROOLQJ3&
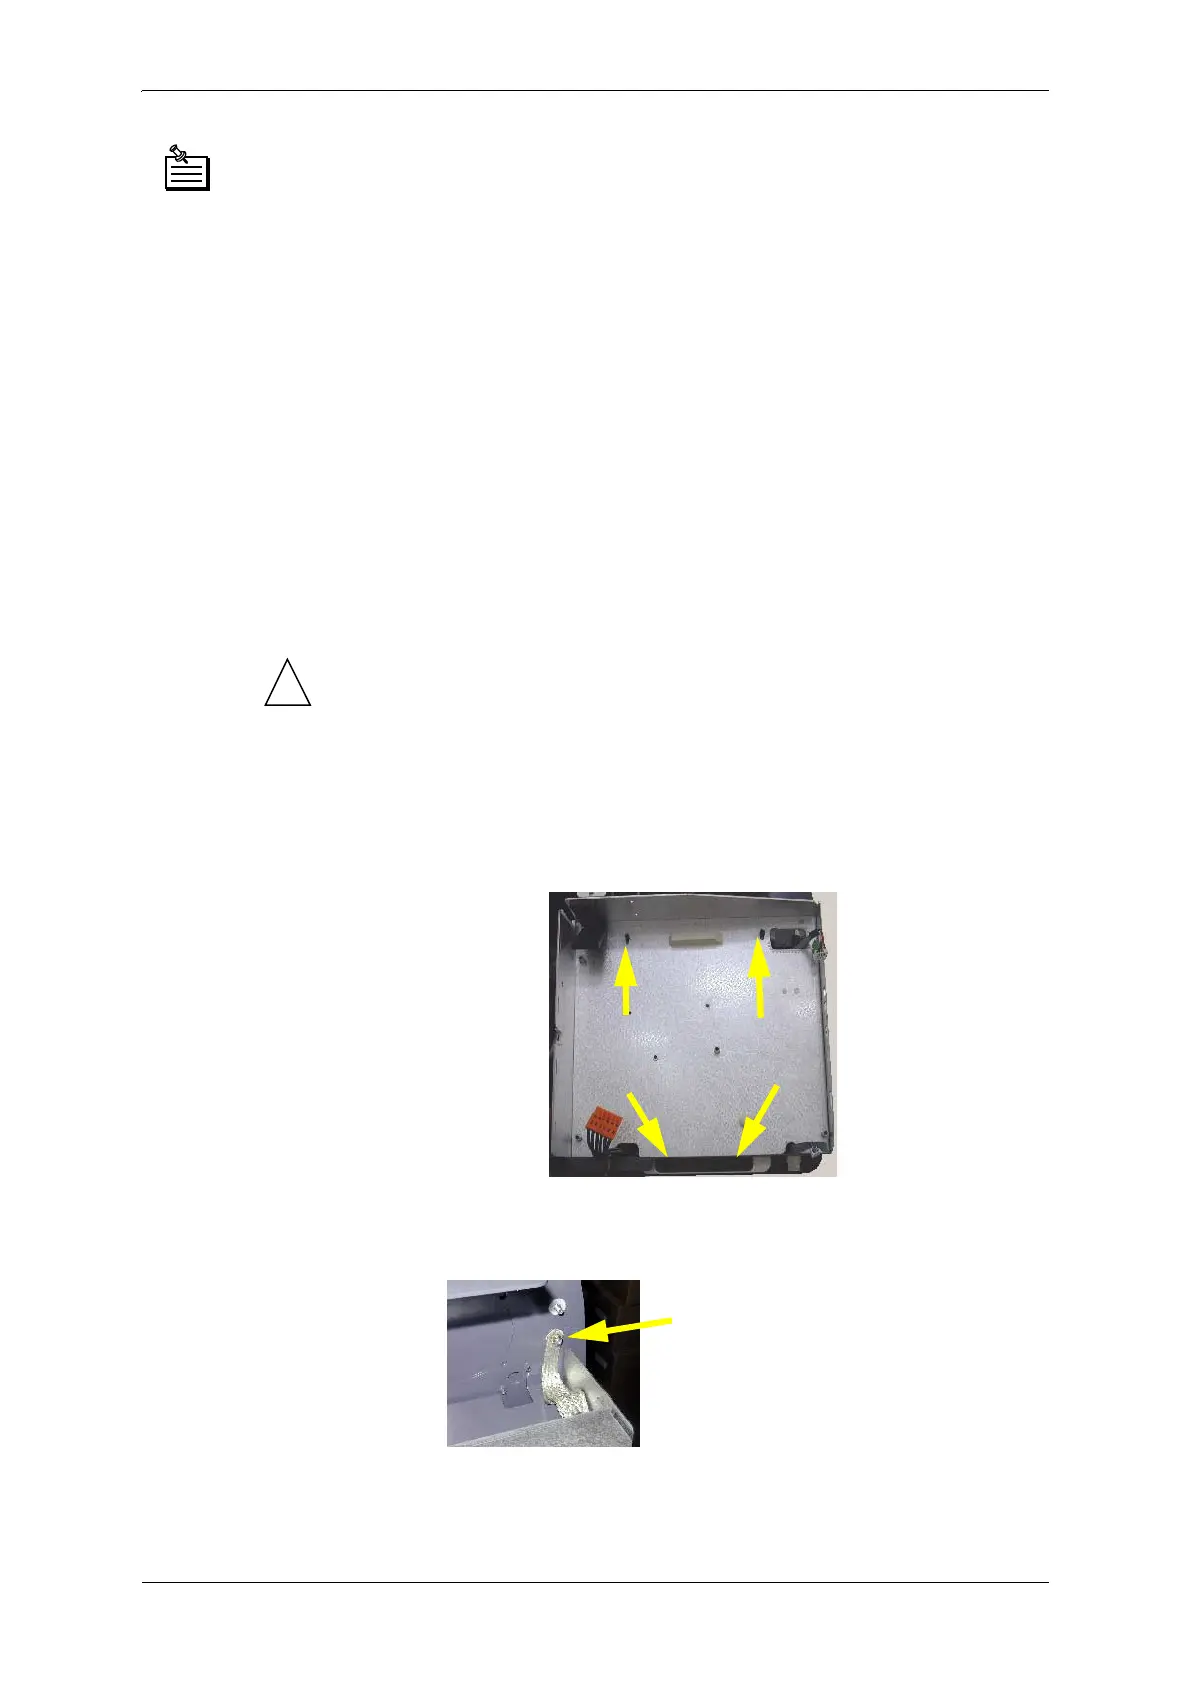
Left side protection cover of the plotter removed
1. Remove the electronics board as indicated in the previous paragraph.
2. Unscrew the 4 fastening screws from the transformer base plate.
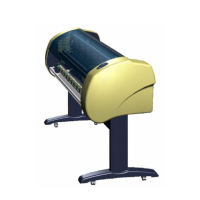
3. Unplug the earth braid from the plotter frame.
4. Remove the plate from the plotter.
9RTPYKXLIWLMIPHMRKFVEMH