Turning the setting ring (1.13) to the right (clockwise)
enlarges a central trimmed area. The more you turn the
ring, the greater the enlargement and the smaller the
trimmed area.
• During calculation of the data, the hourglass symbol
appears briefly in the display. The rectangle with-
in the frame (2.1.2) in the lower right-hand corner of
the monitor symbolizes the current enlargement.
In an enlarged view, you can use the four direction
buttons (1.14) to select any position for the trimming.
To do this, press the button (several times) for the
direction in which you want to shift the trimming.
• In addition to the enlargement, the rectangle within
the frame (2.1.2) in the lower right-hand corner of
the monitor symbolizes the position of the trimming
displayed.
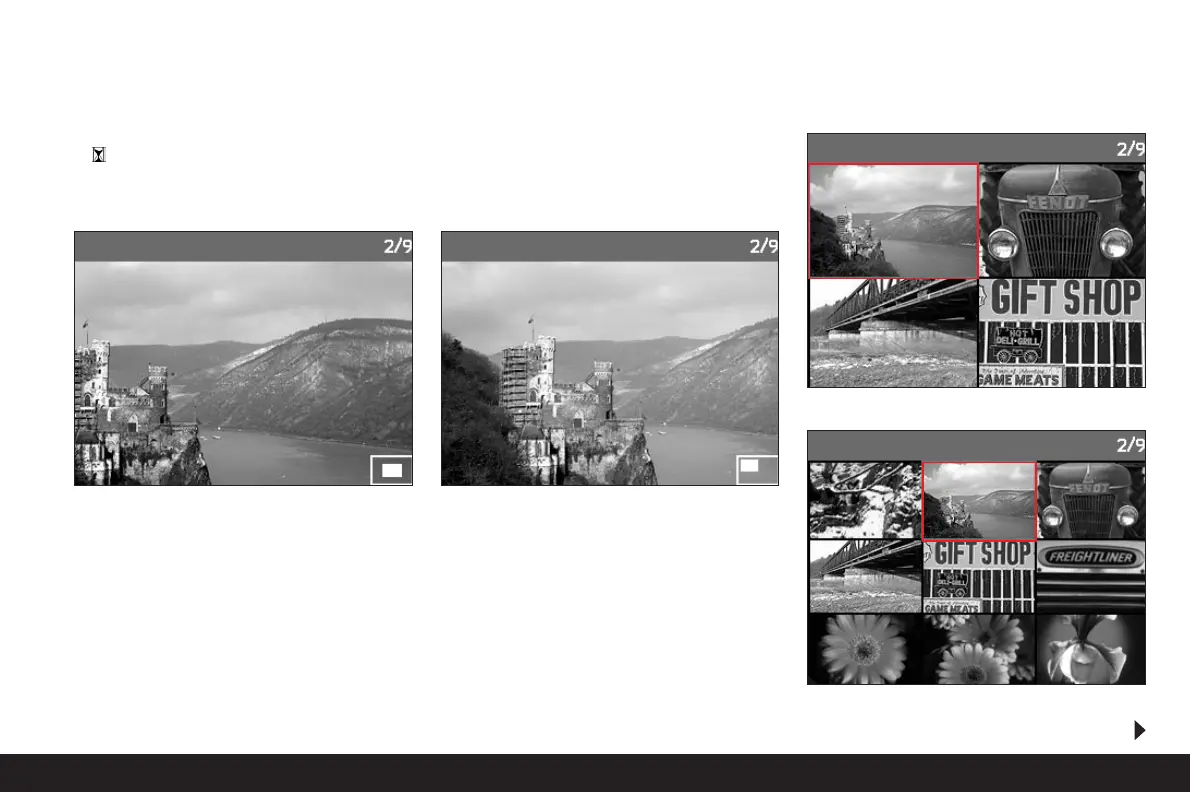
By turning the setting ring to the left (anticlockwise,
starting from normal size), you can simultaneously view
4 – or by turning the ring further – 9 pictures in the
monitor.
• Up to 9 reduced images are shown in the monitor
(1.11) including the picture previously being viewed
at normal size, which is marked with a red border.
Detailed guide/ Review mode / 97
 Loading...